
|
|
|
|
#1
 21st March 2012, 08:37 PM
|
||||
|
||||
|
Hi Nathan,
Any chance of a few piccy's of your progress for the MX5 build codenamed "Bumble Bee" or will you be keeping it under wraps untill it's finished?  ps... How's Spud doing, haven't seen any posts lately from him.. Johno 
|
|
#2
22nd March 2012, 09:52 AM
|
||||
|
||||
|
Iv just got the cage to finish and interior panels before the final fitment of the bodywork and finishing off, i was hoping to get it lokking pretty before i put some photos up but il put some up on photobucket tonight for ya,
ps johno can you pm me the address to send the crush tubes, lost it lol
__________________
A few build photos... www.photobucket.com/ntsengineering
|
|
#3
24th March 2012, 08:04 PM
|
||||
|
||||
|
Sorry for the delay, iv been trying to catch up this week. Its been a bit bitter sweet the last couple of weeks regarding the mx5 build. A couple of weekends ago id sorted out the wiring loom and got all the fluids bled so i decided it was time for a proper run down round the industrial estate to find any proplems before i started putting the bodywork on. So, as one does I spent a good hour and a half checking bolts, tiying back any loose wiring/tubing etc. I popped the battery in the passenger footwell, turned the key and started driving slowly around the industrial estate in first and second. I went back to the unit and gave it a once over, everything looked dandy so i decided to give it the beans down the road. Going from first to second at speed there was an almighty bang, and i was hit by something hard from behind. The prop was laid on the floor and the diff was snapped in two. Like a complete knob i had forgotten to put the spreader plates under the diff bushes so the diff was hanging by just its rubbers. The torque was too much for it and it gave way, snapping the rear casing in half and wrecking the UJ in the prop in the process. I pushed it back for what what seemed to be a lifetime, with an almighty bruise on my arse from the diff twating me!
The good news was that there was no damage at all to the chasiss, so theres no problems there. David bowlam was very kind to let me have a replacement, but as it was a 1.6 diff it has different pcd shaft flanges and it was open, i really wanted to keep the torson lsd so a quick call to mx5 city got me a free new casing (providing i show their stickers on the car in the mag features!) The diff is now back in the car with its new casing. I have also fitted a pair of these: http://www.ebay.co.uk/itm/Mazda-MX-5...item3f125b3c0a and made some 8mm spreader plates to go underneath. So, whatever you do, dont hang the diff without the original plate with the castlated bush or polybushes and a substansial spreader or this will happen! 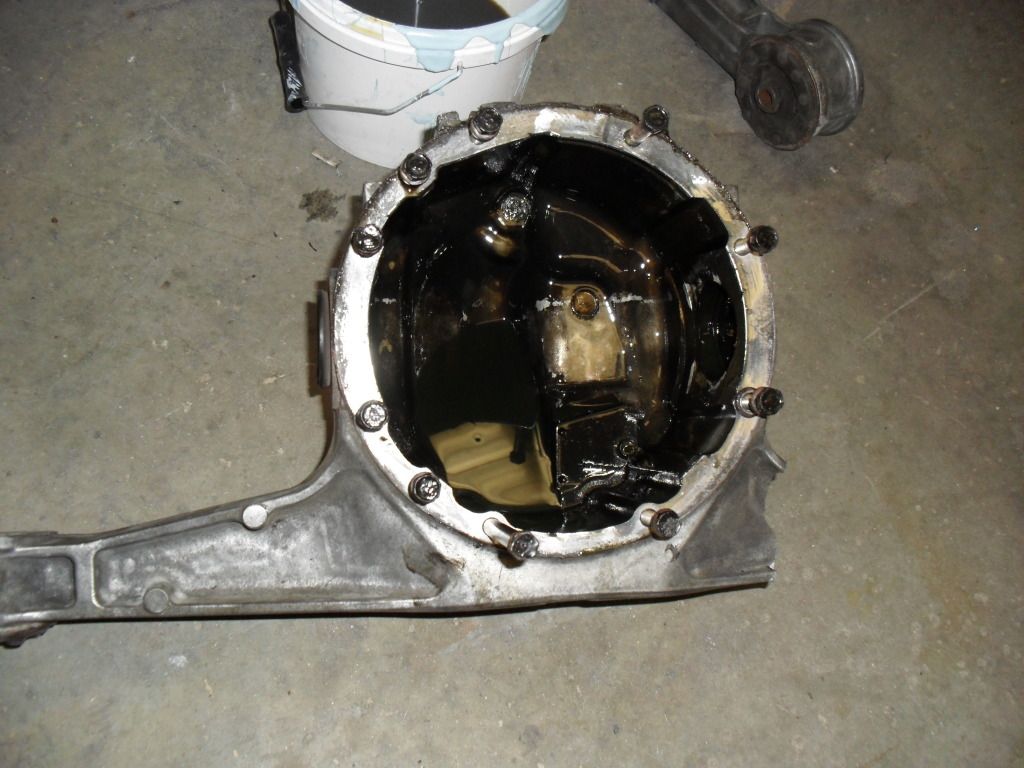 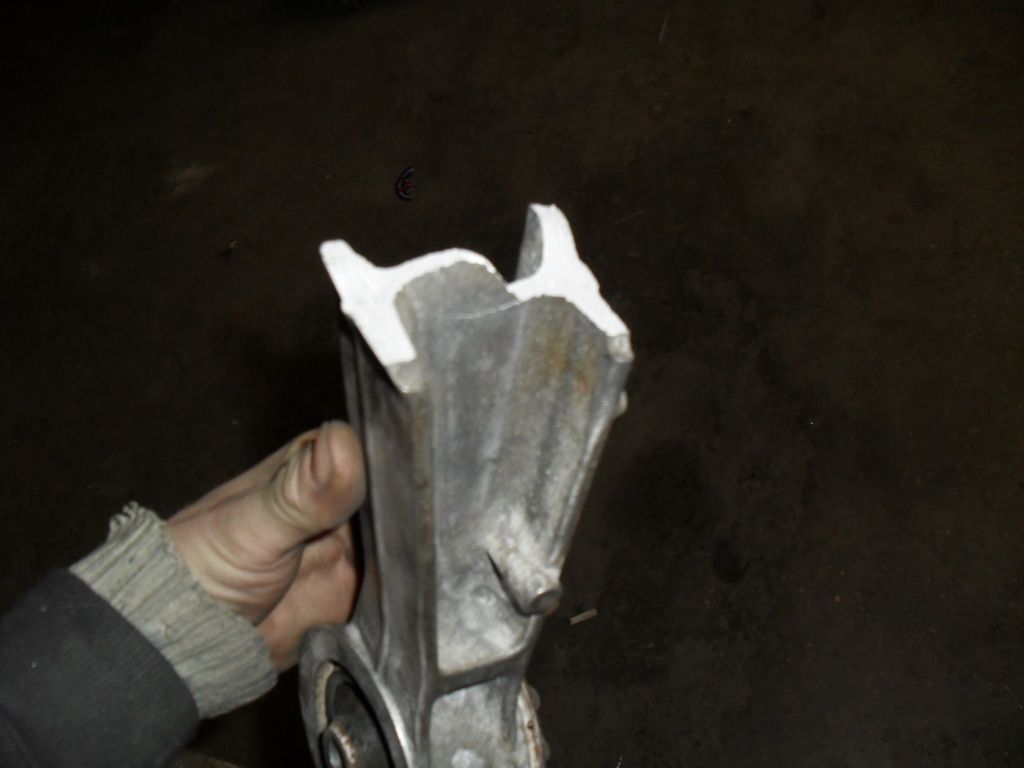 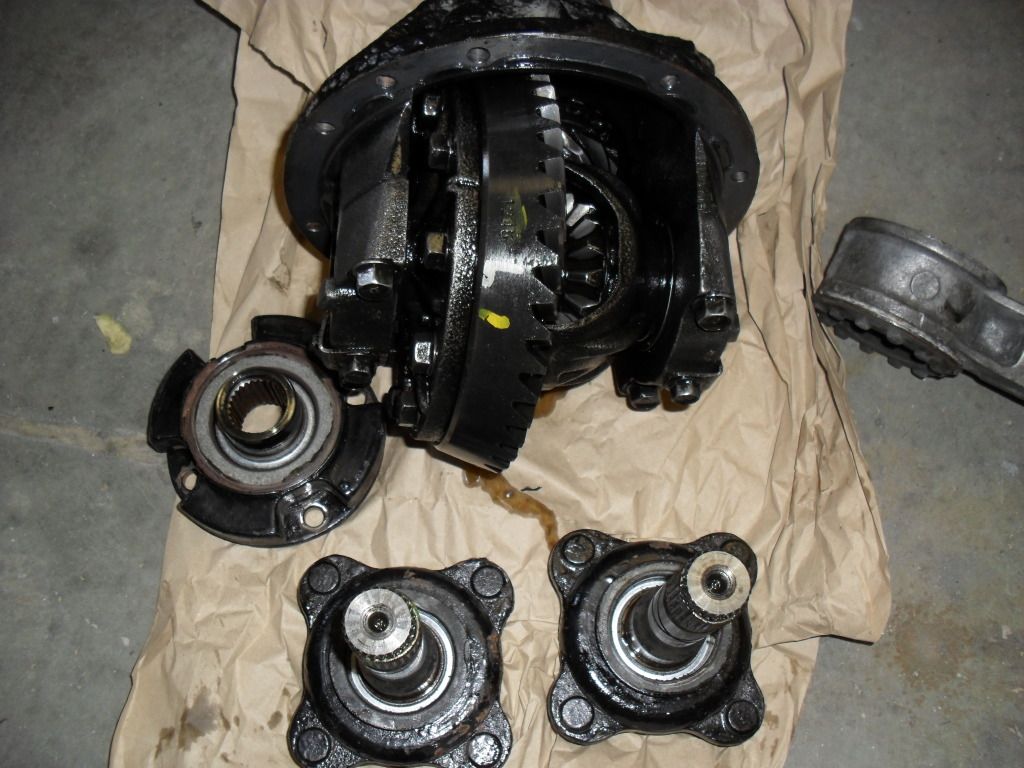 I cant thank mx5 city enough, there a real good bunch of blokes who really know their mx5s, and they'll sell you anything from a nut to a full donor!
__________________
A few build photos... www.photobucket.com/ntsengineering
|
|
#5
28th March 2012, 04:11 AM
|
||||
|
||||
|
Is it just me or does looking at the photo of the point of failure and actually reading Nathan's description of what happened / how he mounted it, make it clear this had nothing to do with a need for extra triangulation, 'girders' or any modification to the diff cage at all!!! The thing snapped a diff IN HALF before having a chassis failure!!!
What actually happened in this case, if you fit a winged diff just by running a bolt through the crush tube directly the mounting point the load is completely suspended by the rubber bush with no limit in travel... Put a large turning force through it, one wing is pressed hard up against the chassis while the other is pulled down hard pulling / flexing the bush as far as the rubber part will stretch... This can only go so far before something goes crunch! If you mount the diff with no caps on the bushes, even on the original MX5 subframe and and drive it hard will pull itself to pieces... The fact it wripped a diff in half and didn't budge the diff cage plates proves Andrews design is sound... Just make sure you fit the thing correctly with no missing parts
|
|
#6
28th March 2012, 07:50 AM
|
|||
|
|||
|
Quote:
|
|
#7
24th March 2012, 08:05 PM
|
||||
|
||||
|
Anyway the diffs back in place now, im just finishing tidying up the wiring and hoses, then its onto the interior panels and rollcage followed by the bodywork which is all trimmed ready for fitting. I just cant seem to find the time at the moment, but theres a trackday looming on the 10th of april and im determined to make it. I may have to piss the missus off and put in some overnighters!
couple of sneaky pics from the old brick... 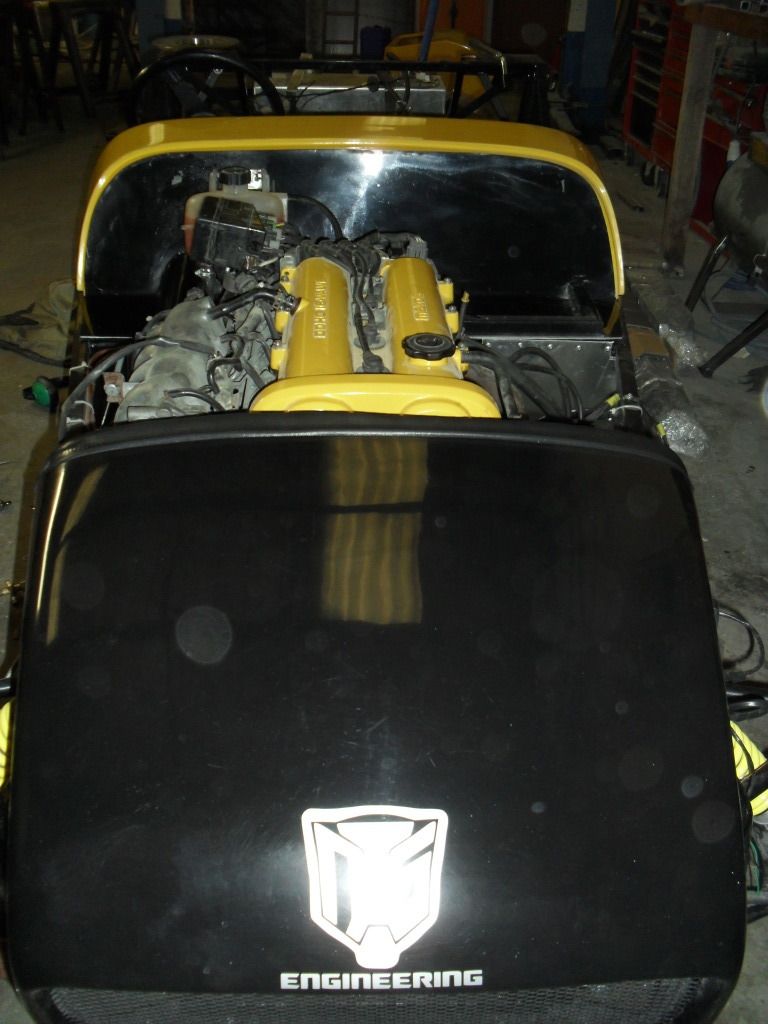  made up some sexy looking headlight brackets for the 5 inchers tonight... 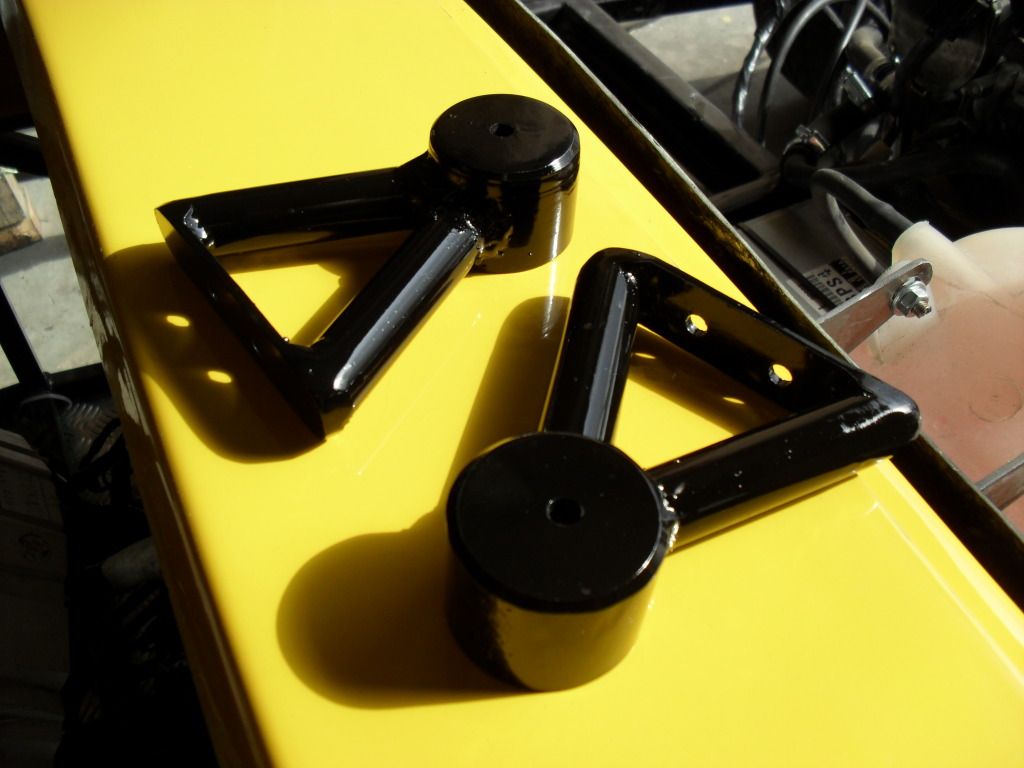
__________________
A few build photos... www.photobucket.com/ntsengineering
|
|
#9
24th March 2012, 08:43 PM
|
|||
|
|||
|
Love the light bracket.
|
 |
| Thread Tools | |
| Display Modes | |
|
|


 Just in case!! Looks great. good to see it moving along.


 Hybrid Mode
