
 |
|
#111
|
||||
|
||||
|
I'm ignoring my caliper dilemma for the mo!
Tonight I mounted the handbrake and plates in there final position. Just tacked in place for now but I love it in this position for impromptu reverse handbrake turns! I have practiced it loads in the garage.  Right up against the drivers-side (marked passenger side just to confuse) tunnel rail.  With the gear stick in reverse there's still plenty of clearance. 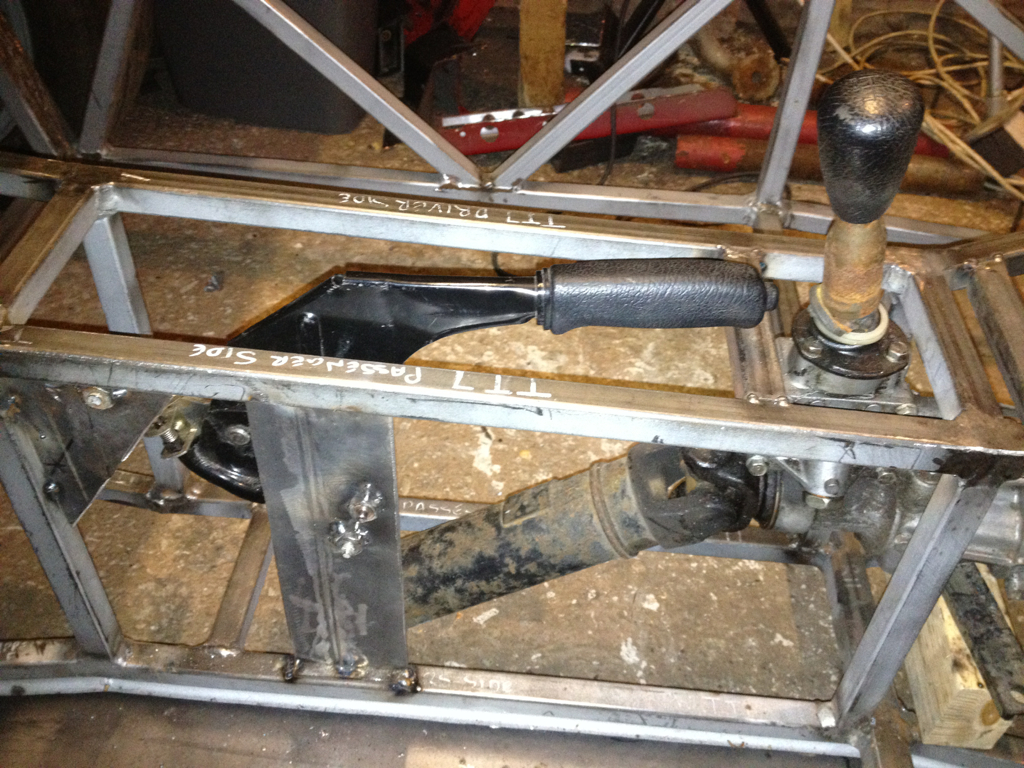 Clears the the prop nicely too. 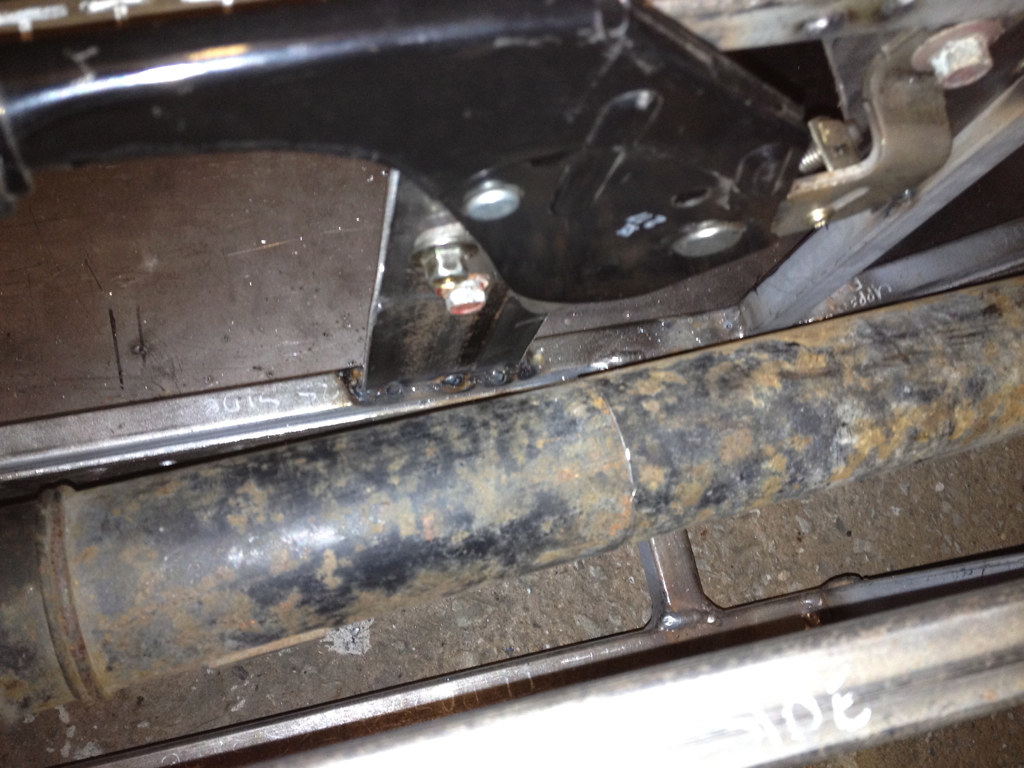 Last edited by CTWV50 : 12th April 2012 at 03:42 PM. |
|
#112
|
||||
|
||||
|
My Securon 4 point seatbelt harnesses and this bonnett vent turned up today. I'm making my own bonnett so this will be my bonnett buldge. It attaches with double sided license plate stuff. When it turned up it was scratched and badly finished so I negotiaited a 50% discount. Not bad for £15.
 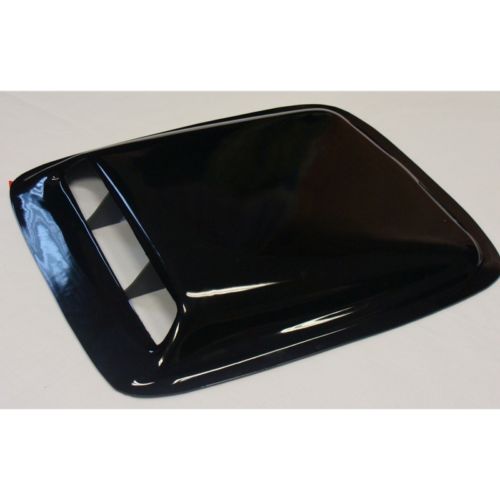 |
|
#113
|
||||
|
||||
|
At the weekend I cut the handbrake bracket from the donor and flipped it upside-down and tacked it in place.
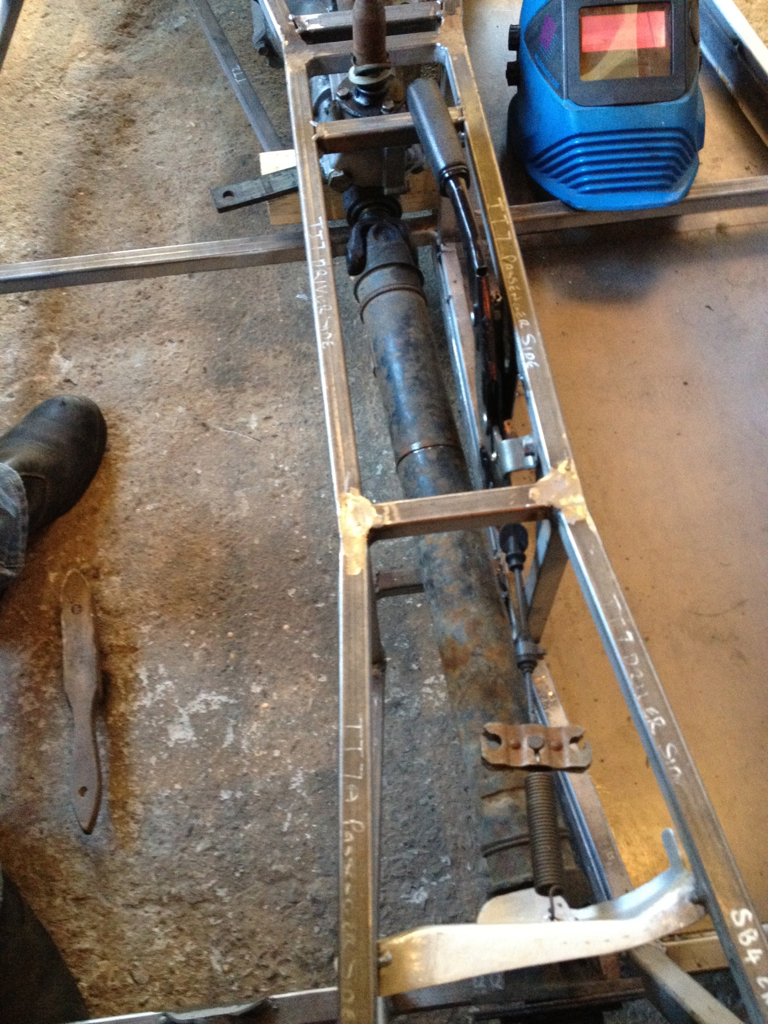 It's handy to use the donor bracket upside-down as it is angled nicely for the position of the handbrake. 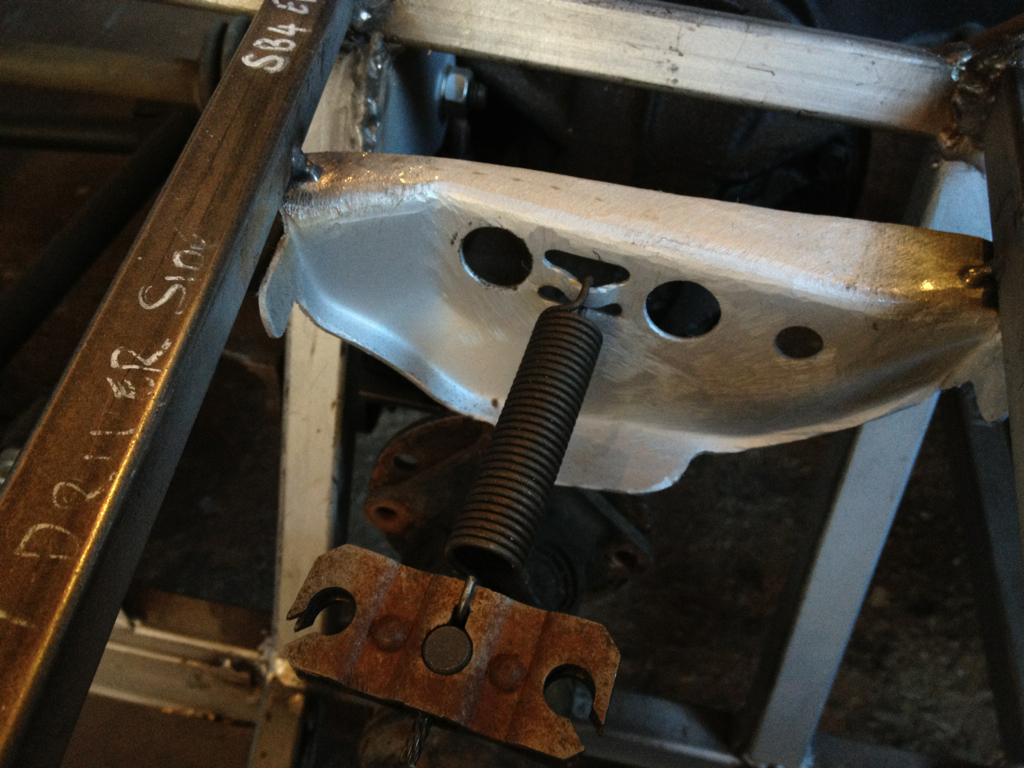 Cable running in it's guide. 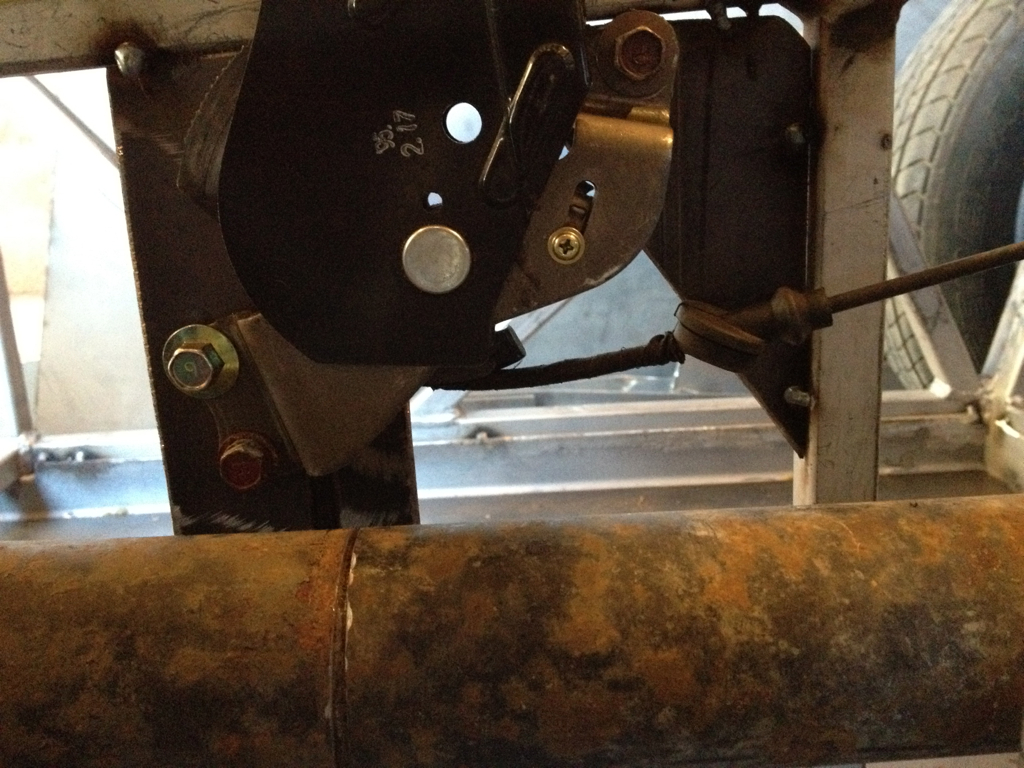 From above.  Last edited by CTWV50 : 19th April 2012 at 12:28 PM. |
|
#114
|
||||
|
||||
|
7/16 threaded nuts spot welded into a chassis tube.
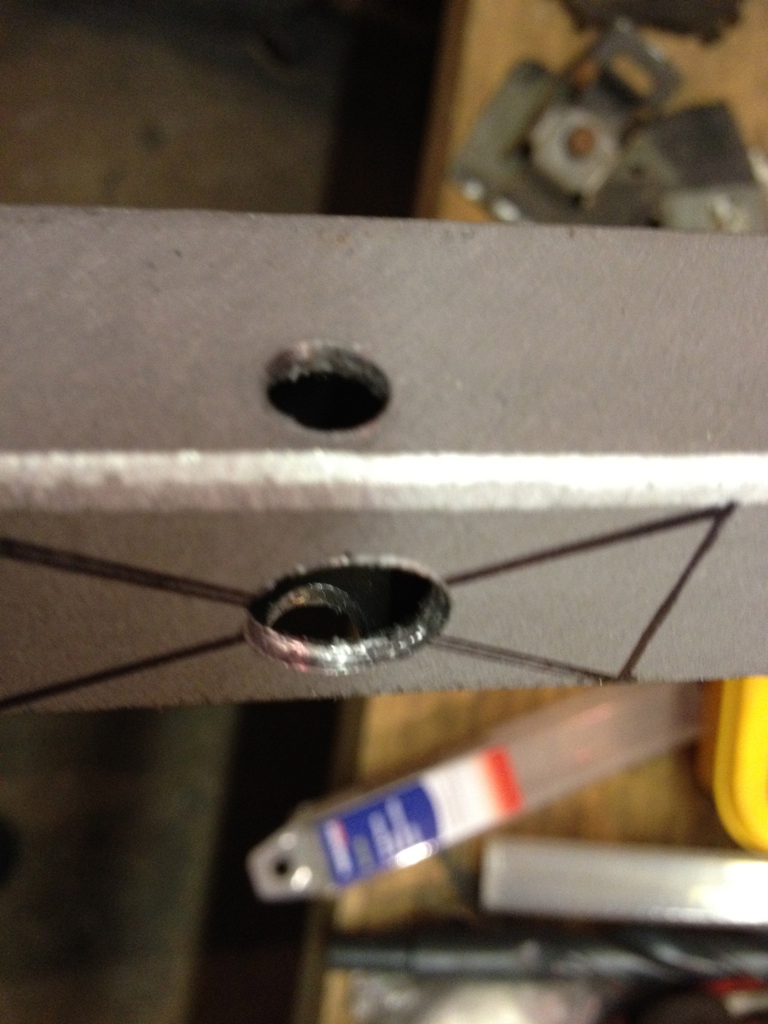 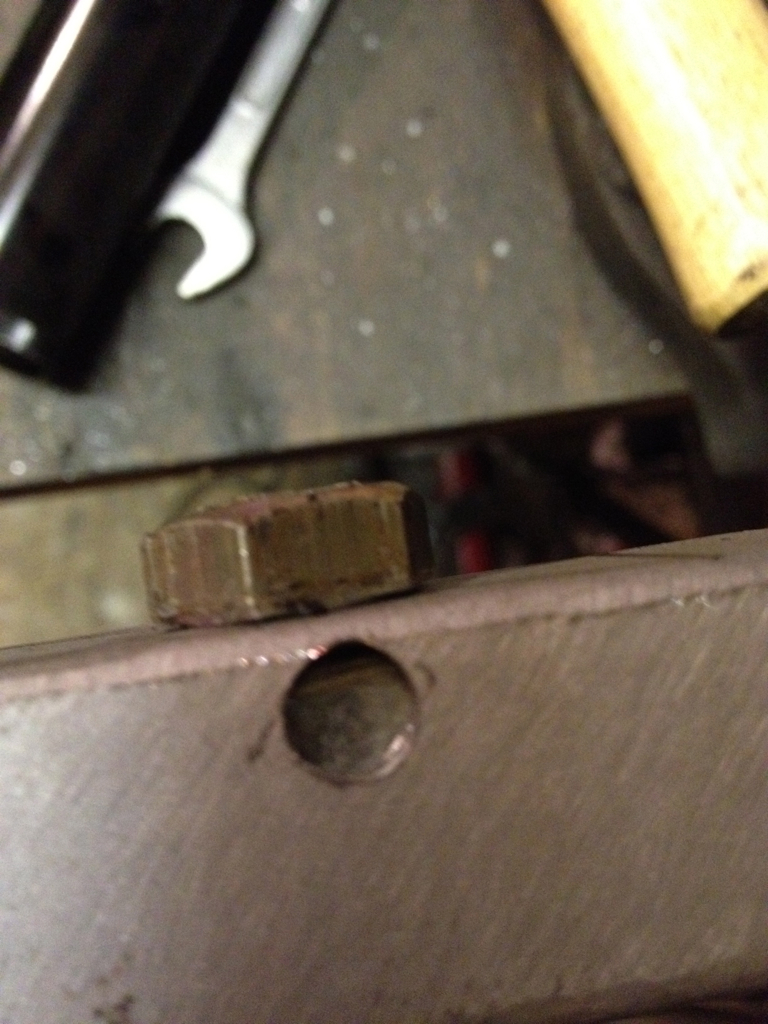 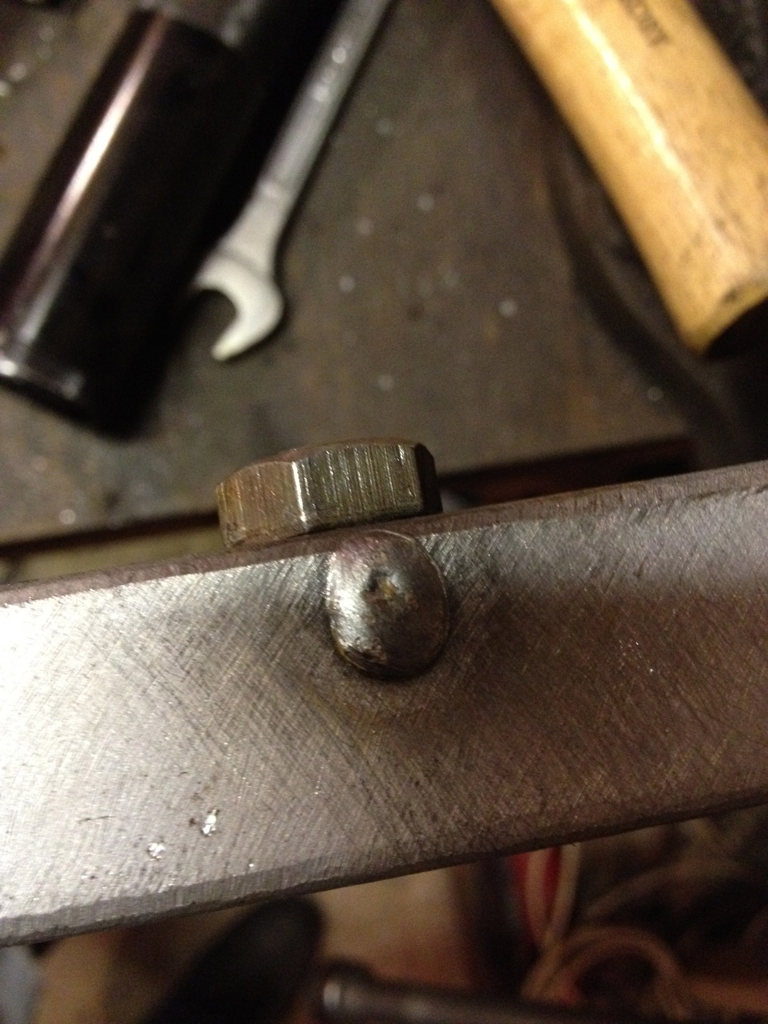 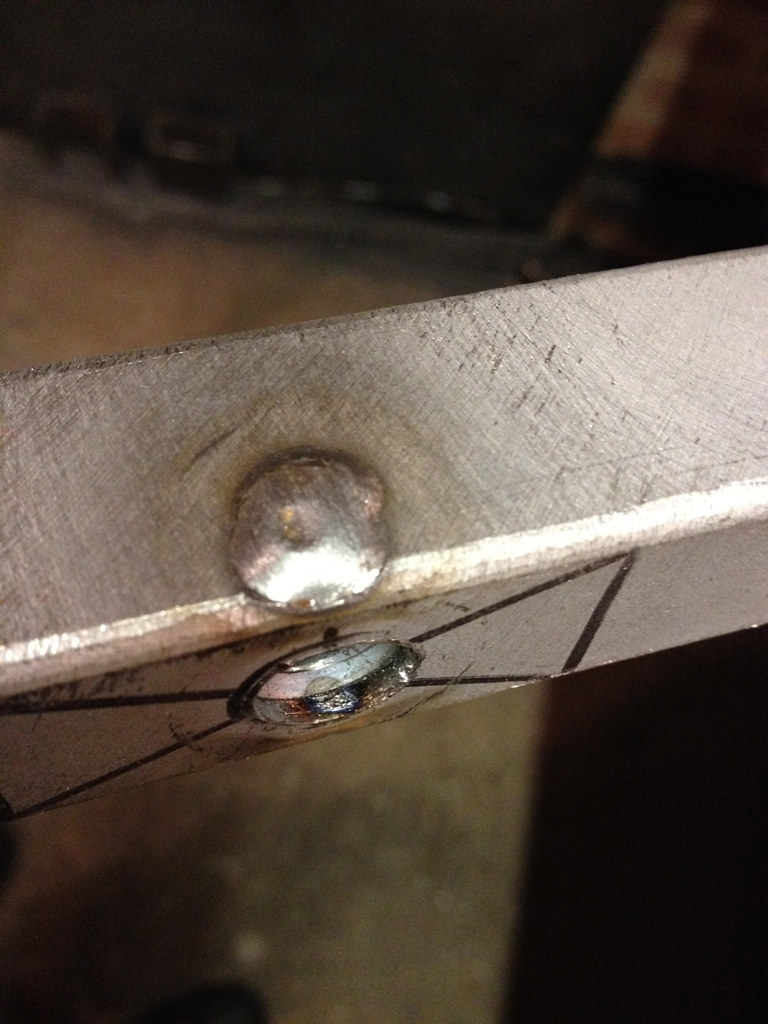 Last edited by CTWV50 : 19th April 2012 at 12:30 PM. |
|
#115
|
||||
|
||||
|
OK so once again I'm going off plan and mounting the seat upper anchor points on the rear suspension towers. Obviously I'll be making a modified rear tube to accommodate this change. This position was only possible as a by-product of lowering the floor 40mm and using modified MX-5 seat base and home made runners/brackets.
 Any comments on IVA compliance strength wise. Obviously it's only tacked in at the moment. I was thinking maybe I should put in some bracing from the inner anchor points down to the upper-back of the diff cage.  Sits nicely over the shoulder without touching the headrest.  Dodgey pictures taken by over excited 8 1/2 year old son at 9:45 at night. 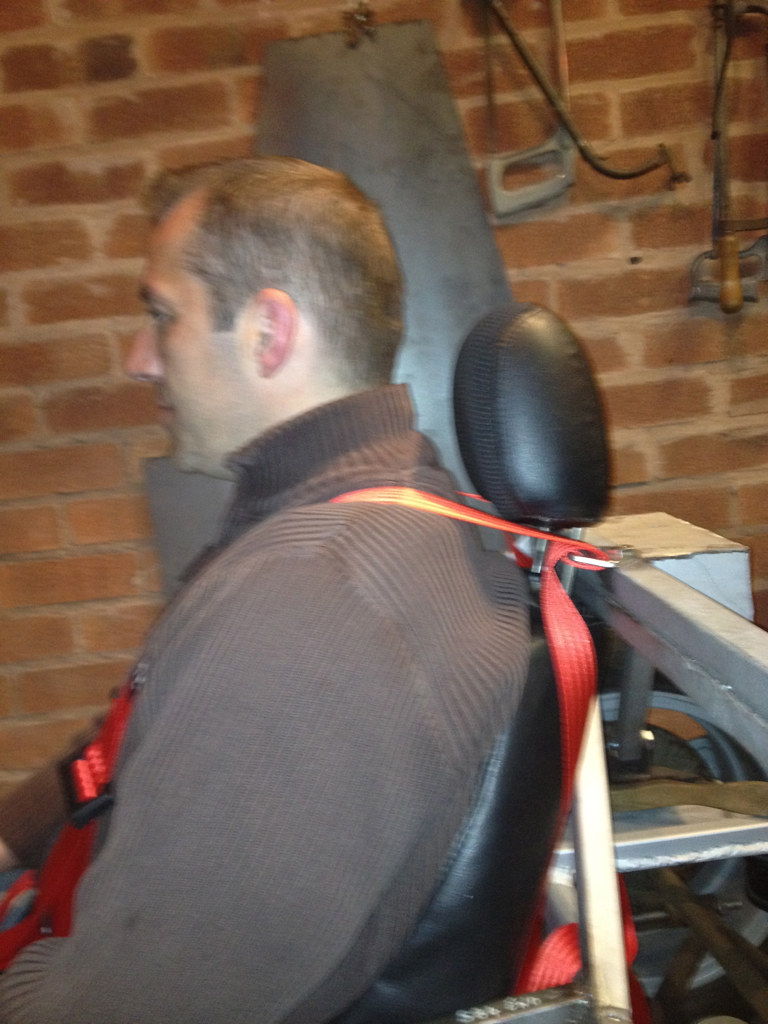 Last edited by CTWV50 : 19th April 2012 at 12:32 PM. |
|
#116
|
||||
|
||||
|
Here are some better images of the seat runners made from 50x100x3mm RHS. Not sure if these open channels will need strengthening but it is 3mm steel bolted to a steel seat and a steel floor through 4mm plate so probably not.
 Zip ties hold the seat down in position after defoaming the base for a lower sitting position. 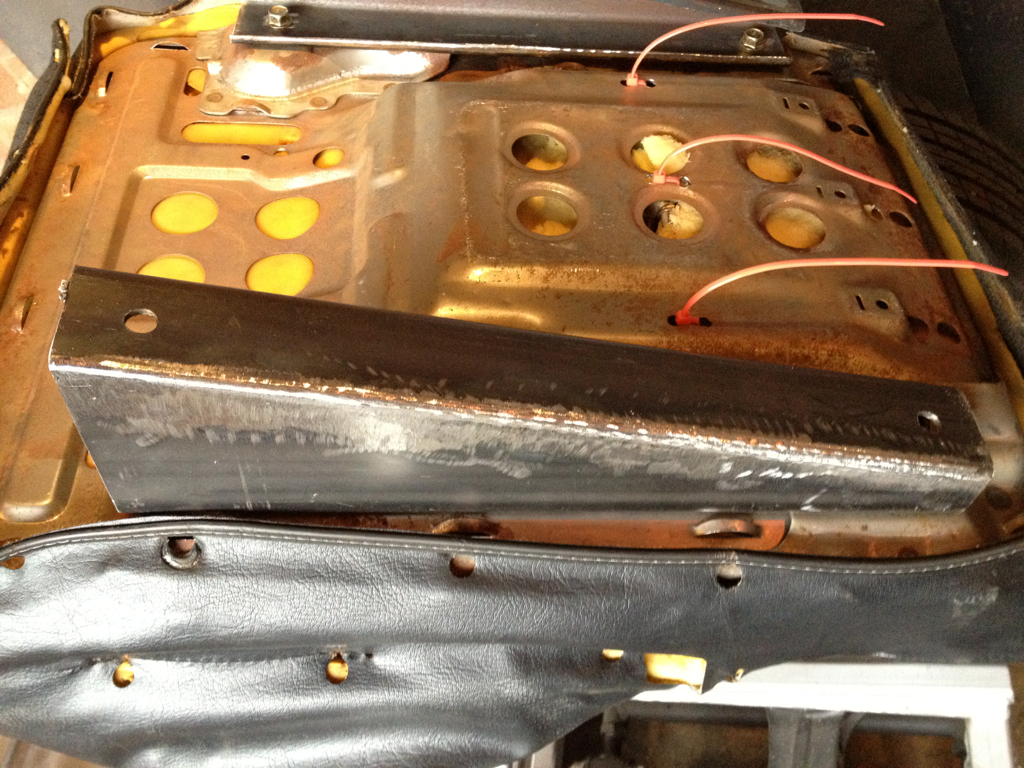 Well that's the steering wheel positioned, and for my next trick... 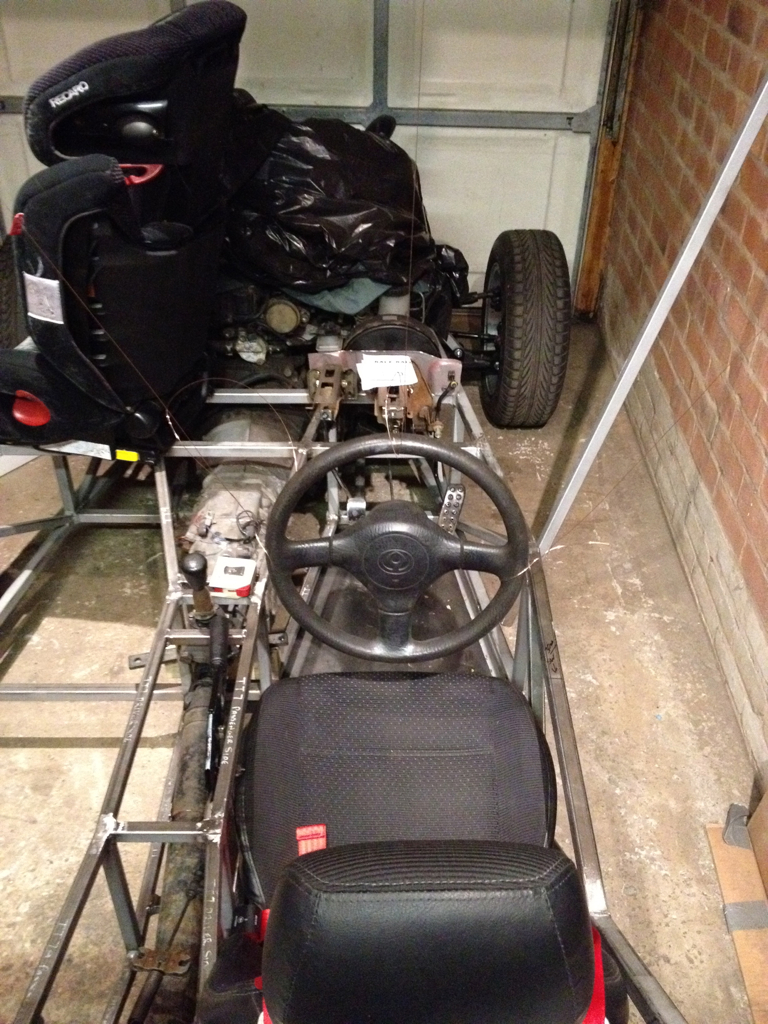 It's hanging from various parts of the garage by weld wire! The things you find yourself doing late at night!  Last edited by CTWV50 : 19th April 2012 at 12:26 PM. |
|
#117
|
||||
|
||||
|
Nice progress pics there
 I might be wrong ( sorry if I am ) but from the photo your upper harness mounting points appear quite low in relation to your shoulders, maybe its just the angle of the photo but was just something that caught my eye . The seat belt anchorage is quite in depth from the IVA manual, They use a small block placed on the seat base then work from a fixed measurement from that, might be worth double checking sections 19 & 31 from the IVA manual. Again...just my opinion but unless you have very short arms  then the steering wheel looks close to your body, have you tried that position with the scuttle fitted yet ? then the steering wheel looks close to your body, have you tried that position with the scuttle fitted yet ?keep the progress pics coming, its looking great  cheers andy |
|
#118
|
||||
|
||||
|
Hi Andy, it's ok the anchor points are around 470mm above the distance piece I made special. :-) Yeah the SW location is work in progress. I do prefer a SW close to me but it maybe a little too close.
|
|
#119
|
||||
|
||||
|
Got paranoid about the height of the seat belt upper mounts so did some checking.
 Mine runs down from my shoulders at about 30 deg. 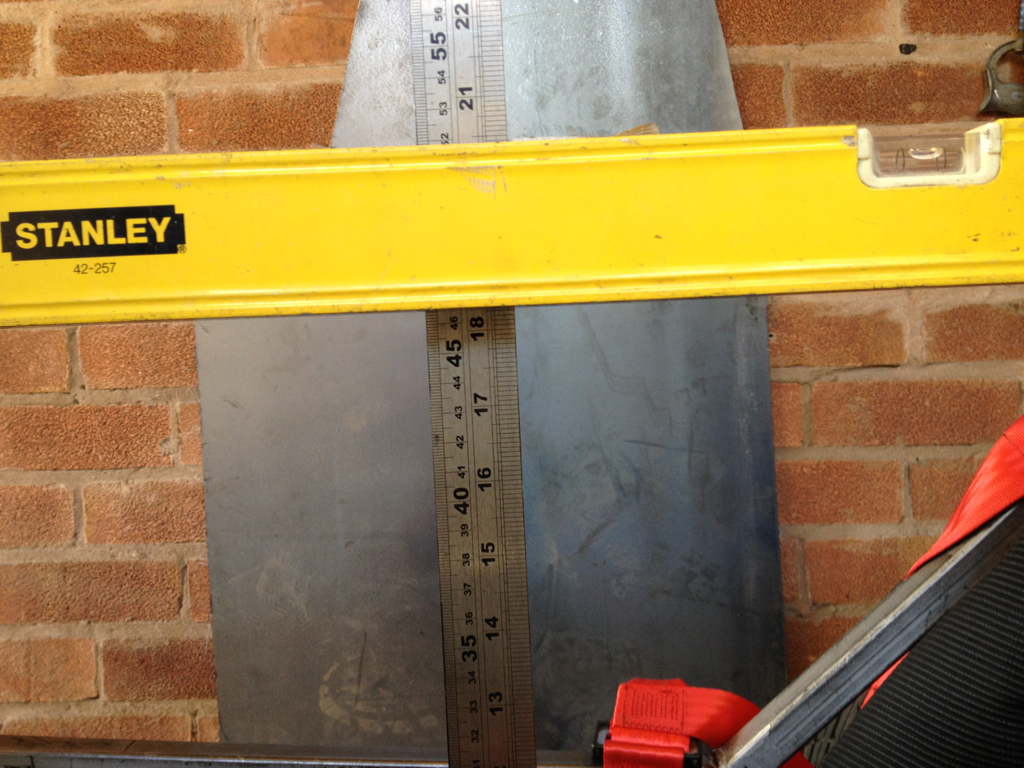 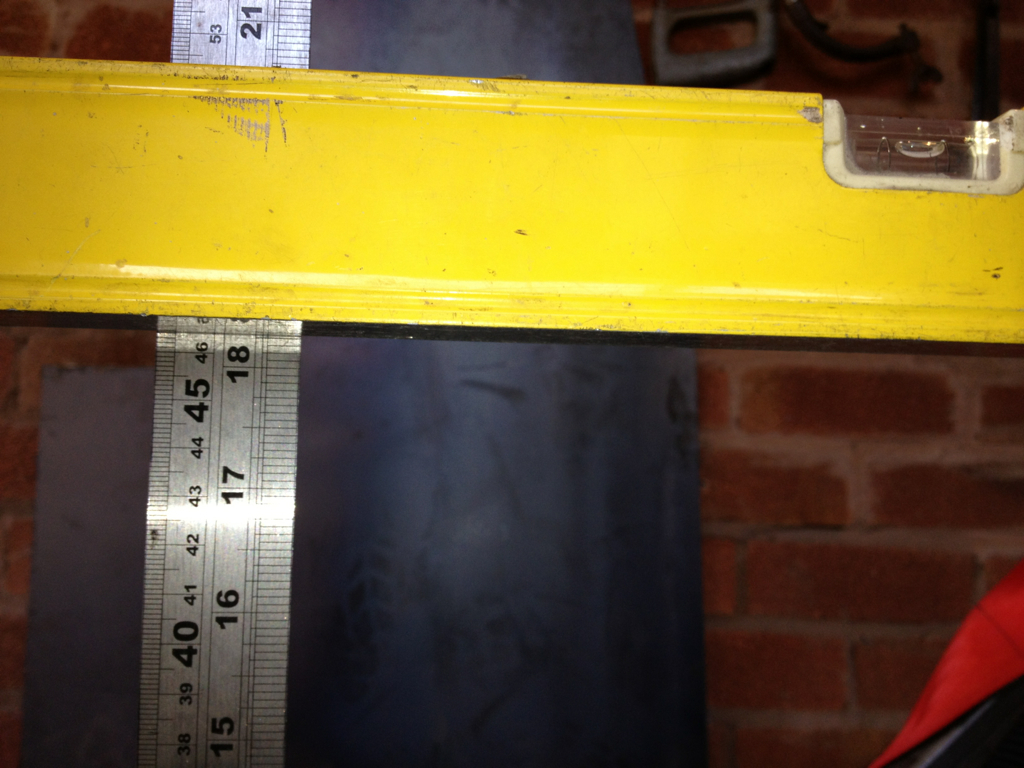 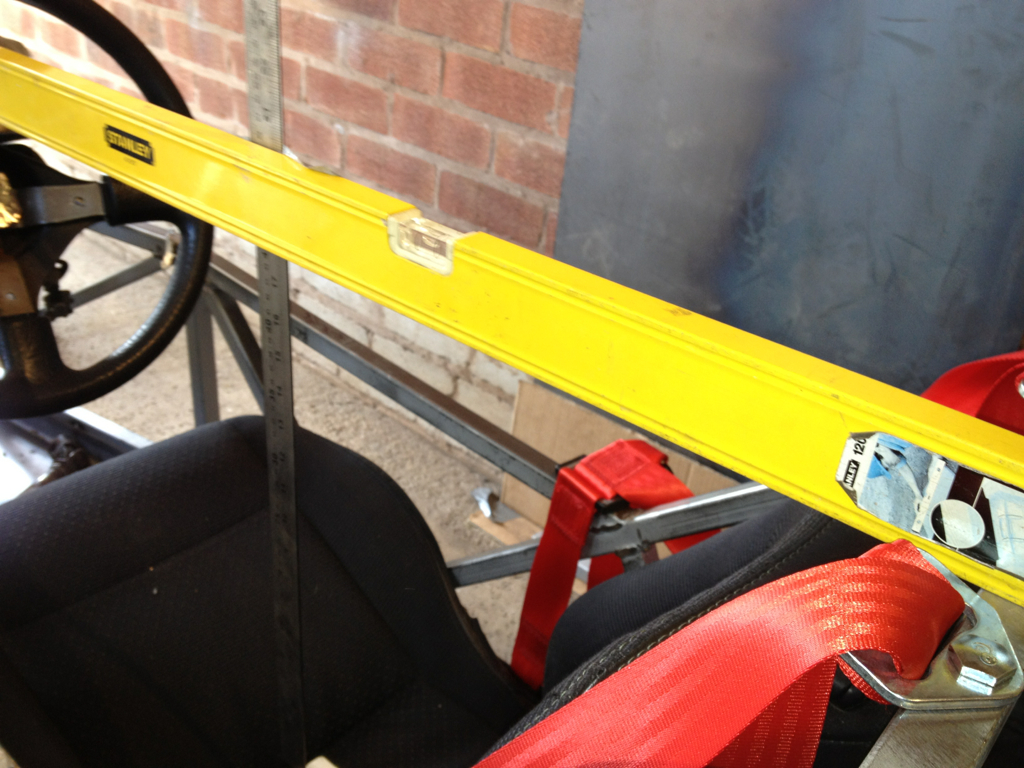 |
|
#120
|
||||
|
||||
 Distance piece not touching bottom of rule just to be sure. 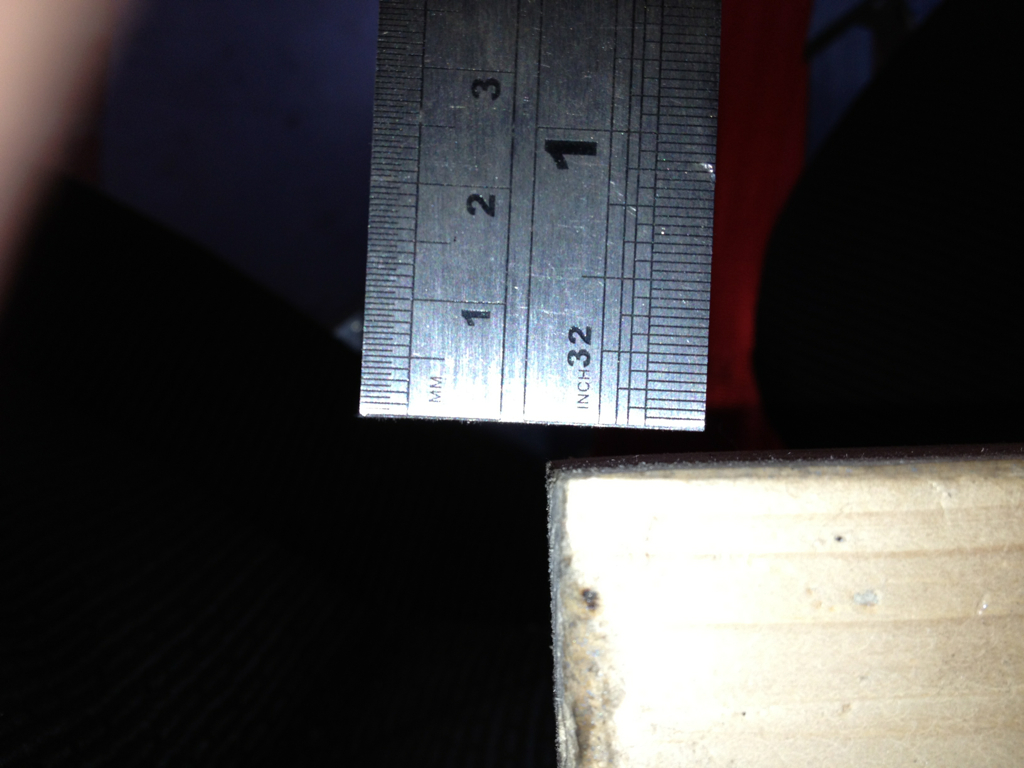 Rolled it out at the weekend with steering supports tacked in place. Managed to get the upper column to run between the clutch and brake pedals below that troublesome top rail. 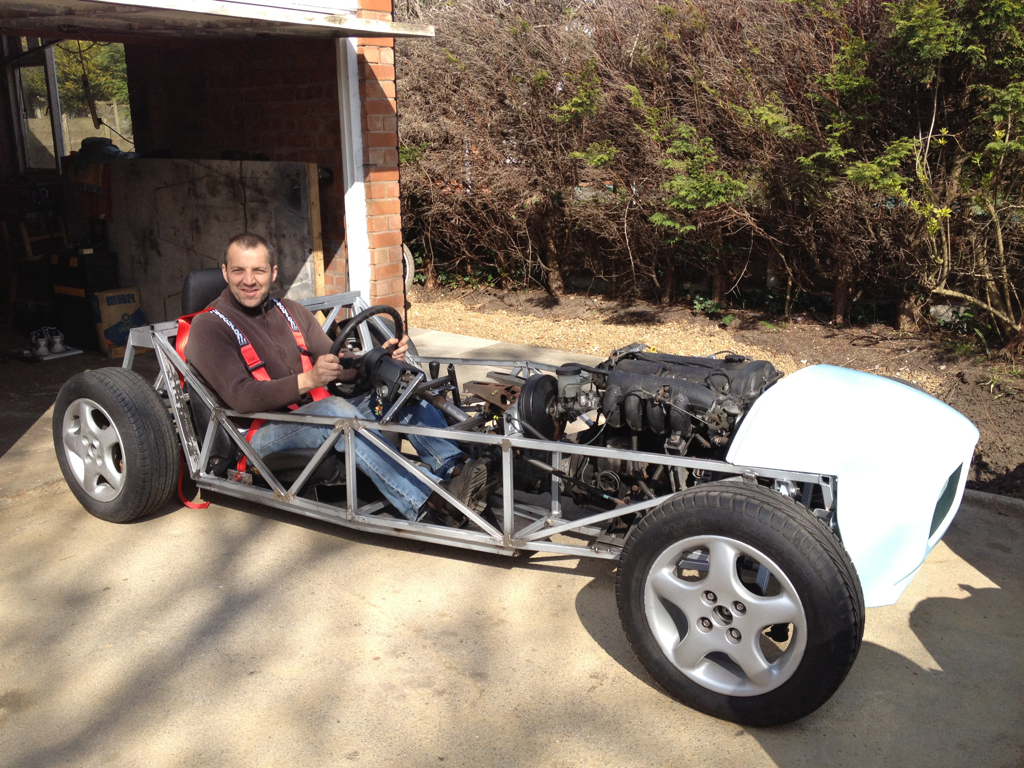 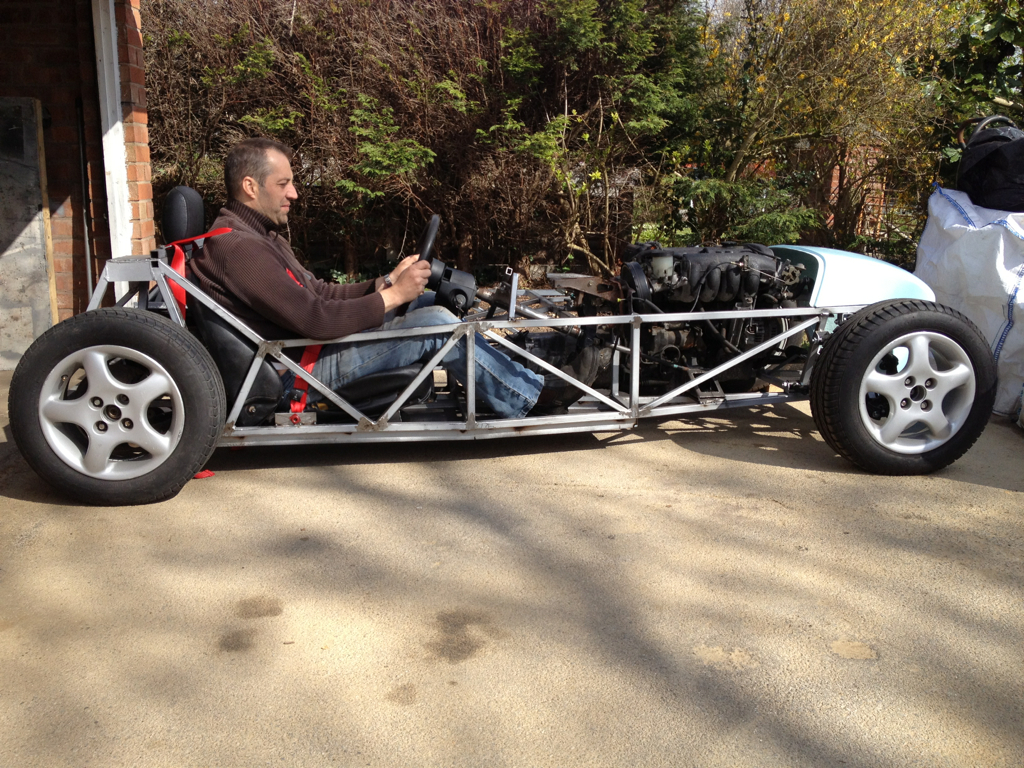 Last edited by CTWV50 : 25th April 2012 at 02:27 PM. |
 |
| Thread Tools | |
| Display Modes | |
|
|