
 |
|
#211
|
|||
|
|||
|
Finally got the engine back together mostly
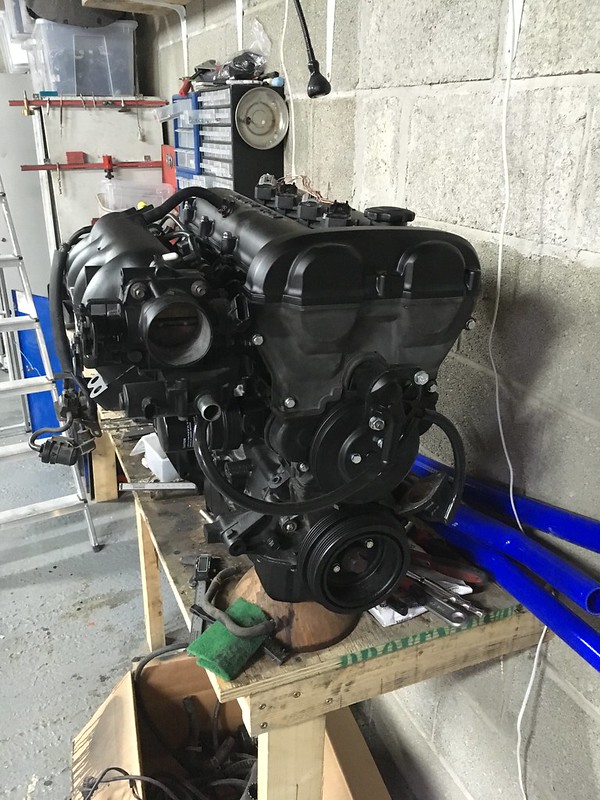 Untitled by stephen harborne, on Flickr Untitled by stephen harborne, on Flickr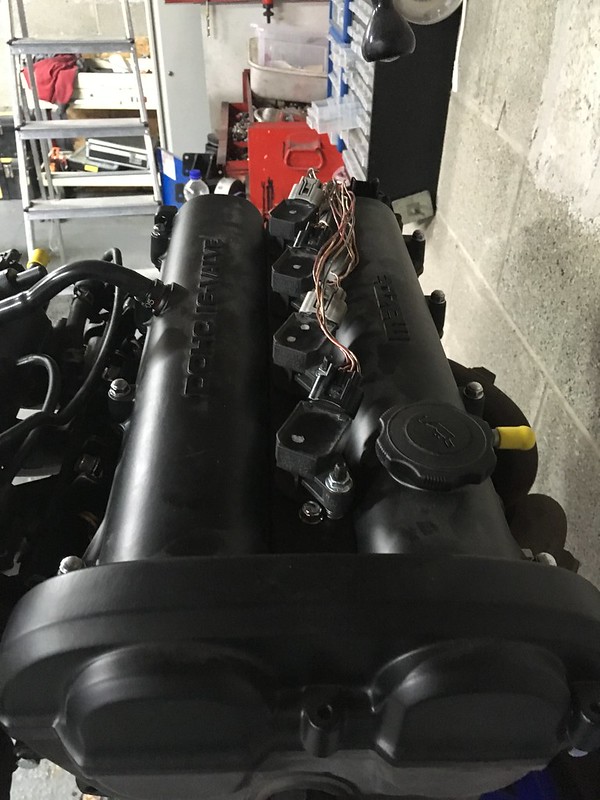 Untitled by stephen harborne, on Flickr Untitled by stephen harborne, on Flickr
__________________
Slowly tipping over the edge into madness |
|
#212
|
||||
|
||||
|
Scrubbed up nicely

__________________
You only get a woosh with a dump valve Build Thread Man Cave Mantiques Cecil Street Auto Repairs Garage Carlisle Build Cost £4181.65 - Last - Wheel Cylinders |
|
#213
|
|||
|
|||
|
Just read you entire build, great work!!
Iím just starting mine (mx5 just stripped) Keep up the good work, and posts
__________________
Statistically only one in seven dwarves are happy |
|
#214
|
|||
|
|||
|
So ive got a bit done recently
First i built an spacer for the new rear coolant pipe for the reroute to move it out from the block 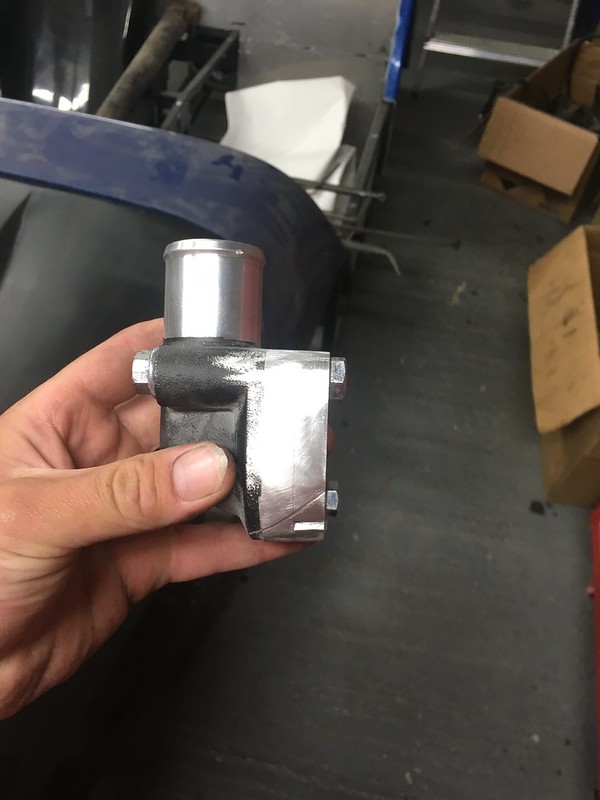 Untitled by stephen harborne, on Flickr Untitled by stephen harborne, on FlickrThen i filled in the the hole in the side coolant connector 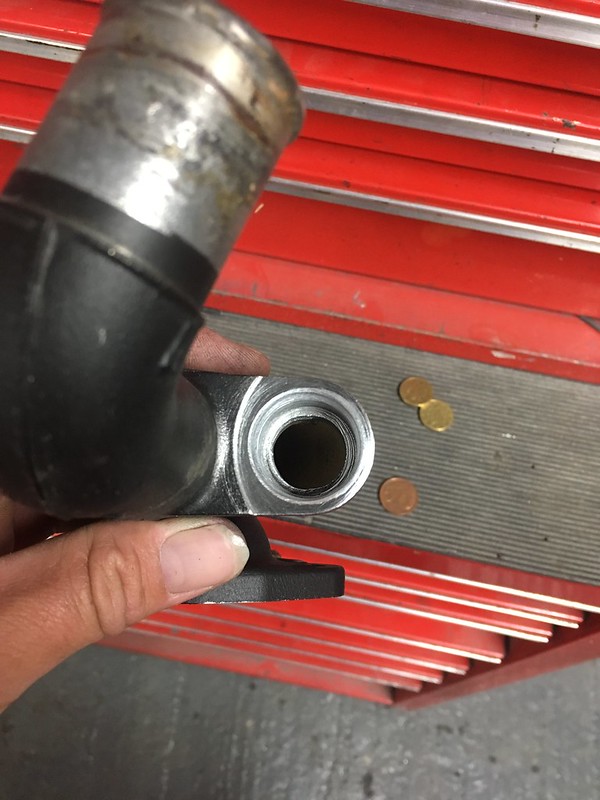 Untitled by stephen harborne, on Flickr Untitled by stephen harborne, on FlickrUsed a 20 cent to stop the epoxy running into it 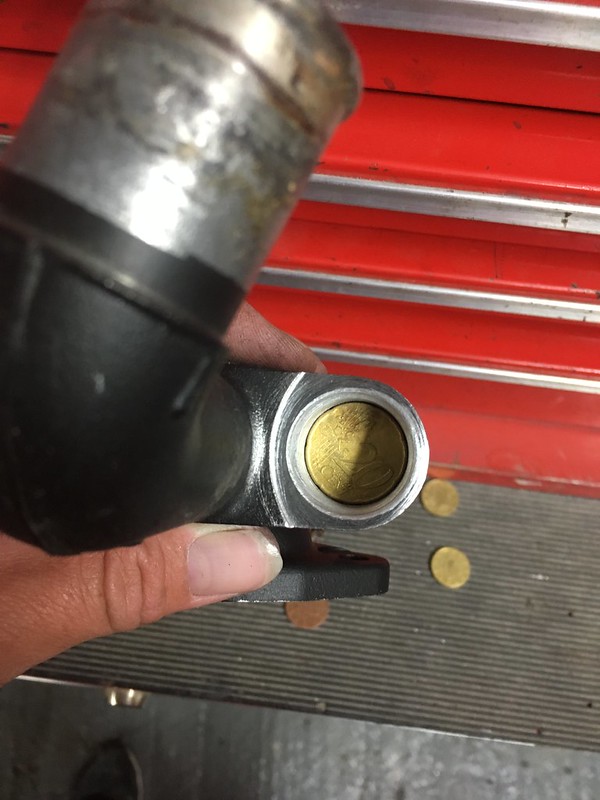 Untitled by stephen harborne, on Flickr Untitled by stephen harborne, on FlickrFilled with epoxy 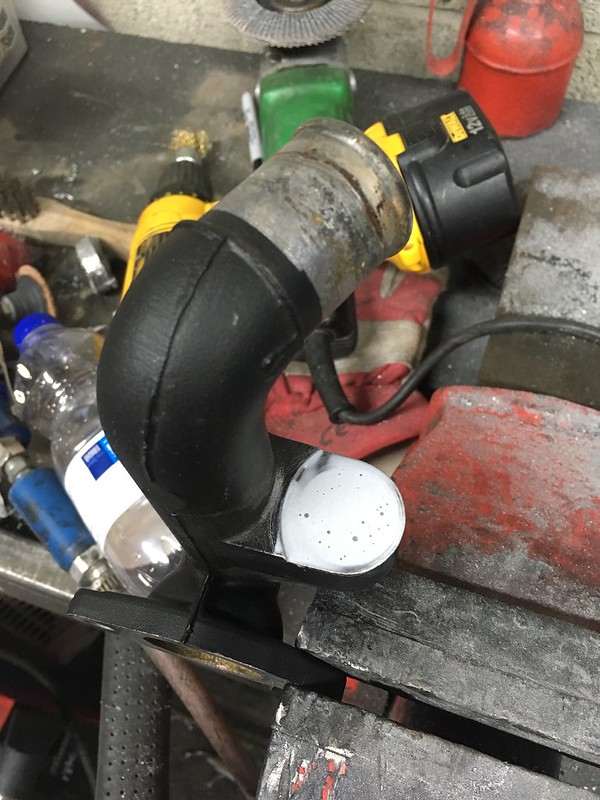 Untitled by stephen harborne, on Flickr Untitled by stephen harborne, on FlickrThe hole was a feed for the interior heater so is not needed
__________________
Slowly tipping over the edge into madness |
|
#215
|
|||
|
|||
|
This is the coolant reservoir That i got
It only has this mounting point so i made a bracket to hold the whole thing 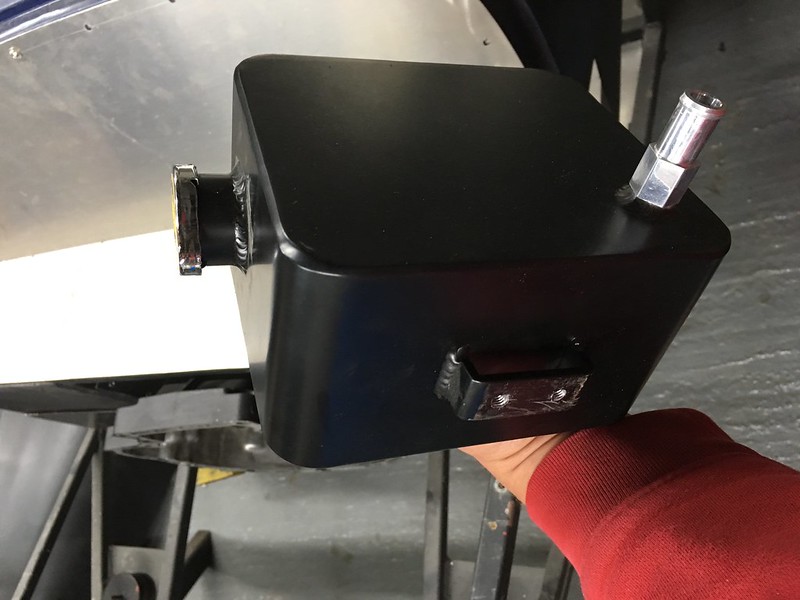 Untitled by stephen harborne, on Flickr Untitled by stephen harborne, on Flickr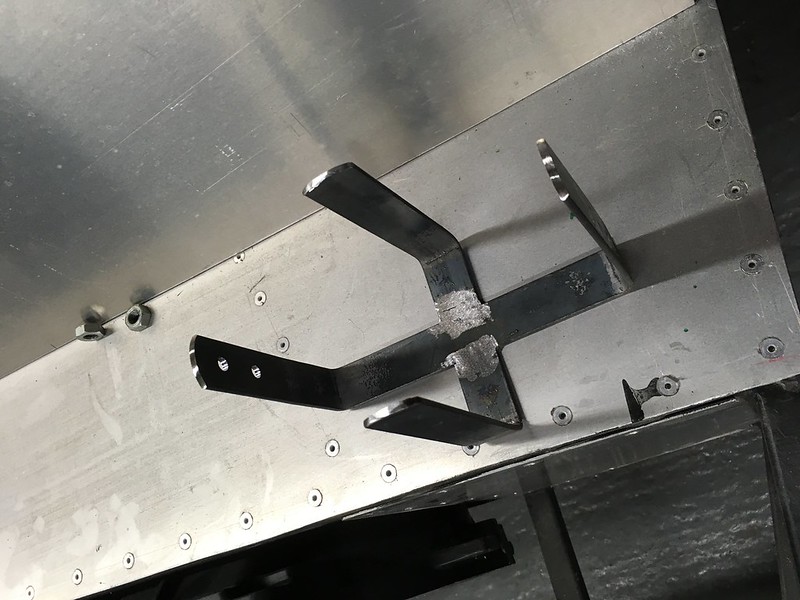 Untitled by stephen harborne, on Flickr Untitled by stephen harborne, on Flickr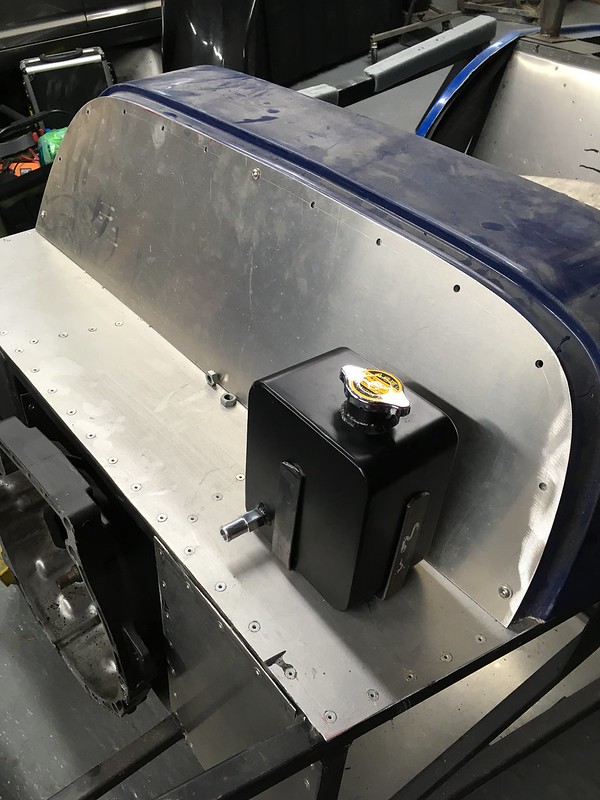 Untitled by stephen harborne, on Flickr Untitled by stephen harborne, on FlickrI also removed the old mounting points for the heat shield from the manifold and cleaned and painted it 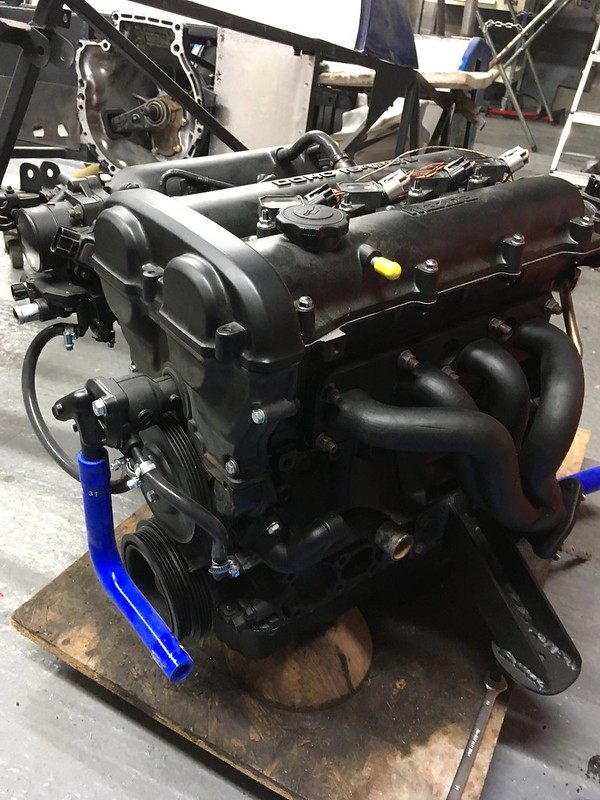 Untitled by stephen harborne, on Flickr Untitled by stephen harborne, on Flickr
__________________
Slowly tipping over the edge into madness |
|
#216
|
|||
|
|||
|
I also started on the pedal box
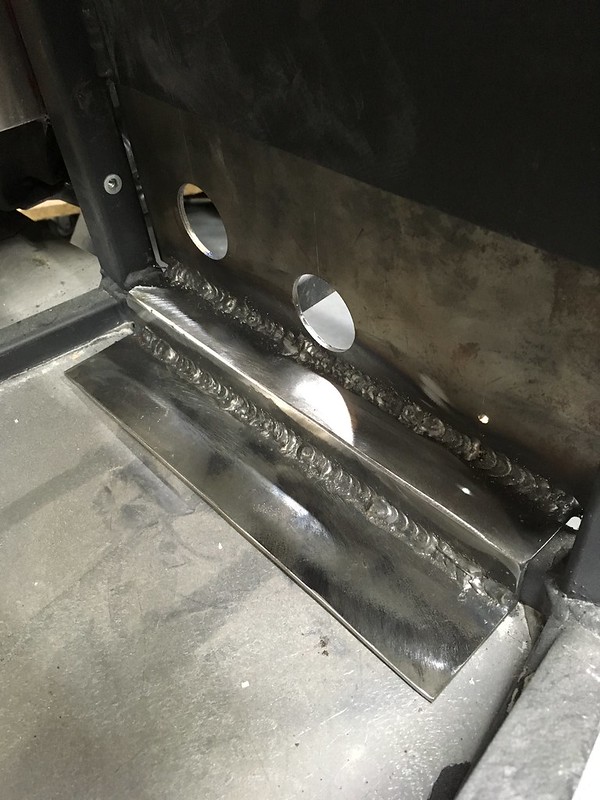 Untitled by stephen harborne, on Flickr Untitled by stephen harborne, on FlickrI also mounted the ecu under the dash 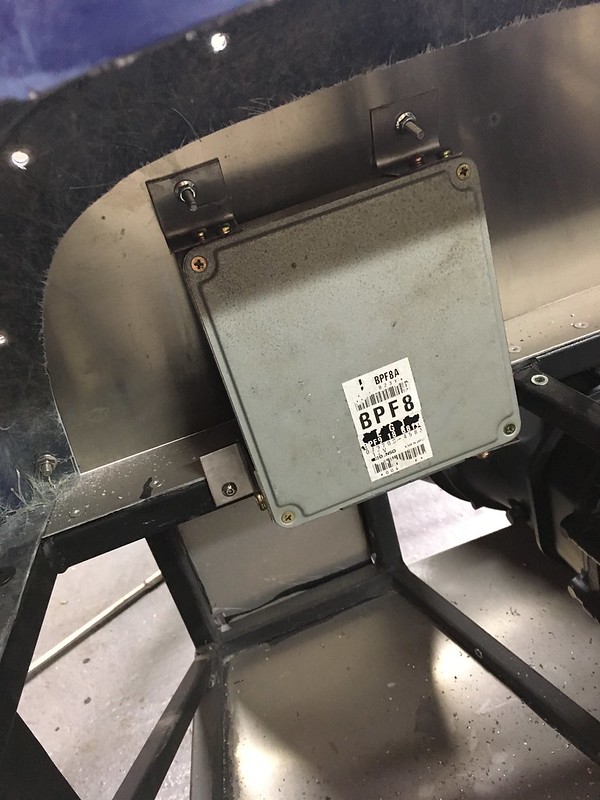 Untitled by stephen harborne, on Flickr Untitled by stephen harborne, on FlickrAnd made a bracket for the accelerator cable 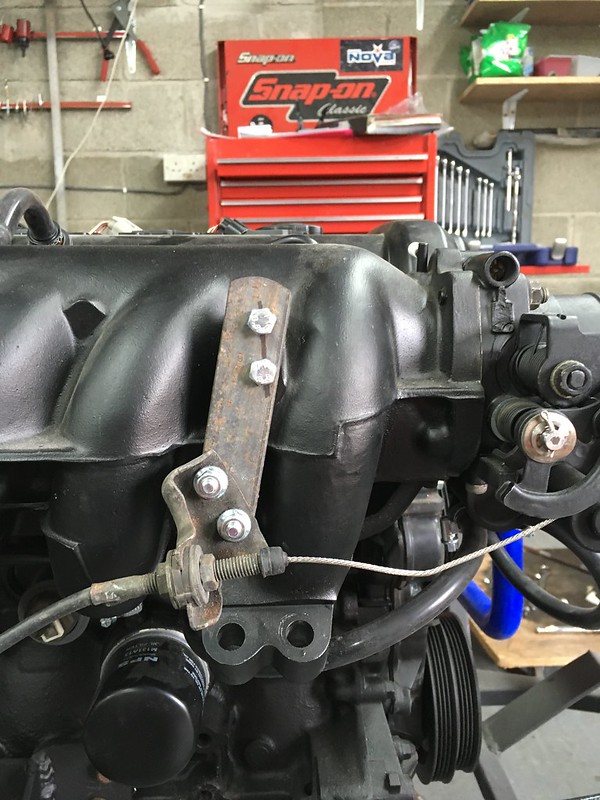 Untitled by stephen harborne, on Flickr Untitled by stephen harborne, on FlickrAnd the engine is back in 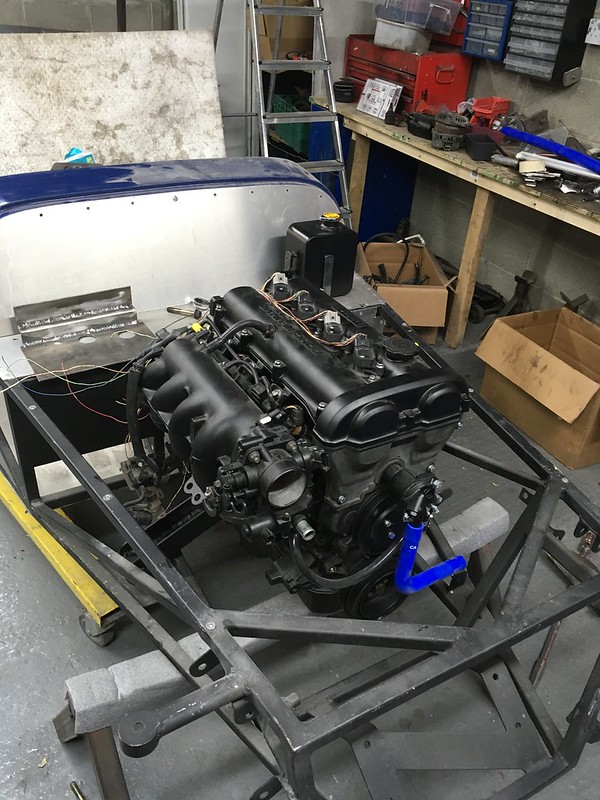 Untitled by stephen harborne, on Flickr Untitled by stephen harborne, on Flickr
__________________
Slowly tipping over the edge into madness |
|
#217
|
|||
|
|||
|
Next up was to mount the radiator to the chassis
I was originally going to use a spurious golf rad which was not great looking to be fair then coolex had nice ali rads for a polo for quiet cheap at the national kit car show so i picked one up I Got two brackets bent up for it to mount it to the chassis 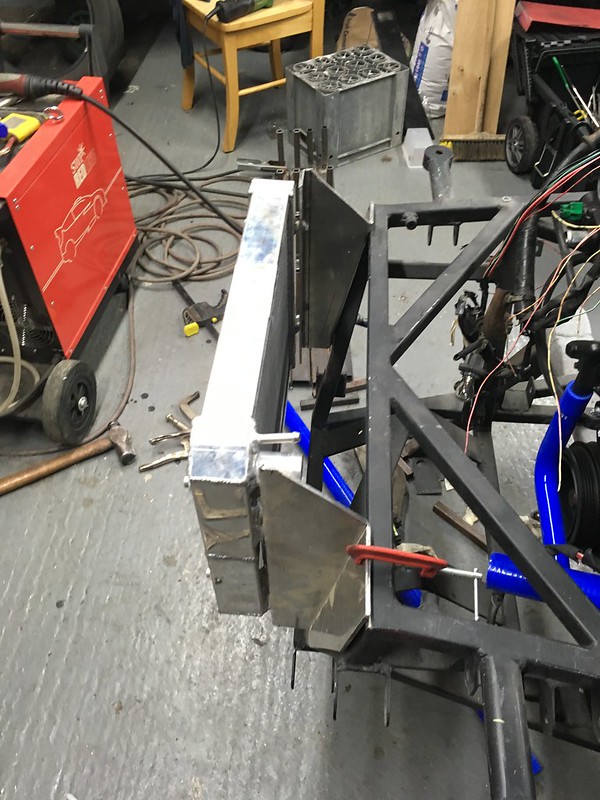 Untitled by stephen harborne, on Flickr Untitled by stephen harborne, on FlickrClamped in place to check everything lines up 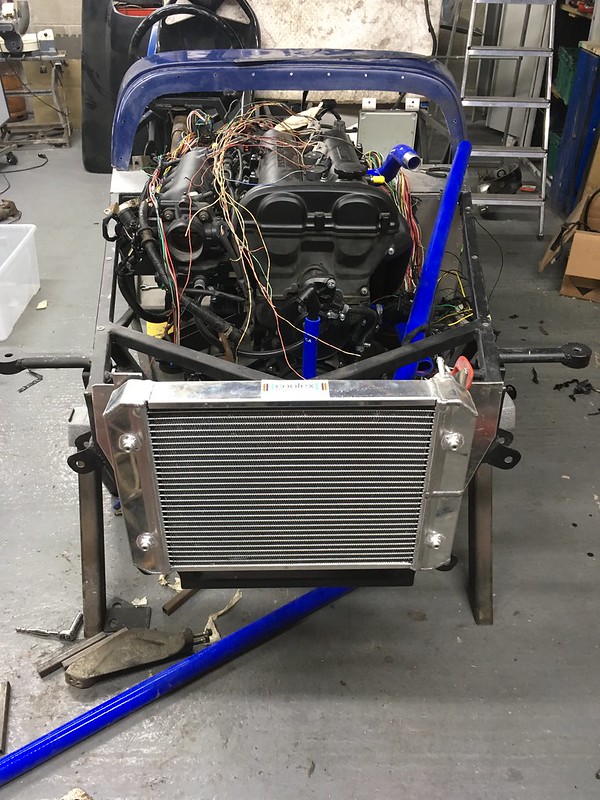 Untitled by stephen harborne, on Flickr Untitled by stephen harborne, on Flickr Checking the fit of the nose cone 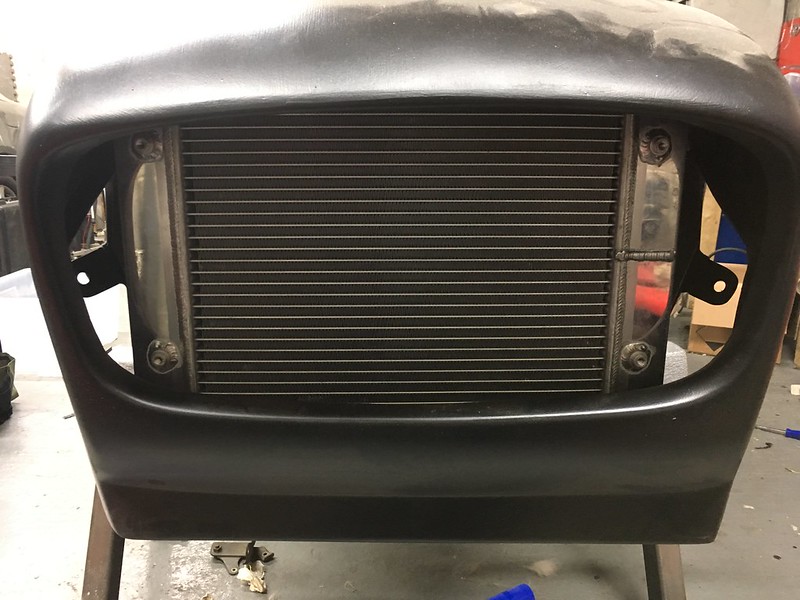 Untitled by stephen harborne, on Flickr Untitled by stephen harborne, on FlickrI decided to add two new pieces to the chassis rather than drill through the existing chassis 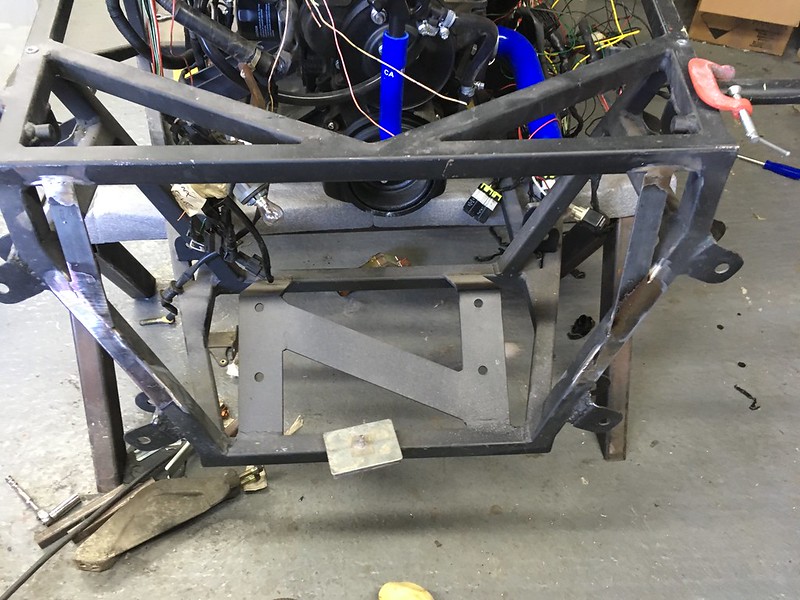 Untitled by stephen harborne, on Flickr Untitled by stephen harborne, on Flickr
__________________
Slowly tipping over the edge into madness |
|
#218
|
|||
|
|||
|
Then i started on the piping for the cooling system which i picked some of it up at the kit car show
And some of the rest of the parts came from aliexpress I picked up the wrong size pipe so i need to get some more 32mm id piping 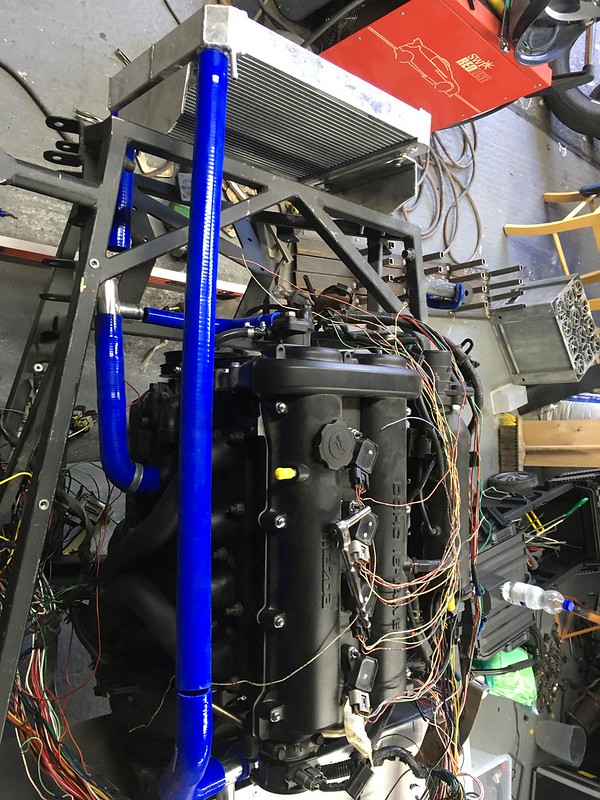 Untitled by stephen harborne, on Flickr Untitled by stephen harborne, on FlickrThen i started on the wiring which is a whole other can of worms 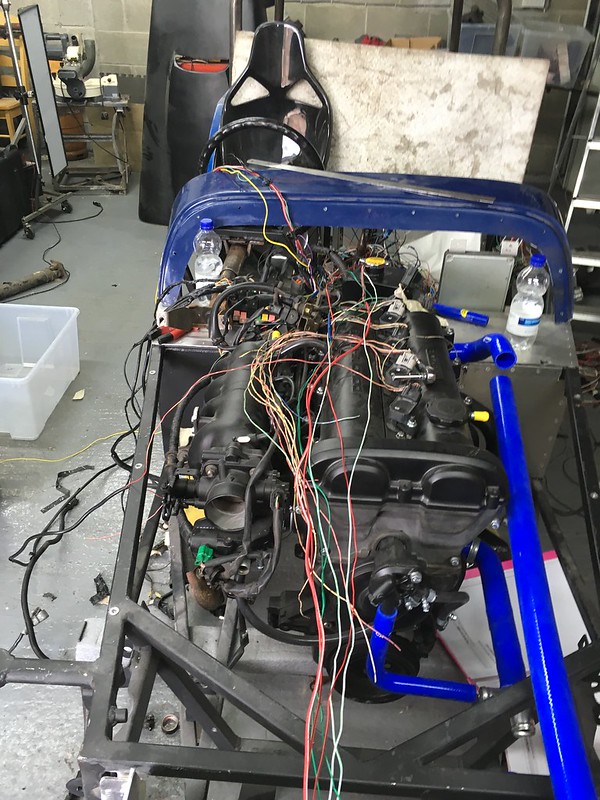 Untitled by stephen harborne, on Flickr Untitled by stephen harborne, on Flickr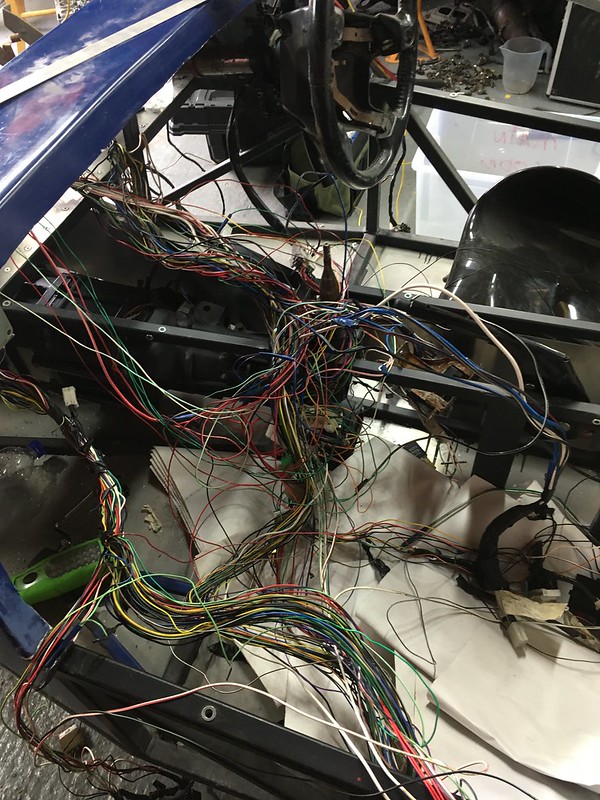 Untitled by stephen harborne, on Flickr Untitled by stephen harborne, on Flickr
__________________
Slowly tipping over the edge into madness |
|
#219
|
|||
|
|||
|
Wiring is one of my next big tasks. Are you going to shorten/remove unneeded pieces on the stock harness?
__________________
My build: http://locostusa.com/forums/viewtopic.php?f=35&t=3774 |
|
#220
|
|||
|
|||
|
I have most of the unnecessary wiring stripped out now.
The car i stripped had almost every extra electronic thing available so i reckon i have about half of the origional wiring removed I just needs lots of organising and adjusting. If your gonna strip the unnecessary wiring make sure you have a good wiring diagram
__________________
Slowly tipping over the edge into madness |
 |
| Thread Tools | |
| Display Modes | |
|
|