
 |
|
#31
|
|||
|
|||
|
Afternoon all,
I managed to get a bit of time to spend on the car this weekend. I got the steering column support frame in place, as well as CP16 and the uprated bearing. I've bolted the bearing straight to CP16 and the column feels rock solid. I also got the front assembled with dummy shocks to help me move it around. I then turned my efforts to the engine, and sorted out the mounts. I have them in the zetec positions on the cvh because I plan to swap it over post test. This also means I can use the manifold I have that would occupy the same space as the usual cvh mount. Few pics: 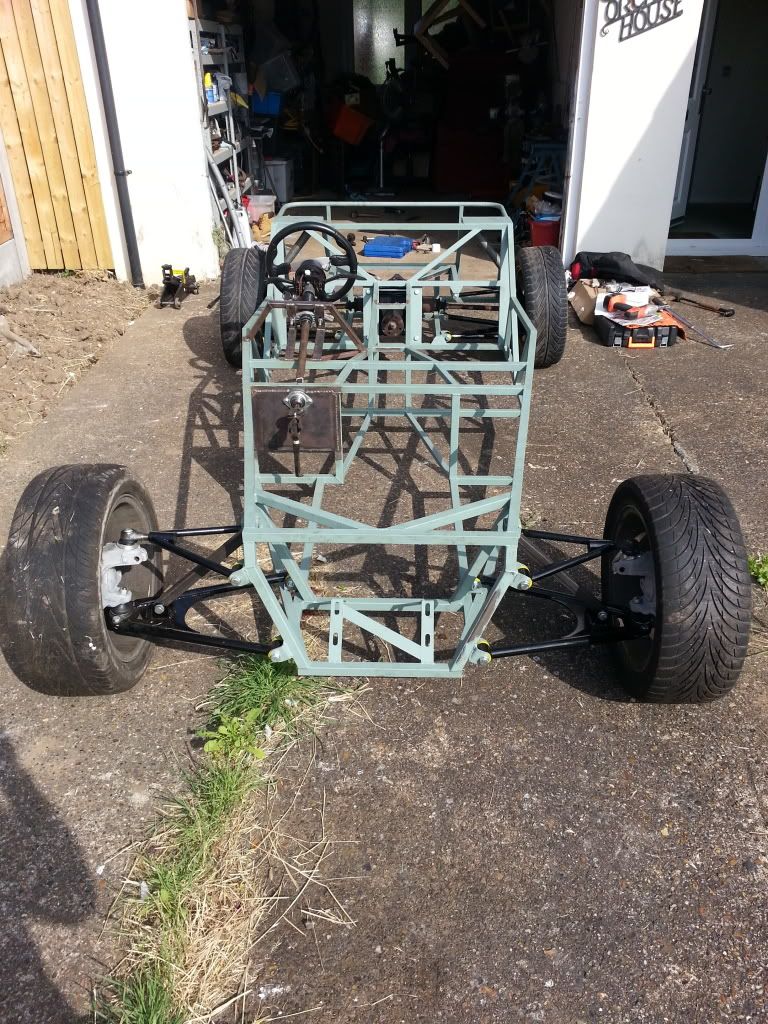  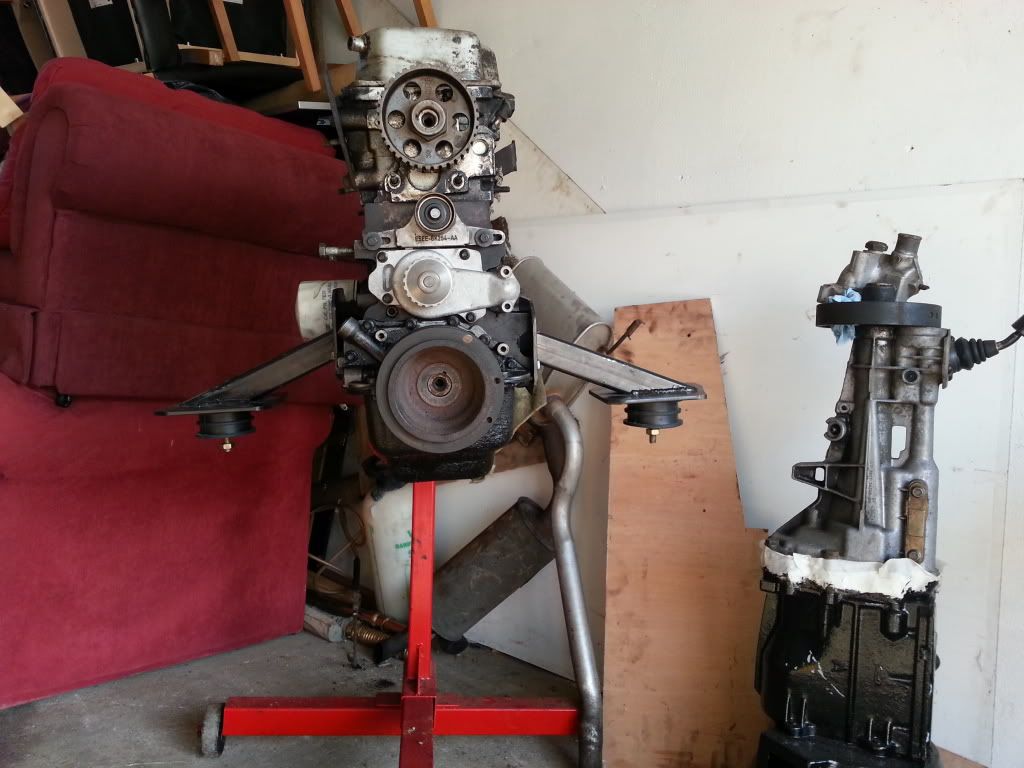 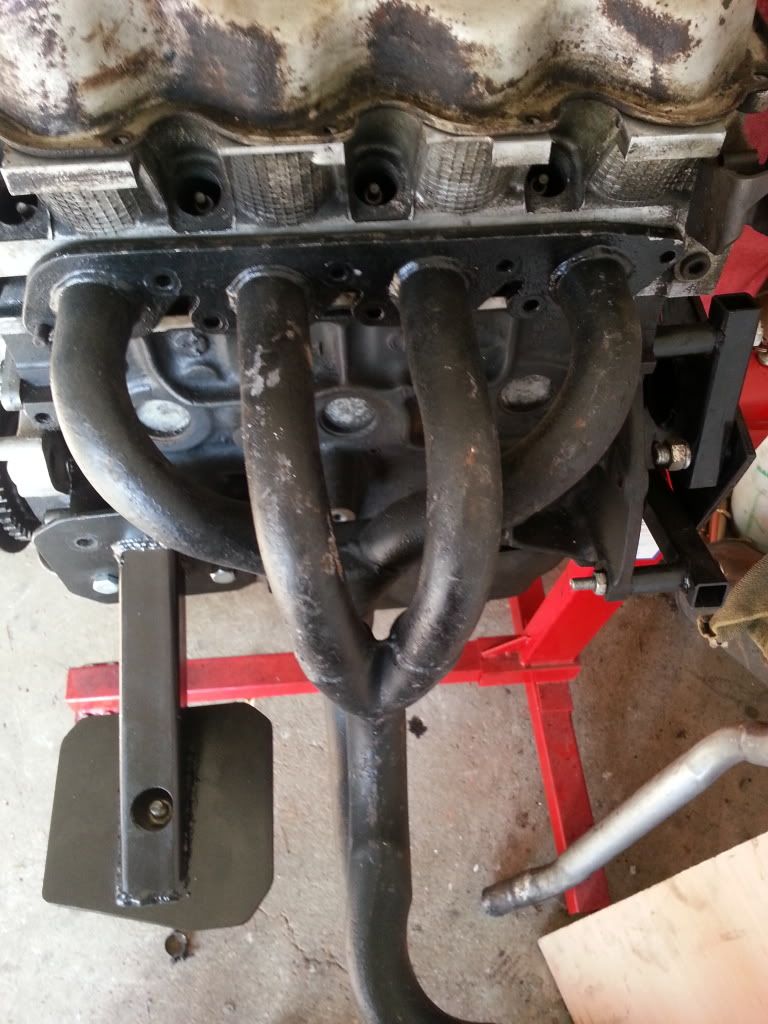 |
|
#32
|
|||
|
|||
|
|
|
#33
|
|||
|
|||
|
Very nice, looks like you're a little ahead of me. Might be watching this thread a little more closely
 |
|
#34
|
|||
|
|||
|
Thanks Oscar, I'm sure you'll overtake me - I live 50 miles away from my build!
|
|
#35
|
|||
|
|||
|
Looking well tidy there.
Arfon |
|
#36
|
|||
|
|||
|
Just an update with a bit of progress.
Having got the chassis rolling and trial fitted the engine/’box to get their positioning sorted, I’ve stripped it all back down (surprising how quickly it can be done!) and finished off most of the welding. In particular, before top coat, I’d like your thoughts on the adjusted top rail (for the thermostat), and adjusted passenger side engine bay diagonal (for the westy exhaust). Will they be ok, or is there something else I should do? The bits I still need to do: Seat support rails (now that I have seats and runners!) Brake tabs Rad mounts Roll bar rear stay mounts Is there anything I should add in addition to these? Some pics (sorry about the quality, used my mobile): 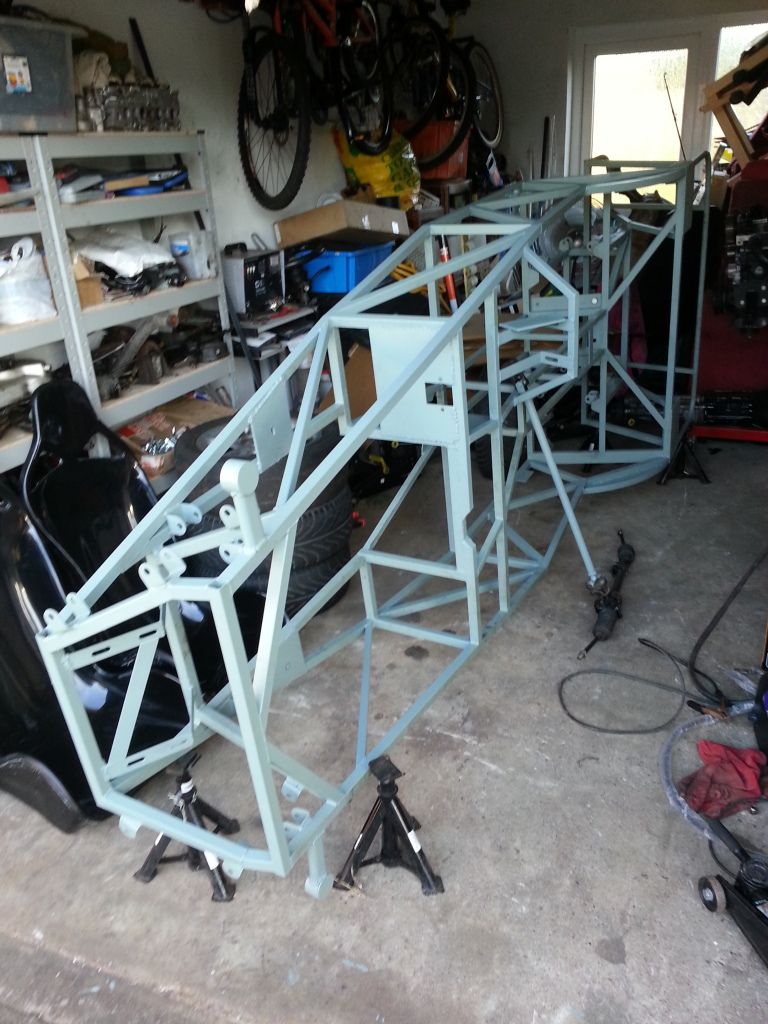 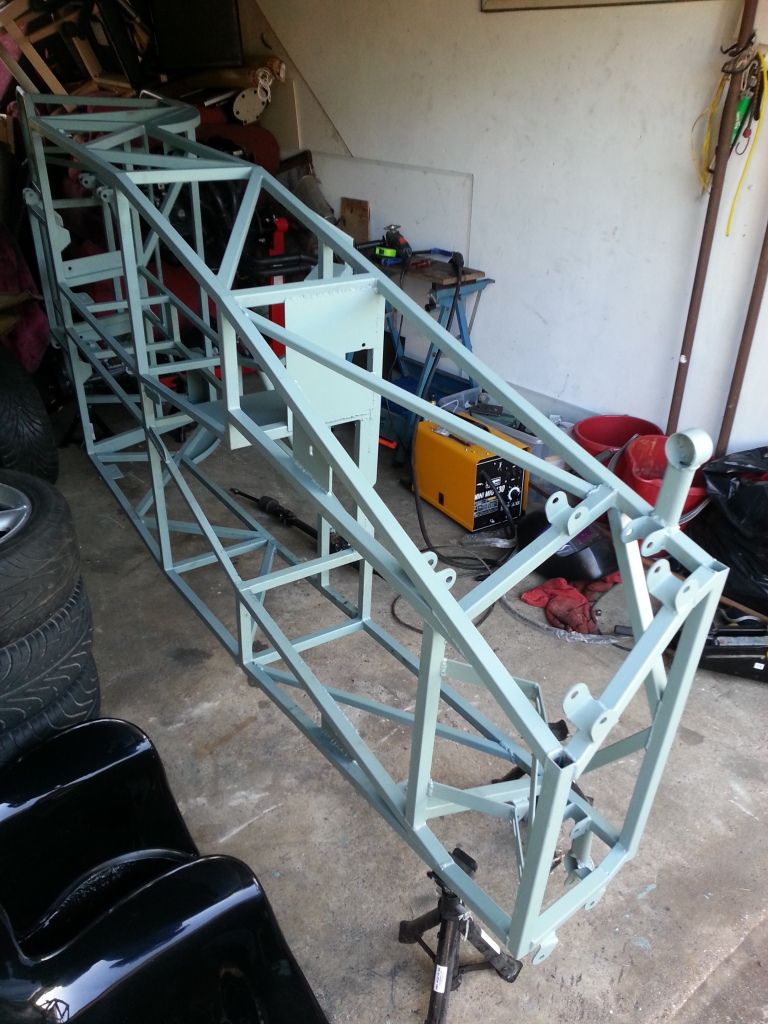 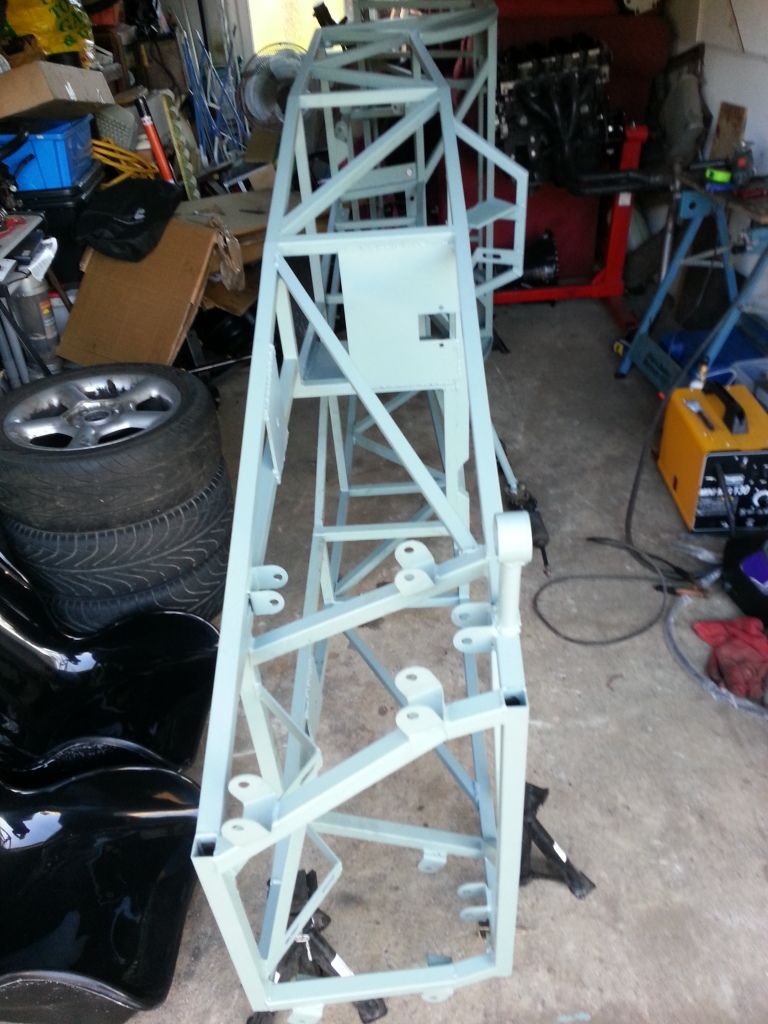 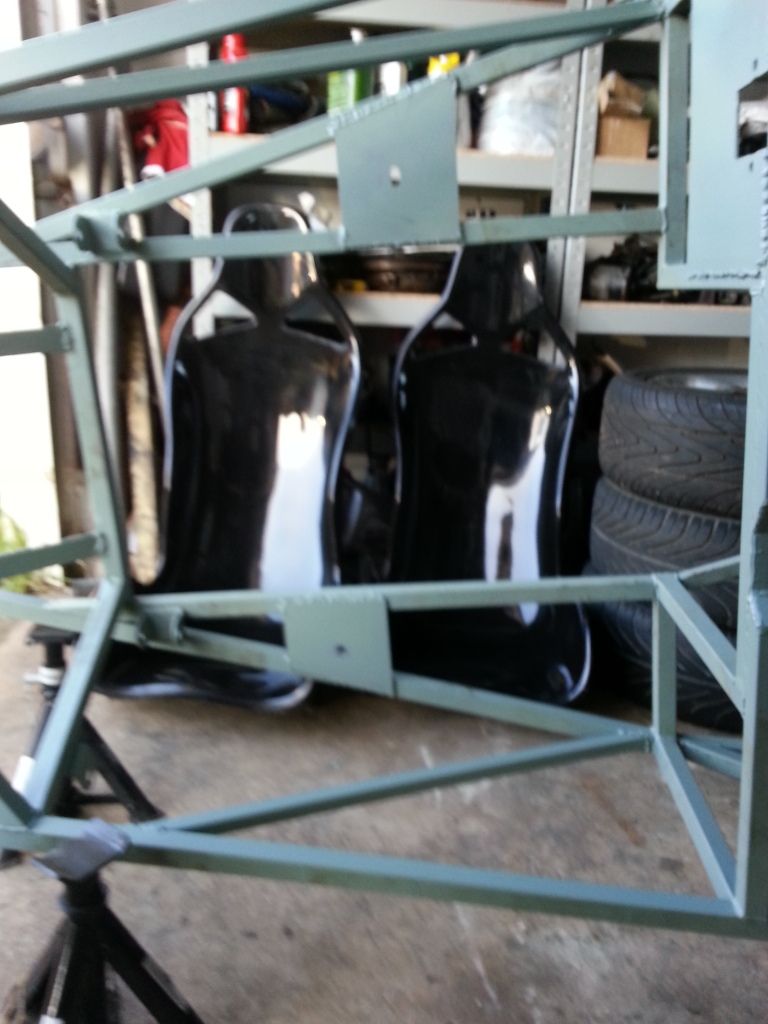 Cheers Eddy |
|
#37
|
||||
|
||||
|
Hi Eddy. I've ended up taking the paint back off in quite a few places to stick some more metal to the chassis. Vin number is something you will have to weld in. Can't think of anymore at the mo.
|
|
#38
|
||||
|
||||
|
Hi Eddy,
I think you should weld caps on the ends of the few tubes which are open like FF1, FF4, and there are a few others on the chassis (total of 12 iirw). Otherwise moist can enter the tubes which will be likely to get rusty from the inside. There is a quite easy way to do it using small pieces of 19/20mm square section tubes you used for the transmission tunnel.  IMG_2140_1 par Voucht71, sur Flickr Even though I haven't use this technique myself on my chassis, I have tried it and it is soooo easy (I got it from a member on this forum, but after I did mine with small square plates I had to cut one by one... I actually regretted I hadn't discovered this good idea myself or known it before  ), ), I've made a thread on my blog about that, perhaps it can give you some inspiration... http://vouchtroadster.blogspot.se/20...-end-caps.html Good luck  Very nice looking chassis BTW, very tidy 
__________________
Sylvain Pictures of my completed Roadster https://www.flickr.com/photos/994983...7646799525542/ Build blog: http://vouchtroadster.blogspot.se/ https://cafrazx550.blogspot.com/ |
|
#39
|
|||
|
|||
|
Steve - I hadn't thought about that at all, I'd better get a letter off to the DVLA!
Sylvain - I was planning to use waxoil and plastic end caps, but welding them seems like a much more robust solution. I've got some tube left so its free too! Thanks guys |
|
#40
|
|||
|
|||
|
You would be surprised how little rust there will be on the inside of the chassis tubes even after a good few years as I found out after making my chassis 35mm overall too long

__________________
Cost : Little as possible. Thanks : To those who by their generosity my build has progressed. Its a handmade sports car not a flaming kit car !!! If at first you dont succeed,avoid skydiving... No parachute require to freefall,only if you want to do it twice. |
 |
| Thread Tools | |
| Display Modes | |
|
|