
 |
|
#401
|
||||
|
||||
|
Well I have finally bitten the bullet and started attaching the body panels. Still can't fully commit as I know I'll have to take them off again for some reason or other so I've decided to use rivnuts wherever possible.
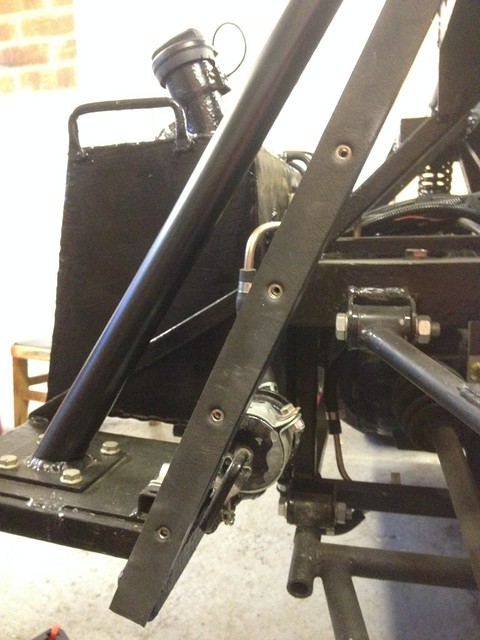 I'm using stainless steel M4 6mm dia. flat head nuts with 12.9 high strength M4 hex head bolts 20mm long. The reason is because a small allen key will be ideal to get into tight areas if ever panels need to come off and you alway have the option of gripping them with a pair of pliers if the hex head rounds out. 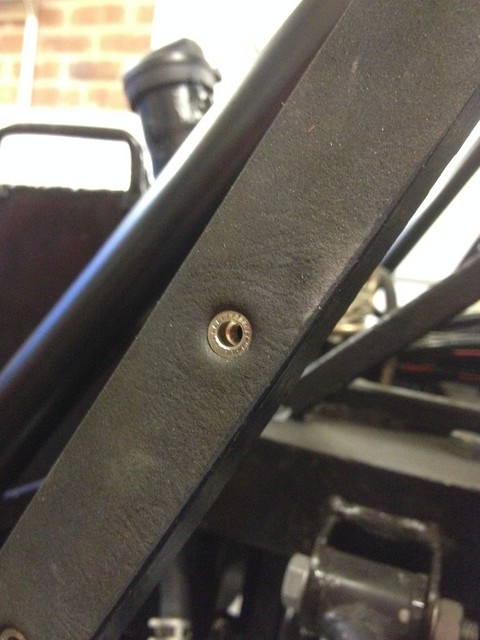 I'm using some small washers to spread the load and tight as I am I did buy the memfast.co.uk rivnut tool as I am a big believer that the right tools make a job much more enjoyable and quicker. I can always sell it in the future but I think it's a keeper. 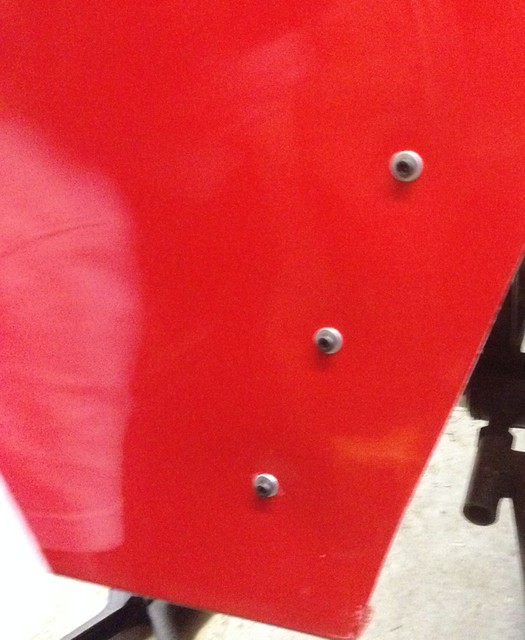 I was struggling to figure out where the chassis rails where before drilling a 4.5mm hole through the fibreglass but then had the bright idea using my pyjamed assistant to shine torchlight through the back of the panel and as it was almost dark this worked brilliantly in getting the holes in the right place. 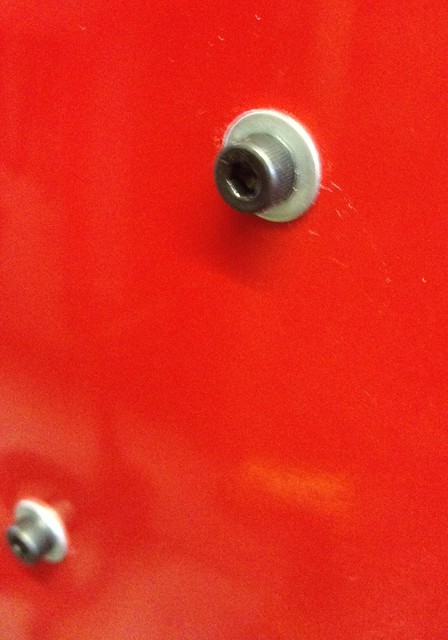 I then removed the panels and drilled a 6mm hole in the same position for the rivnut. Rivnut tool is great you can hold everything steady while you hand tighten the bolt. Only needed forearm strength for M4 stainless rivnuts to spread enough. cont...... Last edited by CTWV50 : 7th July 2014 at 11:58 PM. |
|
#402
|
||||
|
||||
|
I'm looking forward to doing the rest as it went so well!
Bad shot. 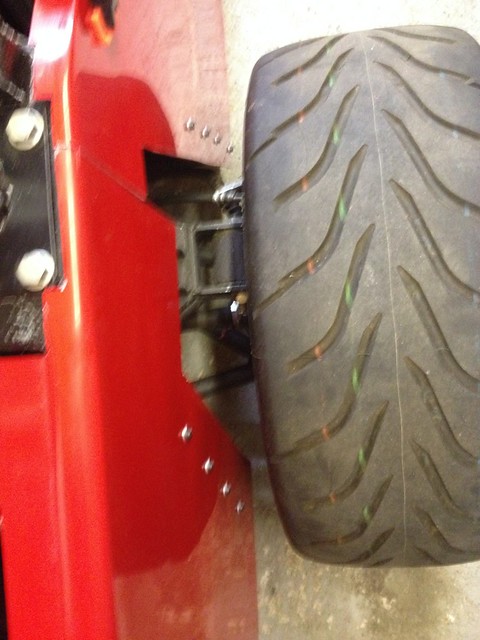 |
|
#403
|
||||
|
||||
|
Done the other side, it's coming together now.
 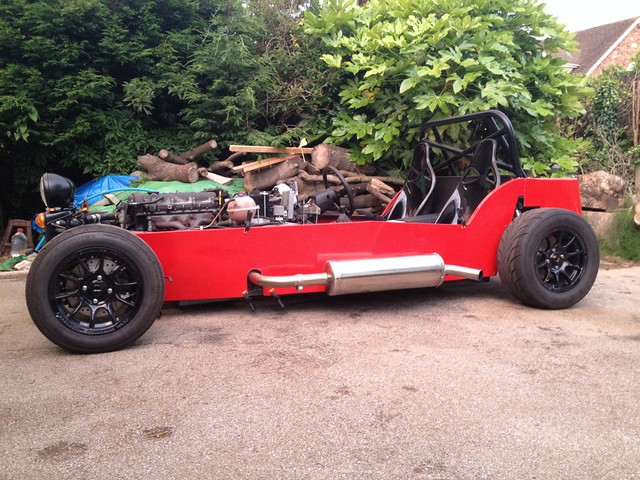 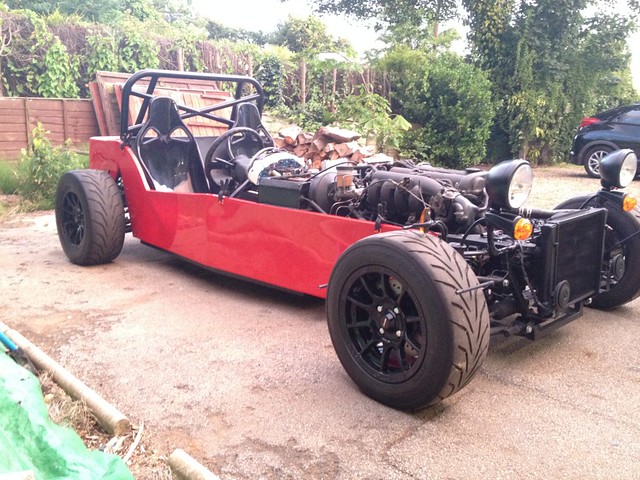 Might get it on the ramps next and do the underneath rivnuts.  |
|
#404
|
||||
|
||||
|
Looking good Chris
 |
|
#405
|
||||
|
||||
|
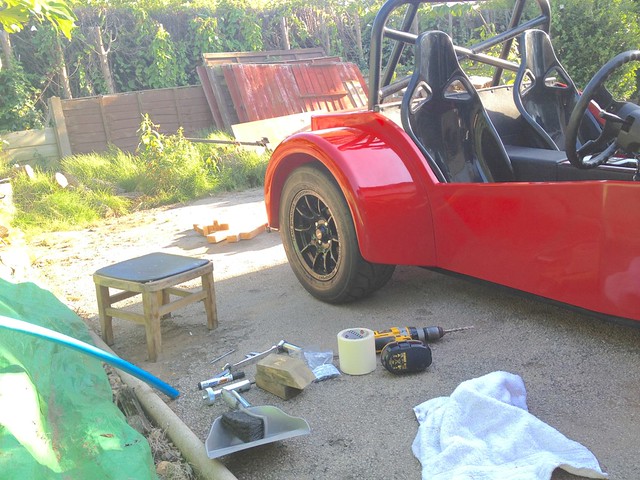
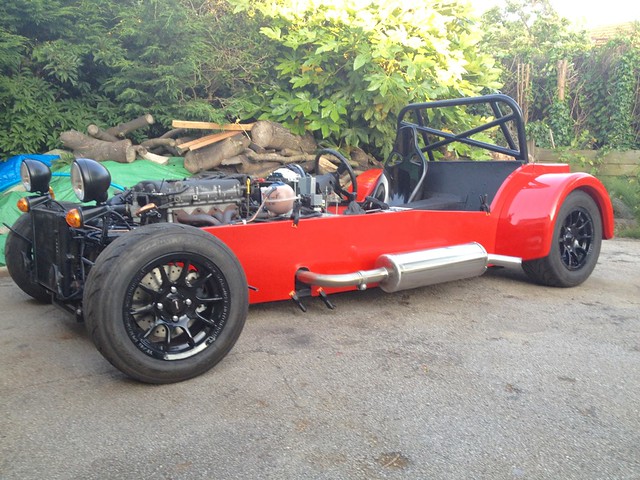
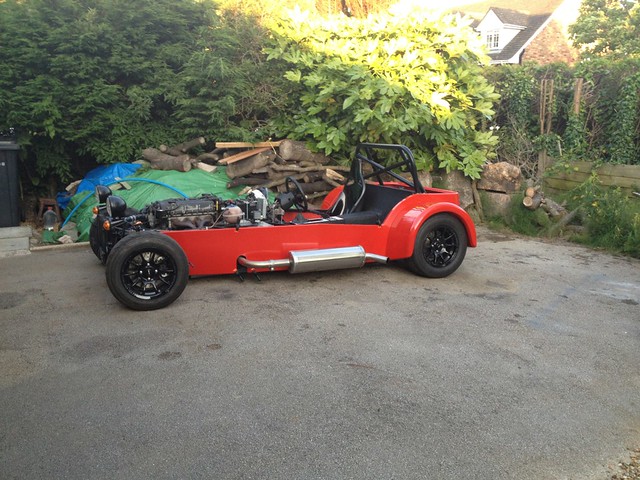
Arches.......
    |
|
#406
|
||||
|
||||
|
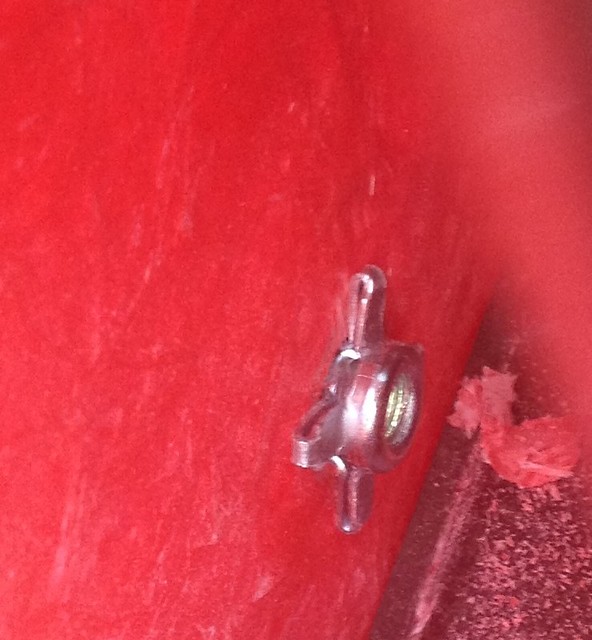
I used these collapsing rivnuts. Really easy to install hopefully they will hold.
  |
|
#407
|
||||
|
||||
|
Coming together, now the weather has decided what to do!
 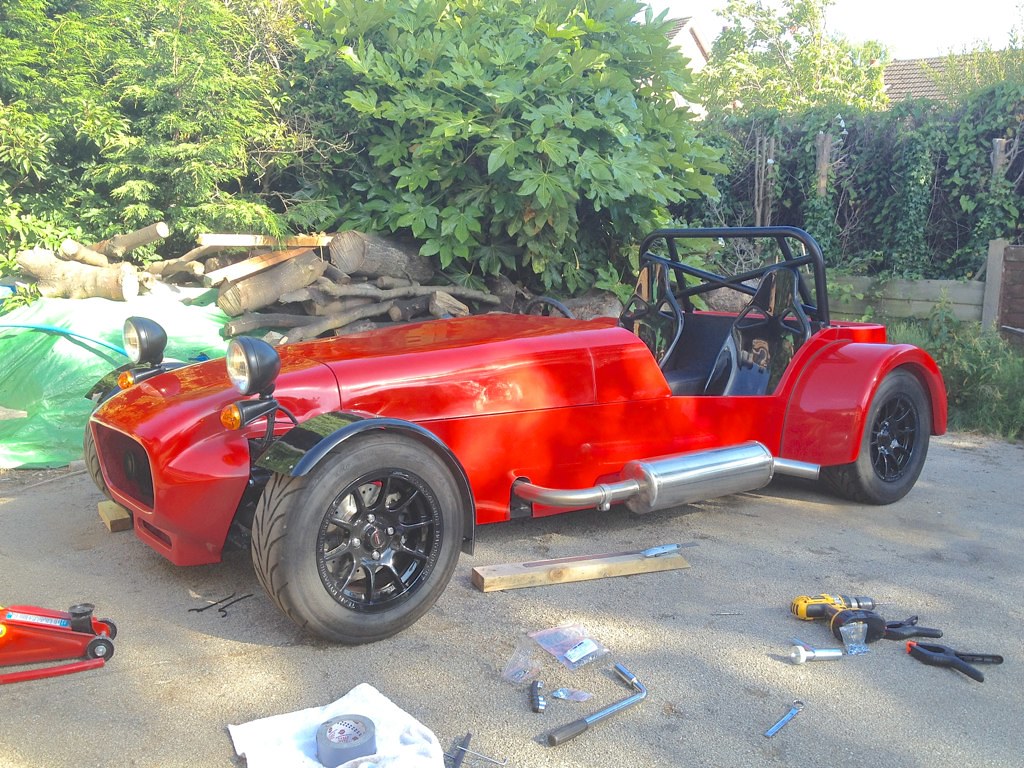 Honestly, it looks better in person. It's a bit of shock when you step out the house and look up, not expecting it to be there, or look so red!  I can feel the end..... I can feel the end.....Last edited by CTWV50 : 13th July 2014 at 11:53 PM. |
|
#408
|
||||
|
||||
|
Hi Chris,
First, I think the car looks very good. Very red indeed, but it is not shocking to me, I really like it  You're almost done, congratulations! You're almost done, congratulations!I fitted my rear arches this week-end too, and I was wondering: what kind of trim/piping did you use between the arches and the side panels/rear tube? I can see a black lining there on your pictures, and I often saw that on finished cars, but I don't know what it is, and I'd like to put some on my car too to seal this part. Could you please let me know? Thanks.
__________________
Sylvain Pictures of my completed Roadster https://www.flickr.com/photos/994983...7646799525542/ Build blog: http://vouchtroadster.blogspot.se/ https://cafrazx550.blogspot.com/ |
|
#409
|
|||
|
|||
|
"P" Trim Sylvain.

__________________
Cost : Little as possible. Thanks : To those who by their generosity my build has progressed. Its a handmade sports car not a flaming kit car !!! If at first you dont succeed,avoid skydiving... No parachute require to freefall,only if you want to do it twice. |
|
#410
|
||||
|
||||
|
That is looking very red and very cool
 |
 |
| Thread Tools | |
| Display Modes | |
|
|