
 |
|
#521
|
|||
|
|||
|
Noted
 . .
__________________
Cost : Little as possible. Thanks : To those who by their generosity my build has progressed. Its a handmade sports car not a flaming kit car !!! If at first you dont succeed,avoid skydiving... No parachute require to freefall,only if you want to do it twice. |
|
#522
|
||||
|
||||
|
Finally got all the bits needed to rebuild the diff. I was waiting on a new crush tube and nylock nut from the local mazda dealer, parts kid there is useless but fortunately my good friend works there and sorted out the correct parts for me. I did attempt to reuse the old crush tube by compressing it in a vice and I did lengthen it by 0.5mm which would probably been ok but as it was only £10 and available I got a replacement.
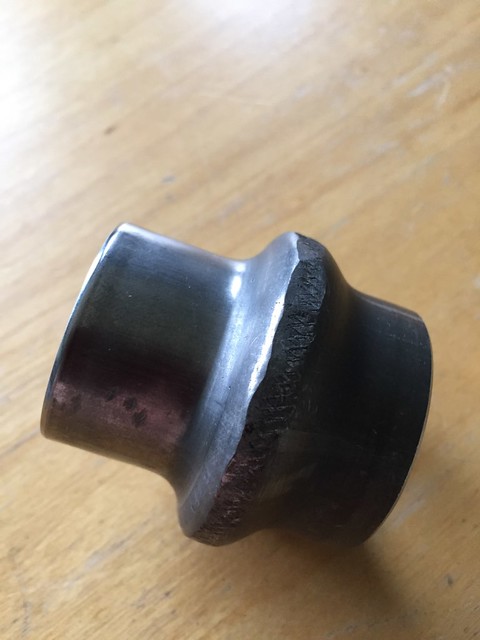 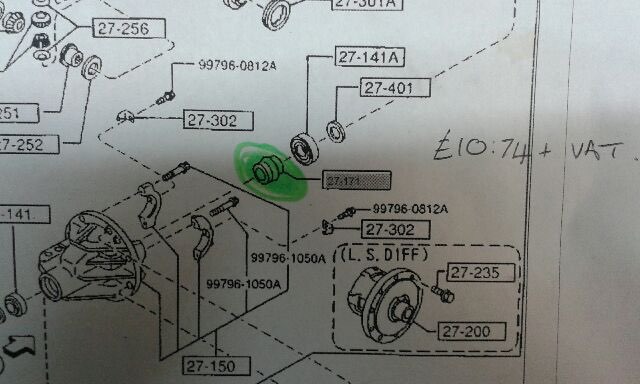 So last night I set about reinstalling the pinion shaft with the new seal. You have to torque up the nylock nut until it starts to actually crush down on the crush tube, unsurprisingly. I made a diff nose holder out of some left over 50mmx3mm angle and some bolts and set to work. 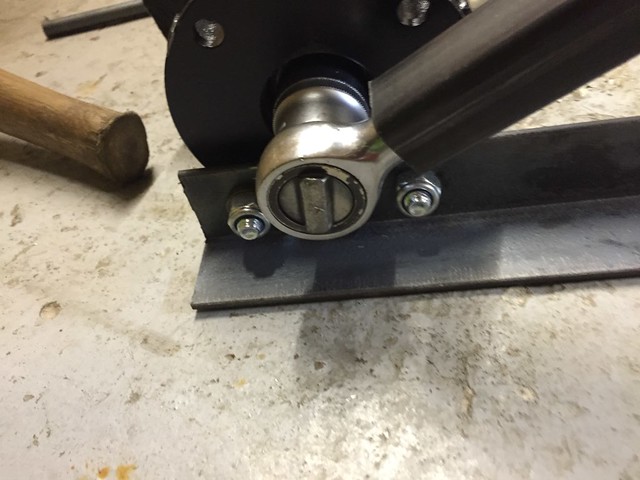 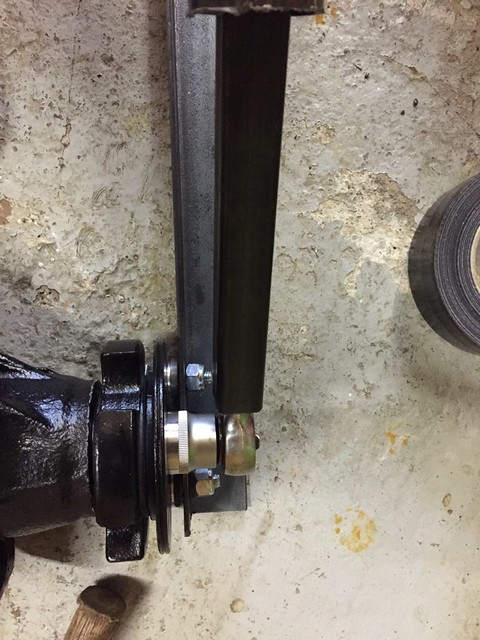 continued...... |
|
#523
|
||||
|
||||
|
Because I was reusing the the old bearings I had to put plenty of effort in to crush down the new tube being careful not to go too far by doing 1/8th of an inch turns and then checking the drag torque.
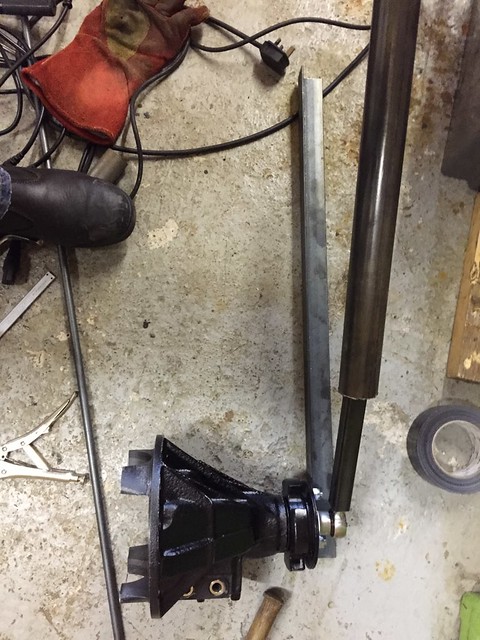 10 inch lbs was enough for me on used bearings, the guy in this thread did 12 in/lbs on new bearings but 10-15 in/lbs is within a general range apparently. http://forum.miata.net/vb/archive/in.../t-171048.html  Job done! Next the actual LSD install.  Last edited by CTWV50 : 20th February 2015 at 12:21 PM. |
|
#524
|
||||
|
||||
|
Was there a reason you pulled the pinion out? If you leave it in and just swap the ring gear onto the new diff you don't need to worry about shimming it. You may need to re-shim it now you have that new crush tube in there which will be a right pain getting it all together measuring everything, and if new shims are needed stripping it all back again, new shim, rinse repeat.
 Cheers Stot.
__________________
1.6 Mazda B6 : Garrett TBO339 : 420cc WRX Injectors : FMIC : Microsquirt V3 : LC-2 Wideband : Toyota COP : 1.8 ATB LSD Build Started Jan 2013 : OTR Aug 2014 : Still OTR June 2024 |
|
#525
|
||||
|
||||
|
Quote:
Pictures later.  |
|
#526
|
||||
|
||||
|
The hardest part was getting this dial gauge in just the right place. I ended up taking the magnetic base off and bolting through one of the diff flange bolt holes.
 Once I had set the backlash and checked it at 12,3,6,9 o'clock I set the preload which was a little more difficult as very small turns of the bearing adjusters made a big difference. I then rechecked and repeated process until I was happy and then fixed to ring locks in place. I did a paint test on the teeth and was happy with the patterning. I used new 12.9 strength allen bolts to reattach the case with spring washers.  I've also had made these stainless steel crush tubes for when it gets bolted into the car. The last diff fitted was just bodged in with whatever I had lying around. 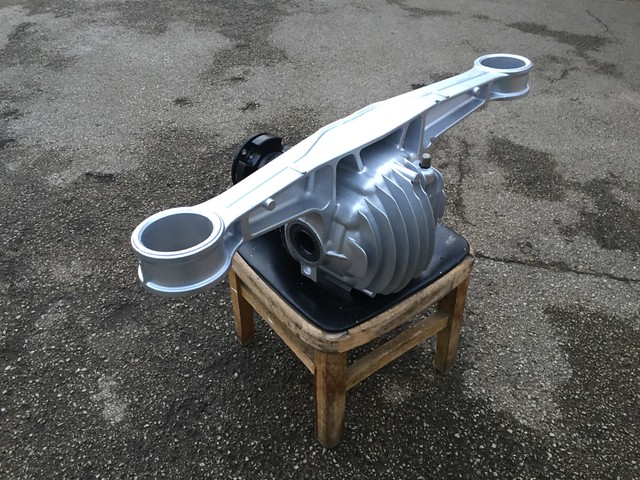 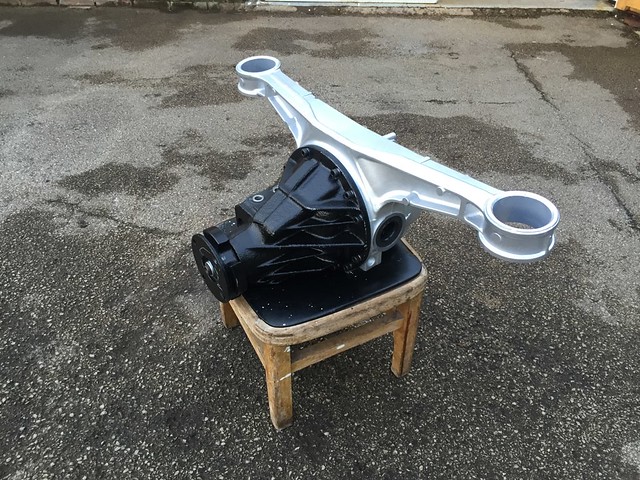 |
|
#527
|
||||
|
||||
|
Having some inspirational thoughts about my possible failures and potential solutions.....
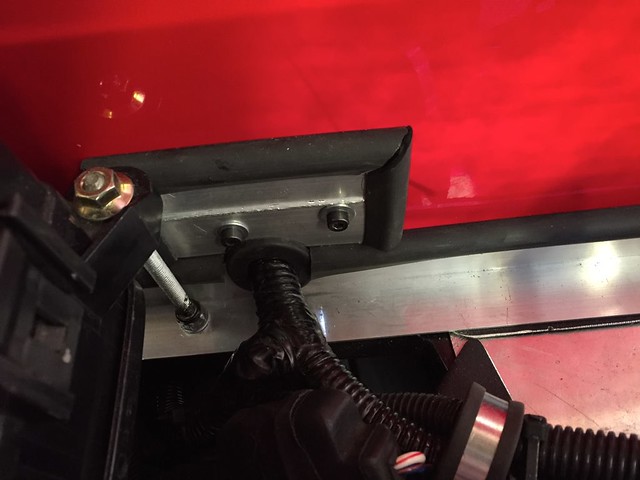
1. Something to do with the handbrake or rear brakes that I can't sort on the day. Can't fix this as it is not broken. So put this down to paranoia. 2. I have protected well but not grommeted the wiring coming through the bulk head. Going to cut the scuttle slightly larger around this wire with a dremel and glue fit rubber trim!  3. Front indicators are too far from the widest part of the car. If this is an issue I will remove the indicators and fit stalk indicators the the side of the indicator pods!  4. They don't like the radius edges of the modified caterham hazard and fog switches when in use. I measured the hole and the projections and it only needs to be blunt not radiused which they are.  5. They don't like the stick on side repeaters on they aren't bright enough or too low down. I've ordered some others that should be IVA OK which I will fit on the day if need be.  Last edited by CTWV50 : 21st February 2015 at 12:32 AM. |
|
#528
|
||||
|
||||
|
Quote:
  |
|
#529
|
||||
|
||||
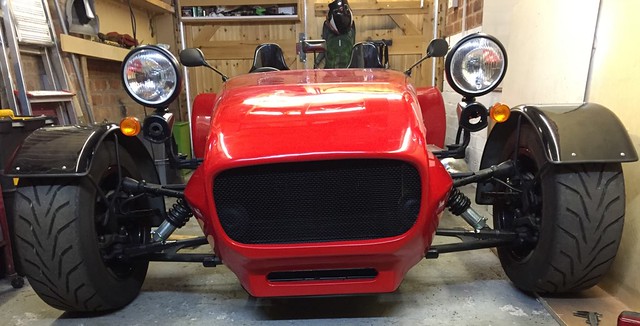 Fixed...  |
|
#530
|
||||
|
||||
|
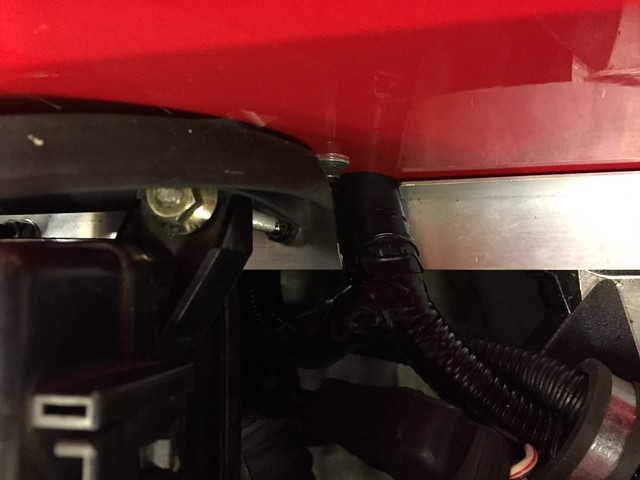
Apparently you need a side light tell tale. IVA manual mentions a side marker lamp tell tale for long vehicles but I just found this thread and I'm not risking it. I'll reinstate the binnacle illumination on headlight usage later.
http://www.locostbuilders.co.uk/foru...php?tid=146174 |
 |
| Thread Tools | |
| Display Modes | |
|
|