
 |
|
#531
|
||||
|
||||
|
Yup they sure are ....only the fog tho and that is the most important one all the other sections are E marked, just need a reverse and number plate lights.... for those I am going to use the led "bolts" that hold the number plate on.
|
|
#532
|
||||
|
||||
|
I had no idea how messy making the dashboard was going to be, I used double sided tape again as it is easy to work with and does'nt go off
Also used a camp mat from argos that was 8mm thick then I had an old new camp mat that was only 3mm but was textured so I used that for the finish as the colour was near to my chassis paint 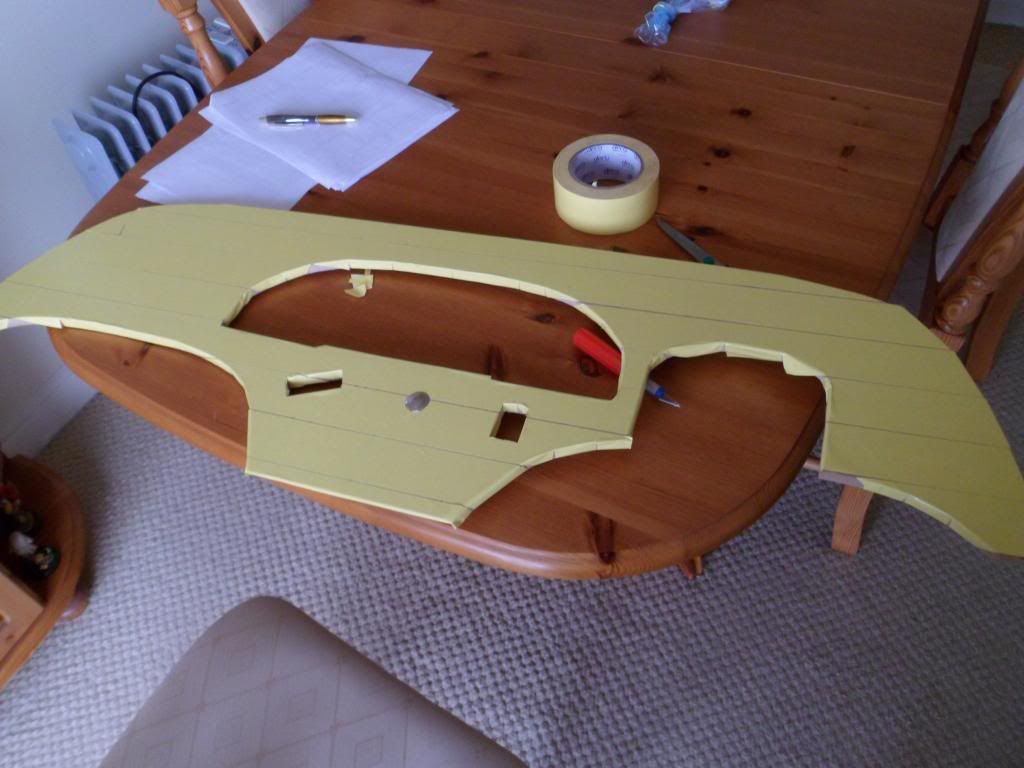 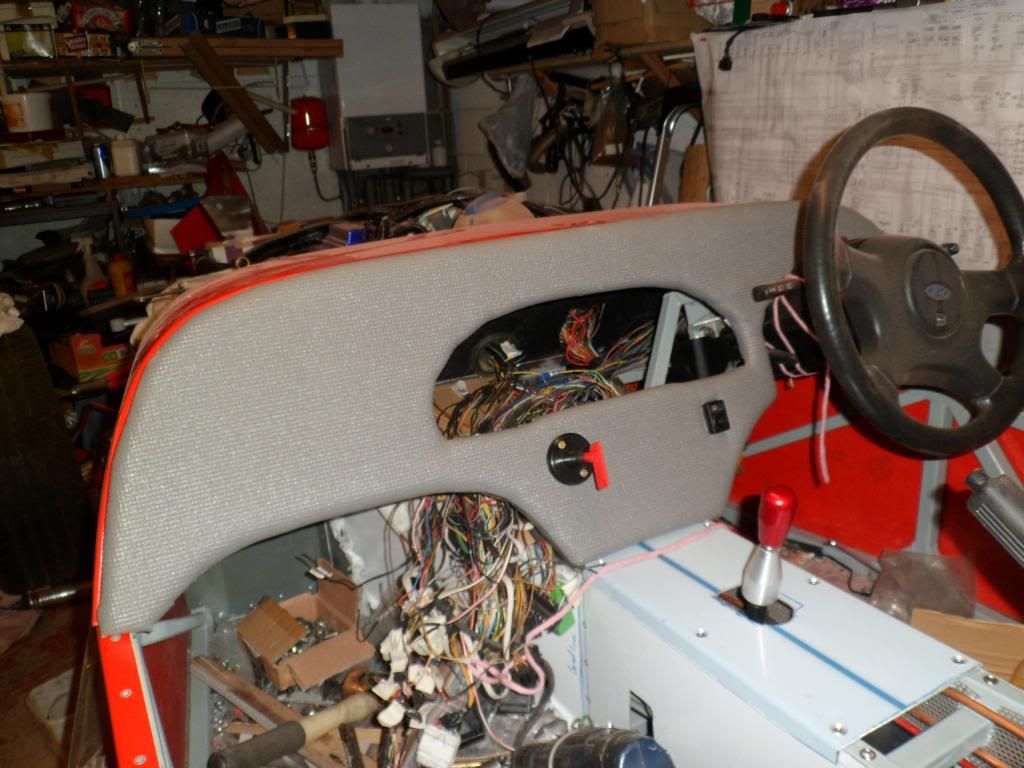 |
|
#533
|
||||
|
||||
|
|
|
#534
|
||||
|
||||
|
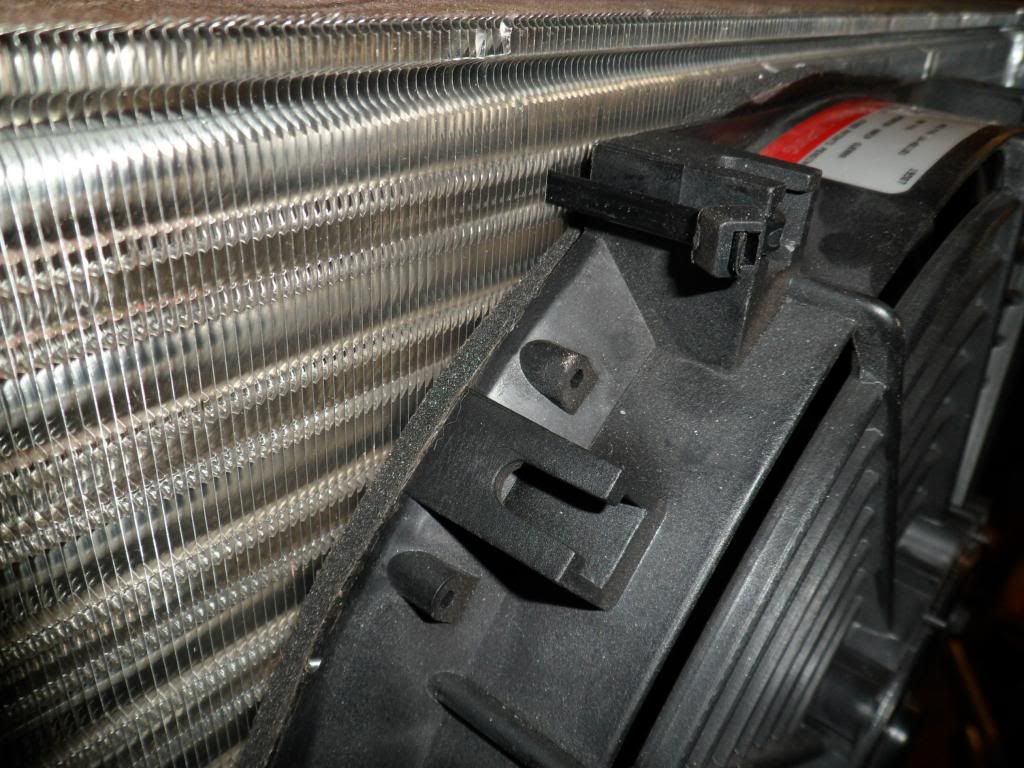
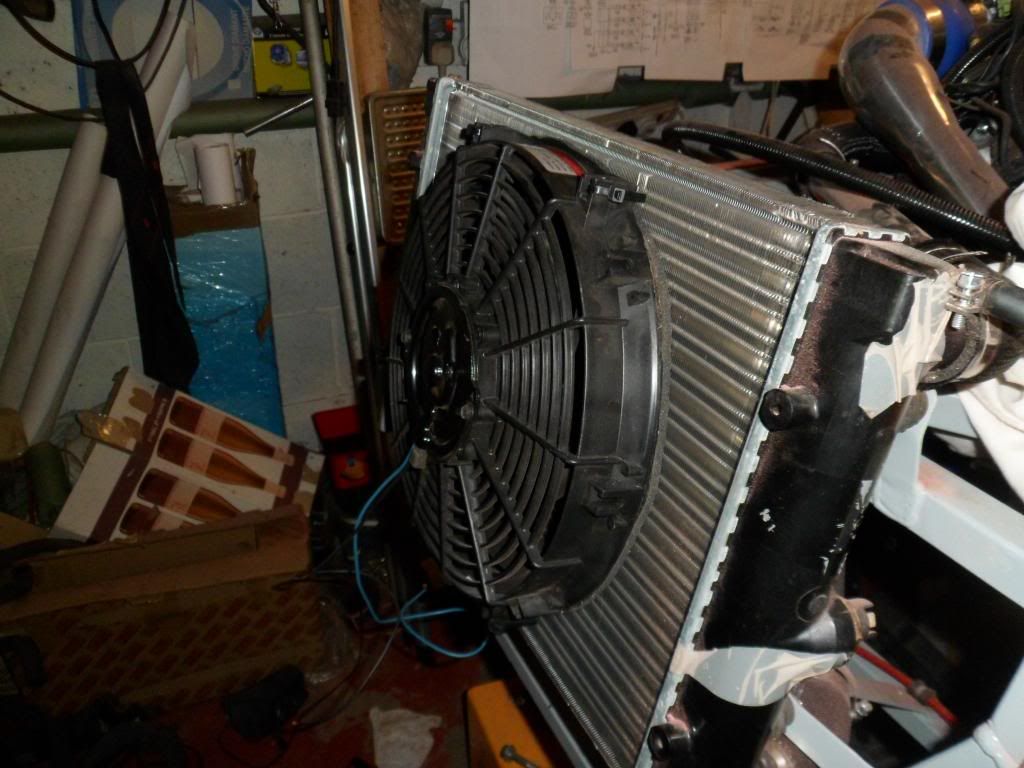
Not much done today due to catching up on garden jobs..... managed to fit the rad fan which took all of 20mins with 4 zip ties and used a strip of DS tape to cushion against the rad itself, grounded the negative to the chassis and routed the relay a positive feed wires but not clipped up yet as there might be more wiring
  |
|
#535
|
||||
|
||||
|
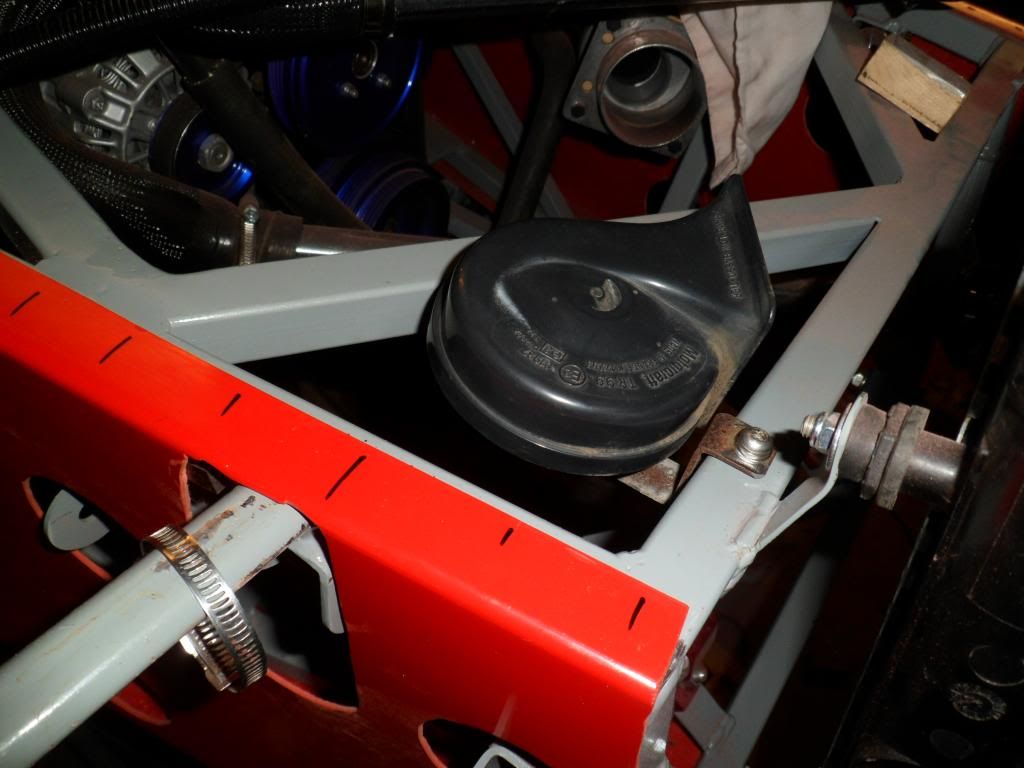
Its funny how you go through stuff and you realize you have forgotten something important......like a horn....I 'm following this wire and I think what the hell was this wire for.....yep leads eventually back to the horn button, now I spend the next two and a half hours trying to find the part, getting really stressed out and it was in the very last place I could look.....car seat of my donor....could have sworn I had brought it into the house any way fitted now .....so I'm off to hunt down some relays cos I'll need one for the rad fan, wish I had kept everything in one place now
  |
|
#536
|
||||
|
||||
|
After re-appraising my exhaust, I have decided to "make sure" of a pass on iva criteria......mainly the edges so I have used a technique I have used before.
For the muffler ends I took some 6mm brake pipe and bent it to the exact diameter, then I took my b&d powerfile (you could use a flap disc) and began to grind the pipe back to just before the inside of the pipe .....I just used a knife to break through the rest, then it was a case of tweaking it to the same thickness of the muffler ends so it will fit over them and produce a "rolled tip" effect.....gonna solder them up today 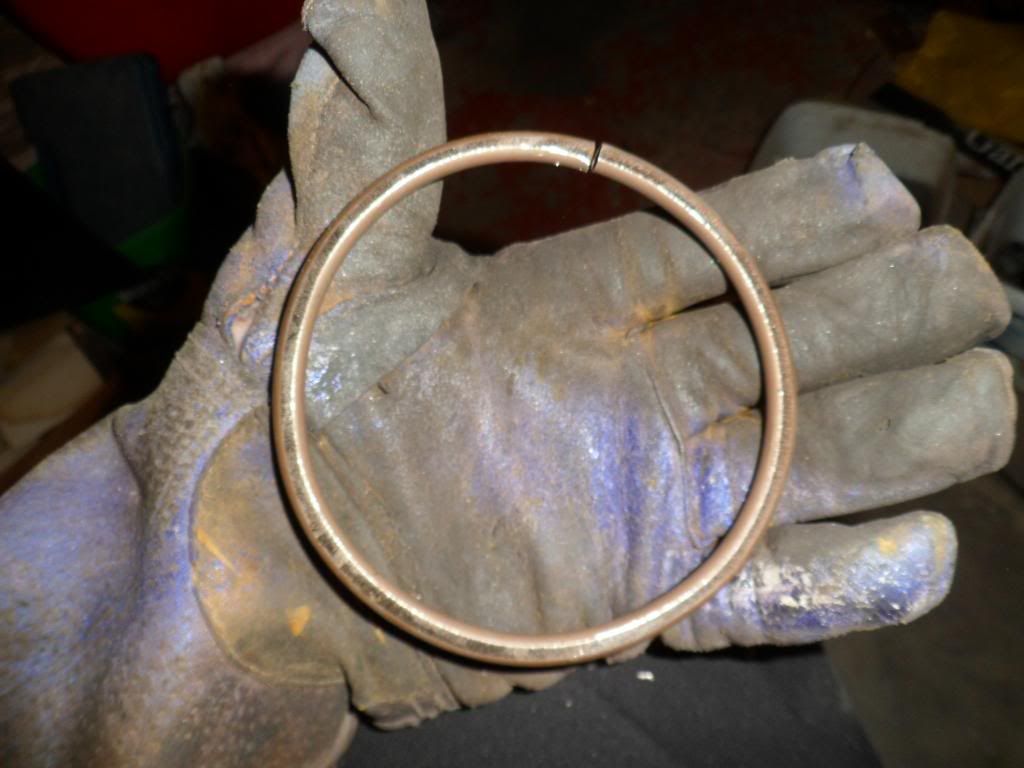 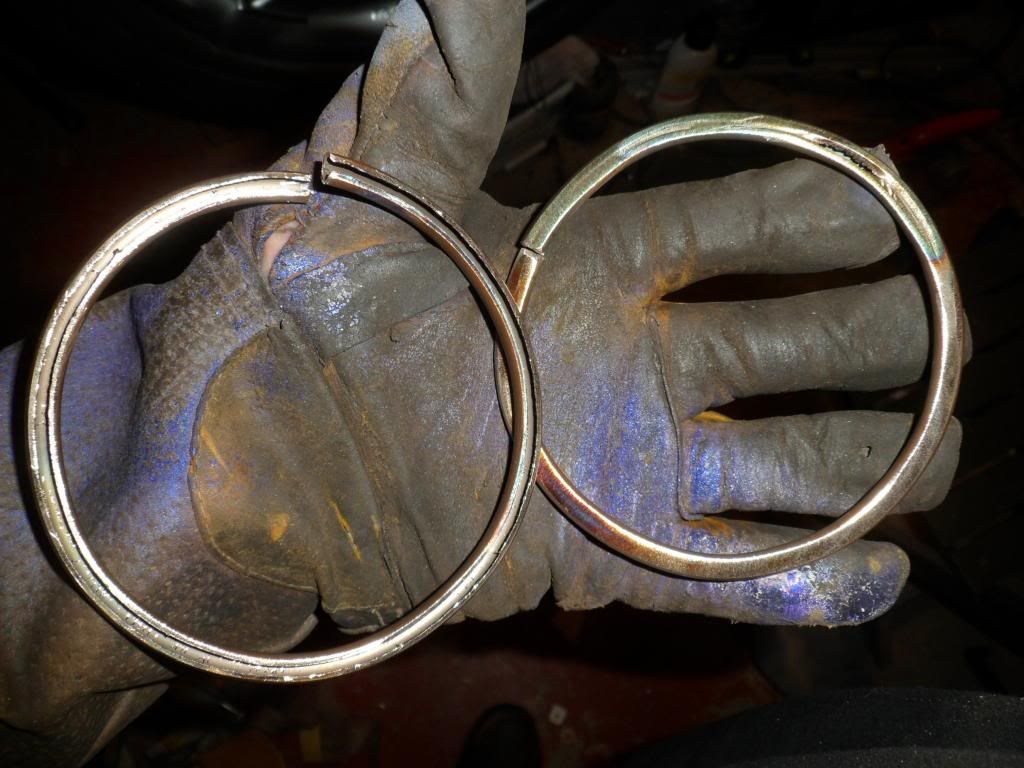 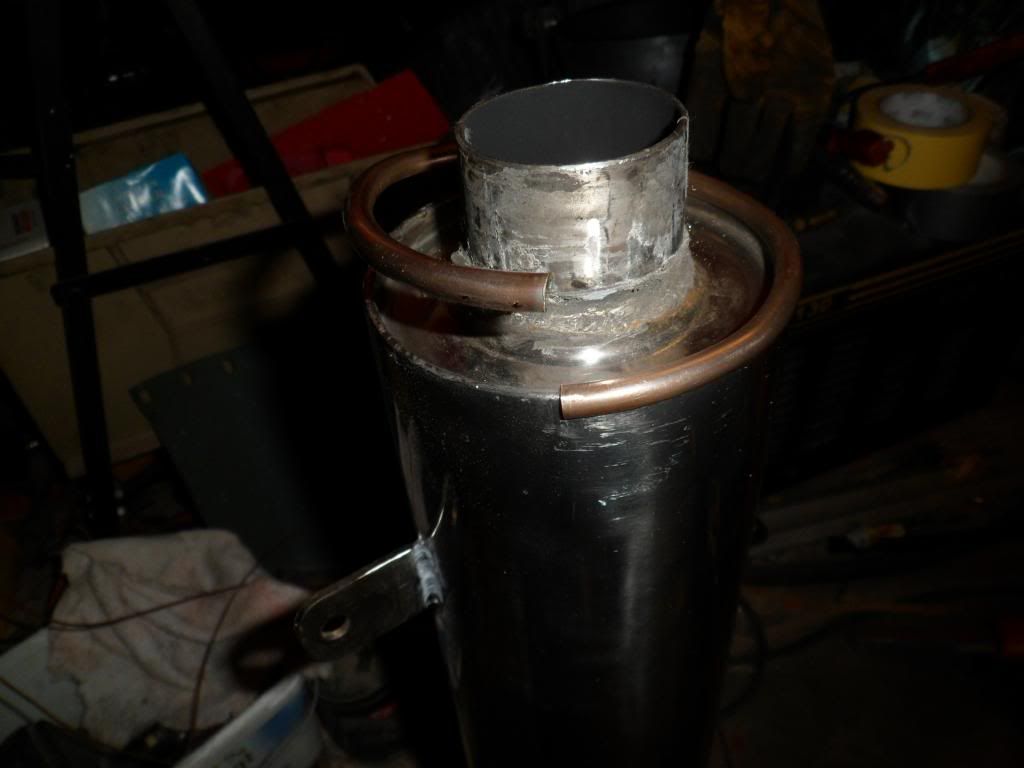 |
|
#537
|
||||
|
||||
|
|
|
#538
|
|||
|
|||
|
nice work Kev a great idea you wont be long before you can enjoy the fruits of your labor

__________________
My build diary is at http://thailoz.wordpress.com/ |
|
#539
|
||||
|
||||
|
Gettign there,
 I am just going to wrap my exhaust to hopefully protect from sharp edges. BTW. Your kill switch will most likly fail the IVA. TT
__________________
You only get a woosh with a dump valve Build Thread Man Cave Mantiques Cecil Street Auto Repairs Garage Carlisle Build Cost £4181.65 - Last - Wheel Cylinders |
|
#540
|
||||
|
||||
|
Hope so Lawrence.. hope so!
tt....it is not going to be fitted for IVA, I am going to blank it off for that then retrofit said item post IVA, I know some peeps have covered the key with some edging and got away with that, but I am not going to chance it. |
 |
| Thread Tools | |
| Display Modes | |
|
|