Haynes Forums  

Go Back   Haynes Forums > Haynes Roadster Forums > General discussion
FAQ Members List Calendar Search Today's Posts Mark Forums Read

Reply
 
Thread Tools Display Modes
  #541  
Old 1st July 2013, 05:04 PM
K4KEV's Avatar
K4KEV K4KEV is offline
Senior Member
 
Join Date: Feb 2010
Location: WINGATE CO DURHAM
Posts: 1,511
Default

Just finished the exhaust pipe so my exhaust has now got "rolled " edges all round now also have just cut an exhaust outlet finisher just got to polish that up and the exhaust will go on for the last time ( I hope )


Reply With Quote
  #542  
Old 1st July 2013, 08:28 PM
K4KEV's Avatar
K4KEV K4KEV is offline
Senior Member
 
Join Date: Feb 2010
Location: WINGATE CO DURHAM
Posts: 1,511
Default

now polished up and fitted....soon to be followed by the rest of the exhaust
Reply With Quote
  #543  
Old 2nd July 2013, 10:30 AM
K4KEV's Avatar
K4KEV K4KEV is offline
Senior Member
 
Join Date: Feb 2010
Location: WINGATE CO DURHAM
Posts: 1,511
Default

Finally exhaust system version II is now back on for good I hope, I think I will make a small decibel killer for the tailpipe just in case....very pleased with the overall look and the exit trim finishes it off (been filed down to 2.5mm radius all around)


Reply With Quote
  #544  
Old 2nd July 2013, 11:27 PM
SeriesLandy's Avatar
SeriesLandy SeriesLandy is offline
Senior Member
 
Join Date: Nov 2008
Location: Portsmouth
Posts: 828
Default

Looking very smart as usual kev.
__________________
Steve
My Photo Album | Haynes Roadster FAQ | IVA Forms How To
Reply With Quote
  #545  
Old 3rd July 2013, 02:40 AM
K4KEV's Avatar
K4KEV K4KEV is offline
Senior Member
 
Join Date: Feb 2010
Location: WINGATE CO DURHAM
Posts: 1,511
Default

Cheers Steve
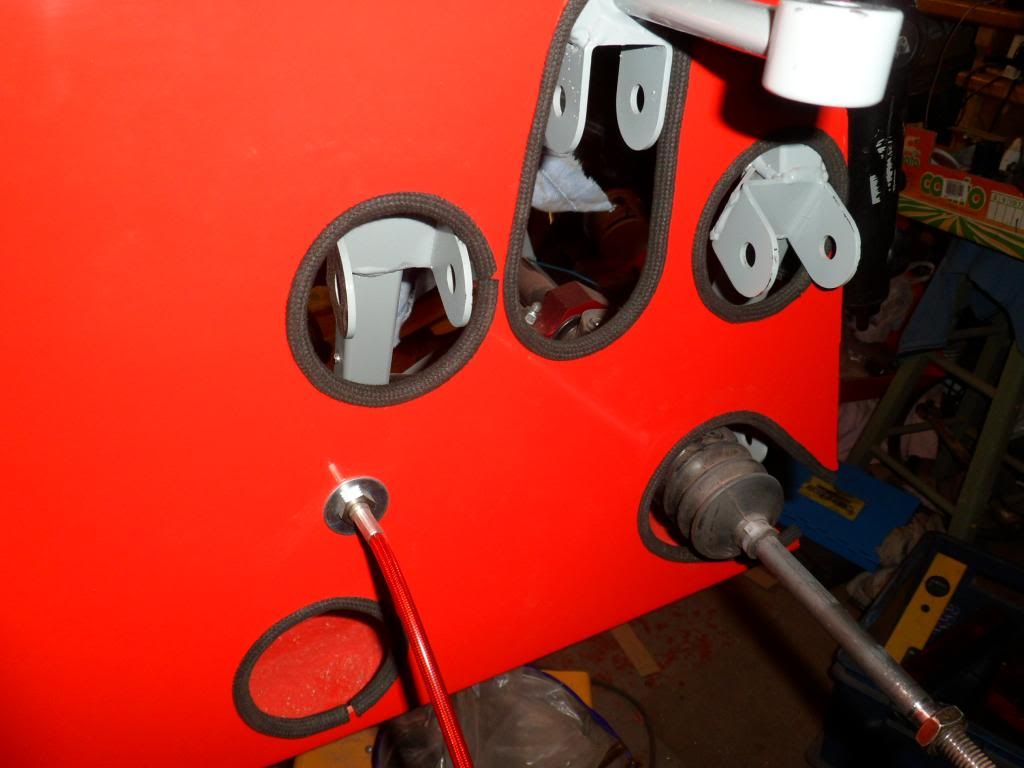
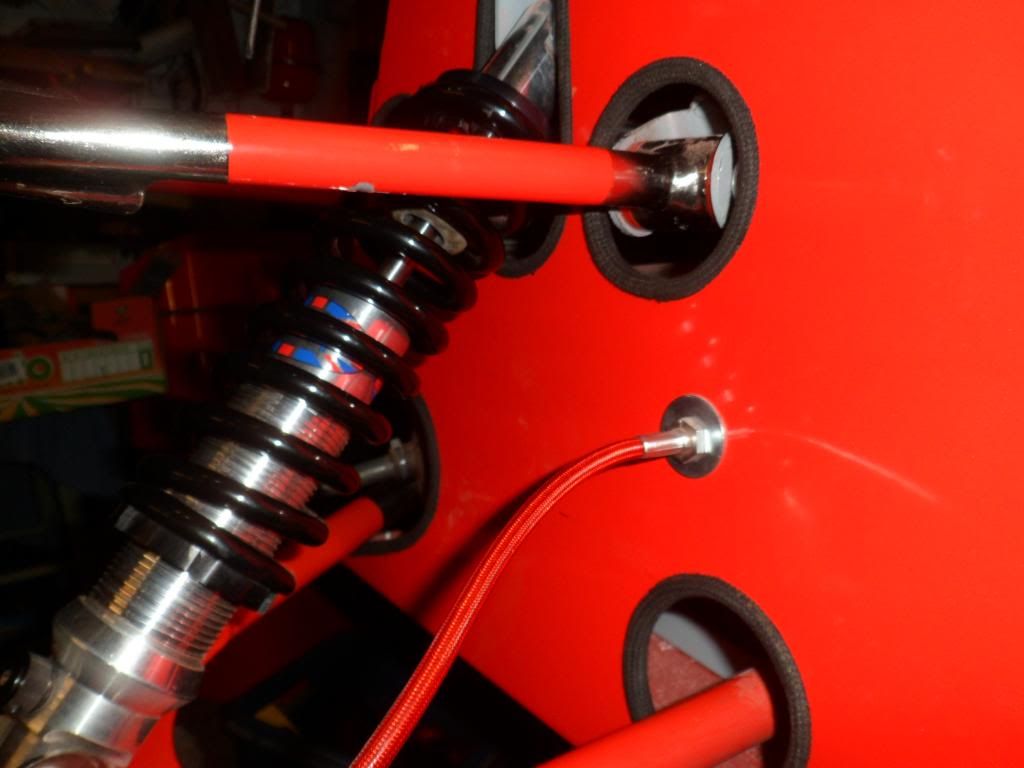
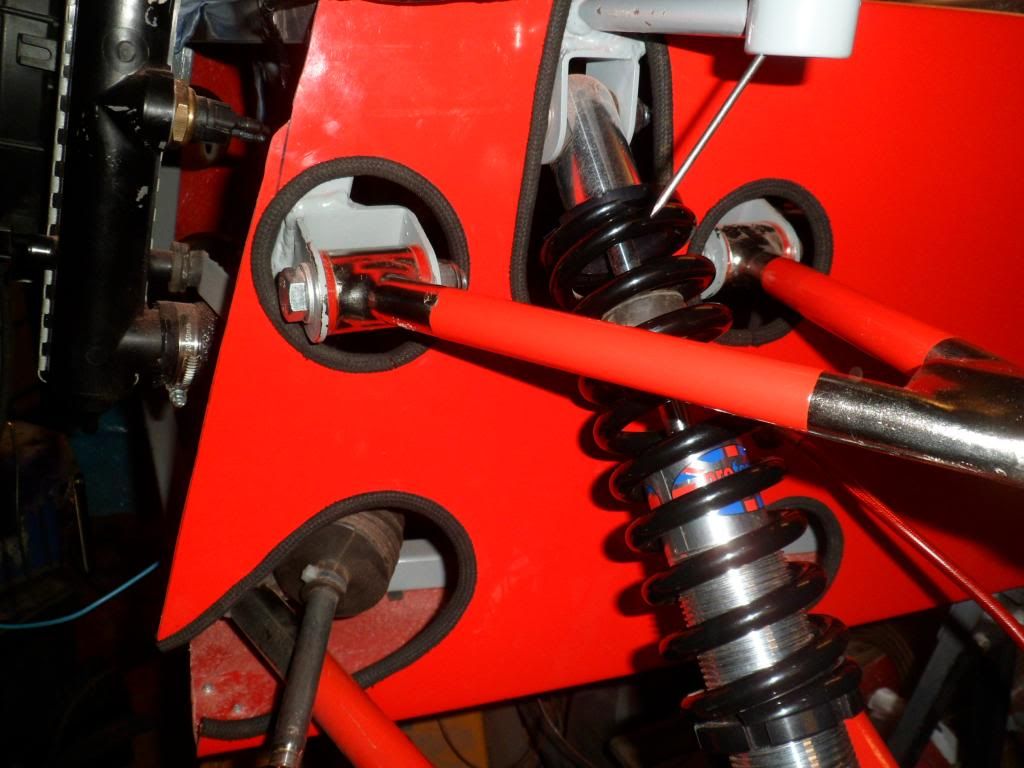
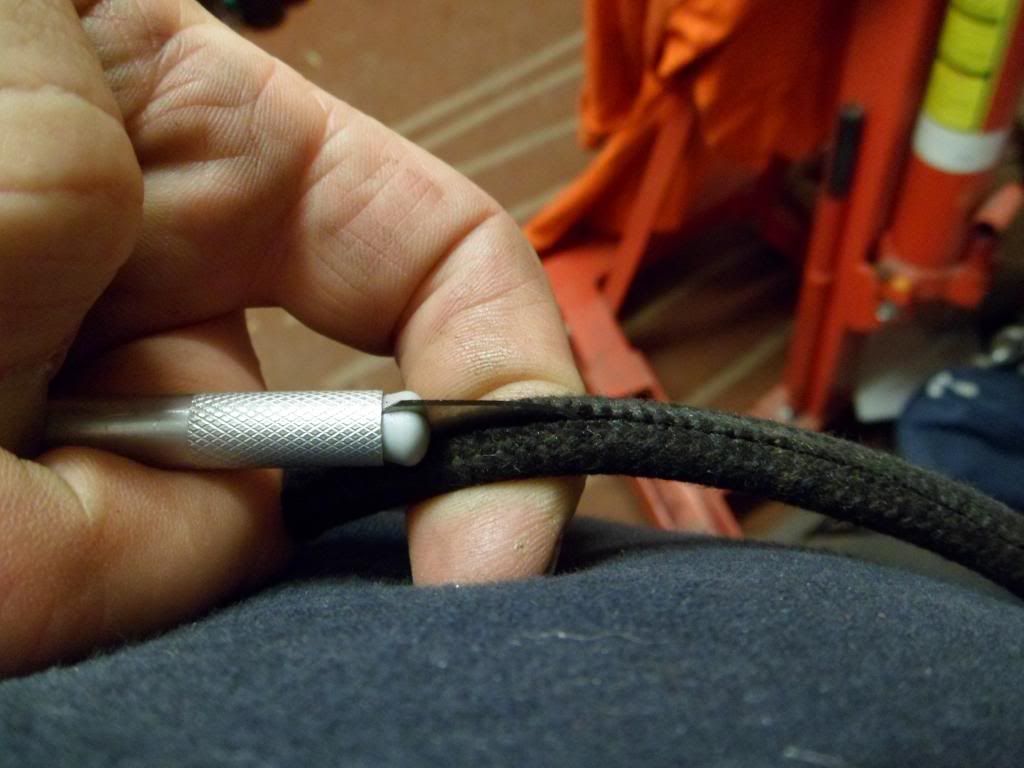
As most of you know I like to use whatever is at hand, well I like had this very long coil of air hose similar to the stuff used on foot pumps... rubber wrapped in a glued on cloth, well in got me thinking that it would make for a nice finishing edge to the holes at the front suspension, so I very carefully slit the pipe with a very sharp modelling knife an inch at a time.....I tried some on an edge and it worked brilliantly so I did the offside first as it had no suspension items fitted, to hold it I have used loctite superglue....I did purchase some finishing trim but I will use that on the cycle wings and bonnet


Reply With Quote
  #546  
Old 4th July 2013, 05:18 PM
K4KEV's Avatar
K4KEV K4KEV is offline
Senior Member
 
Join Date: Feb 2010
Location: WINGATE CO DURHAM
Posts: 1,511
Default

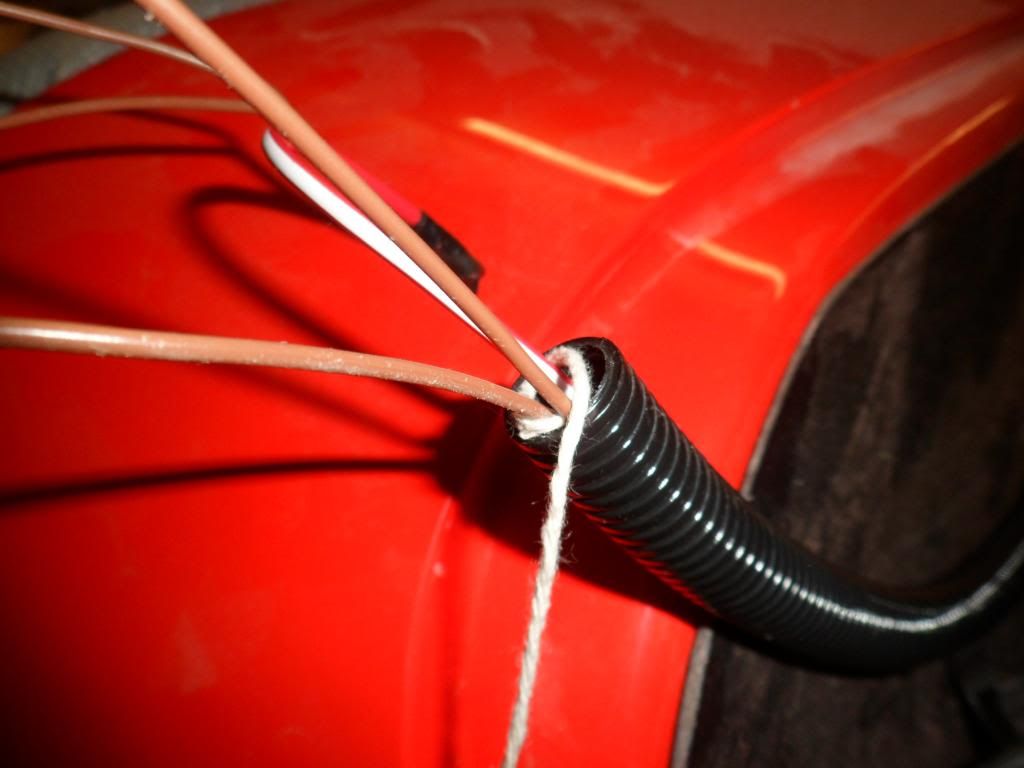
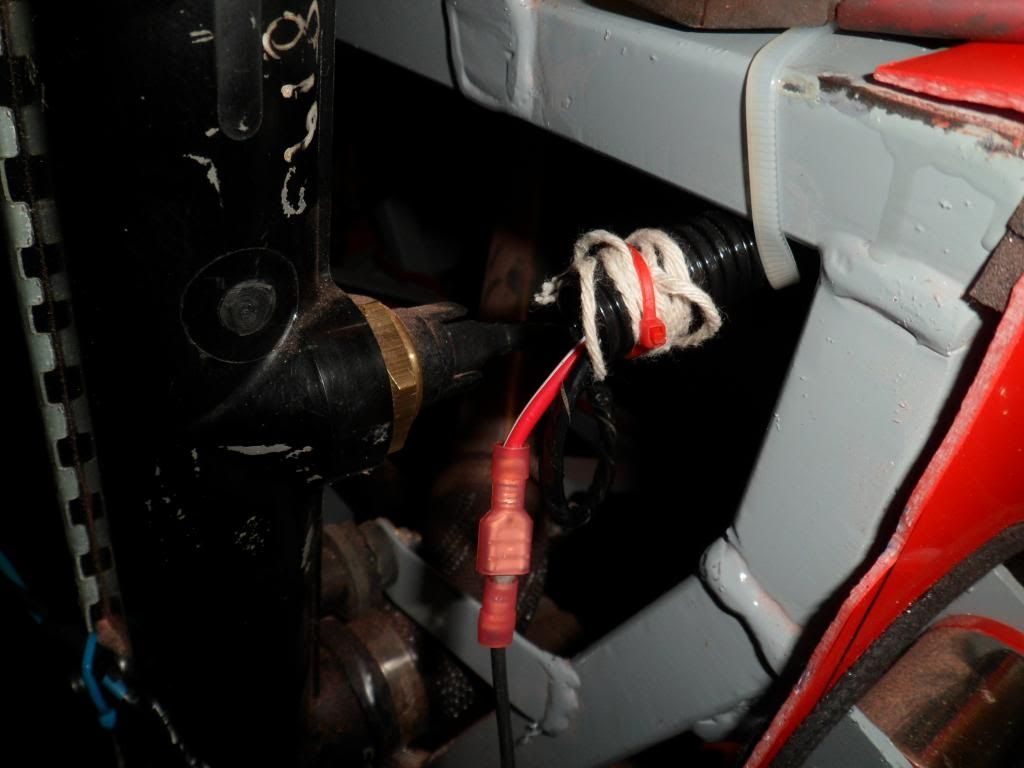
Here is a little tip I picked a few years ago and has saved me some work in the past....when you put a tubular conduit in any where, when you thread the wires through attach a piece of string to the end when pulled through leave about 6-8 inches of string either end so if you have something you want to add at a later date (sensors, lights etc) then you can use the string to pull any more wires through(dont forget to attach another piece of string)..... always keep it there in case you need it again
here I have done it for my rad fan feed and switch.


Reply With Quote
  #547  
Old 13th July 2013, 01:36 AM
K4KEV's Avatar
K4KEV K4KEV is offline
Senior Member
 
Join Date: Feb 2010
Location: WINGATE CO DURHAM
Posts: 1,511
Default

Already used that string once.....spent a lot of time sorting the headlights and associated relays/fuses but IP have eventually got them to do as they are told.
So the headlamps are permanantley fixed and wired in


Reply With Quote
  #548  
Old 15th July 2013, 11:07 PM
K4KEV's Avatar
K4KEV K4KEV is offline
Senior Member
 
Join Date: Feb 2010
Location: WINGATE CO DURHAM
Posts: 1,511
Default

Am pleased to report that nearly all of my wiring has been sorted with a mega amount of patience and get this...... up to now only one blown fuse although that could change.....side dipped and full beam were an absolute nightmare all caused by an incorrectly placed earth above the ignition barrel once I got those sorted virtually everything else fell into place ignition light, oil light handbrake and fluid level working as they should indies all working inc hazards all tell tale illuminating when they should.....still looks like spagetti but the tidy up starts tomorrow......really ought to think about getting it off the trestles soon as well
Reply With Quote
  #549  
Old 19th July 2013, 12:24 PM
K4KEV's Avatar
K4KEV K4KEV is offline
Senior Member
 
Join Date: Feb 2010
Location: WINGATE CO DURHAM
Posts: 1,511
Default

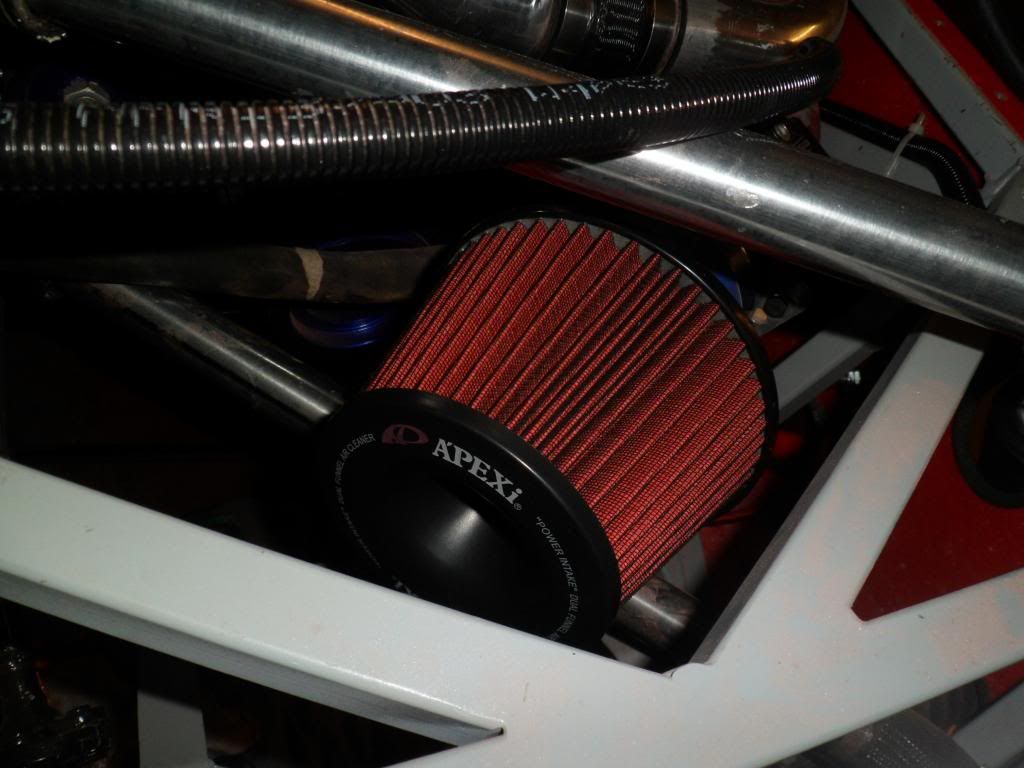
Got me a nice Apexi Power Intake air filter all the way from Hong Kong, pleased to say it is the genuine item and what a price ...£17 delivered.....same filter over here is around £40.... rapidly approaching de-trestle time and onto its wheels for the first time...few days I hope ,just need to get underneath fully checked over. and bleed the brakes.

this is not the final resting position of the air filter it will be moved post IVA


Reply With Quote
  #550  
Old 20th July 2013, 11:00 AM
K4KEV's Avatar
K4KEV K4KEV is offline
Senior Member
 
Join Date: Feb 2010
Location: WINGATE CO DURHAM
Posts: 1,511
Default

Nearly forgot about this little bugger to lock in the mushies .....see the effin tinworm creeping out, you can never stop it entirely

Reply With Quote
Reply


Thread Tools
Display Modes

Posting Rules
You may not post new threads
You may not post replies
You may not post attachments
You may not edit your posts

vB code is On
Smilies are On
[IMG] code is On
HTML code is Off
Forum Jump


All times are GMT +1. The time now is 12:22 PM.


Powered by vBulletin® Version 3.6.4
Copyright ©2000 - 2024, Jelsoft Enterprises Ltd.