
|
|
#12
 1st January 2012, 06:14 PM
|
||||
|
||||
|
Hi Stew,
Another one added to the MX5 build...  What plans are you using in conjunction with the book or are you making it up as you go along? There are a few of us now building MX5 Roadsters so any help is just a post away.  Good luck with the build Johno.... 
|
|
#14
7th January 2012, 05:00 PM
|
|||
|
|||
|
So, ive been pretty quiet recently, to be honest I forgot the last point I updated this thread. The past two weeks ive been off work on holiday, so before christmas the chassis progressed a fair bit.
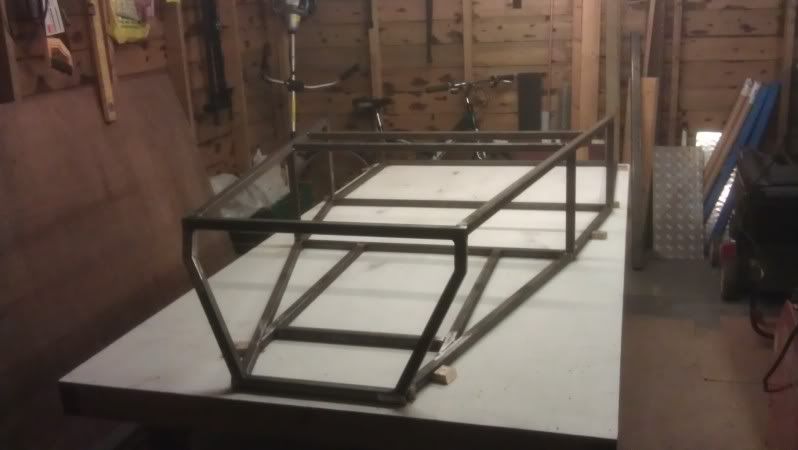 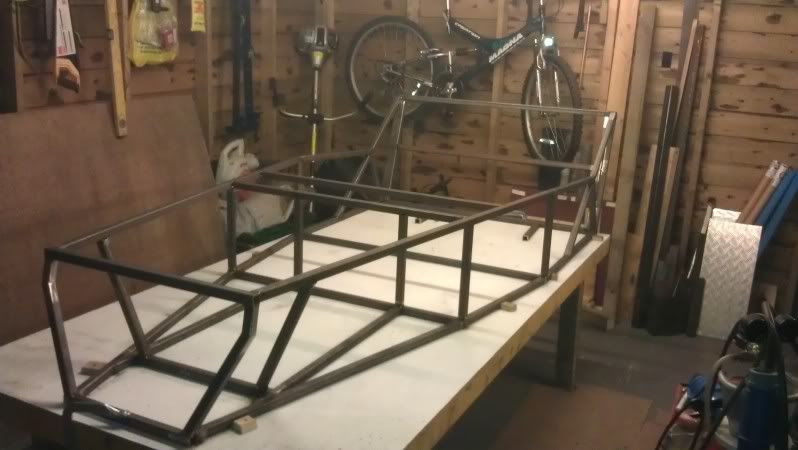 I then got to the point that I then needed some 3mm plate to finish the rear framework. I decided that as I was almost finished the chassis, I would start welding it, but thankfully just before I did that, I realised that TR5 was not required. It seems like this may be a common thing!!!!!! 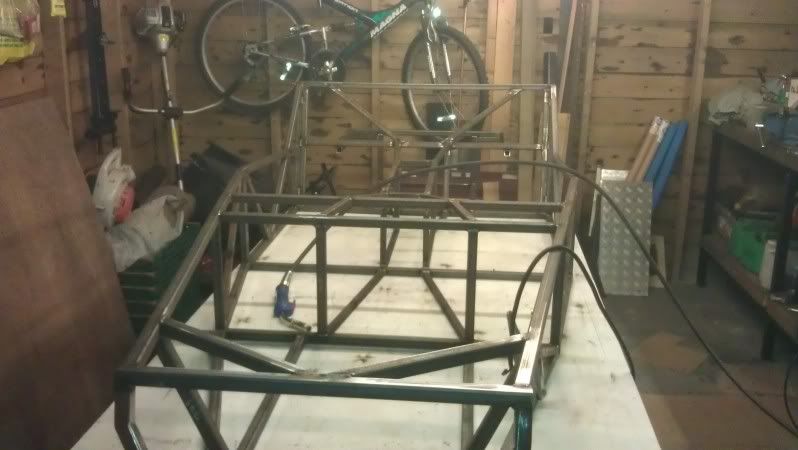 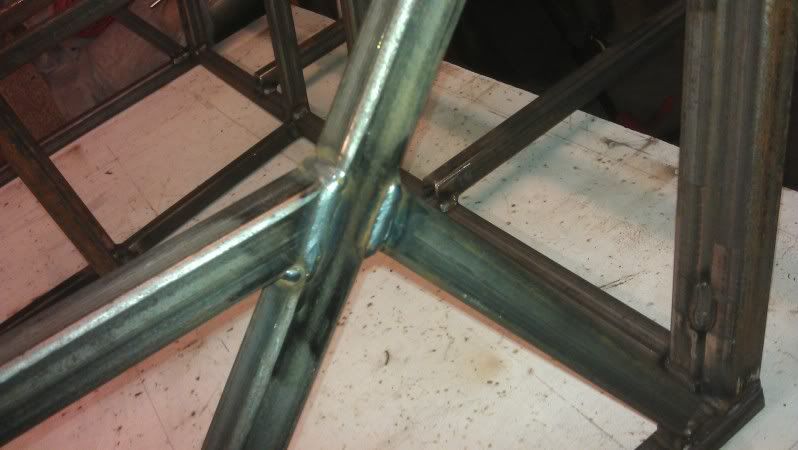
__________________
Stew
|
|
#15
7th January 2012, 05:12 PM
|
|||
|
|||
|
More welding pics,
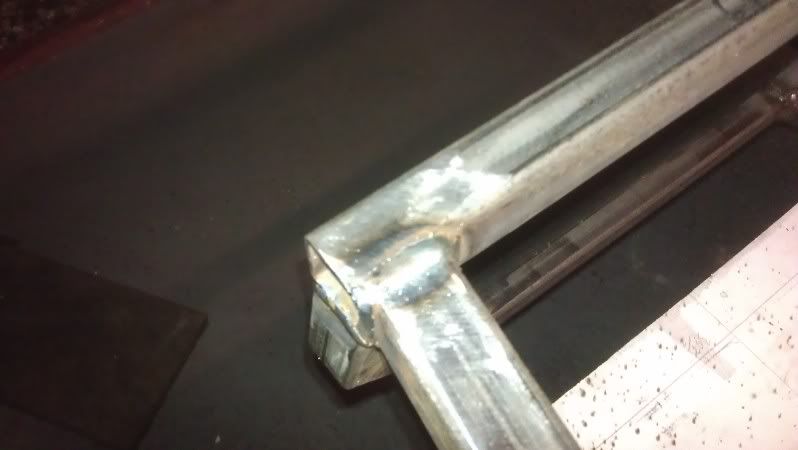    I then used a 80grit flap disc on my 4 1/2" grinder, and buffed the outside welds where they needed to sit flat with pannels fitted. I then went over every face of every joint and lightly removed any balls of spatter, and generally gave the surfaces a light polish. Was a good way of checking all the welds too! Very happy with the way it has come together so far. All welds done with a Murex 191 MIG, approx 20-21volts, 380ipm WFS.
__________________
Stew
|
|
#16
7th January 2012, 05:24 PM
|
|||
|
|||
|
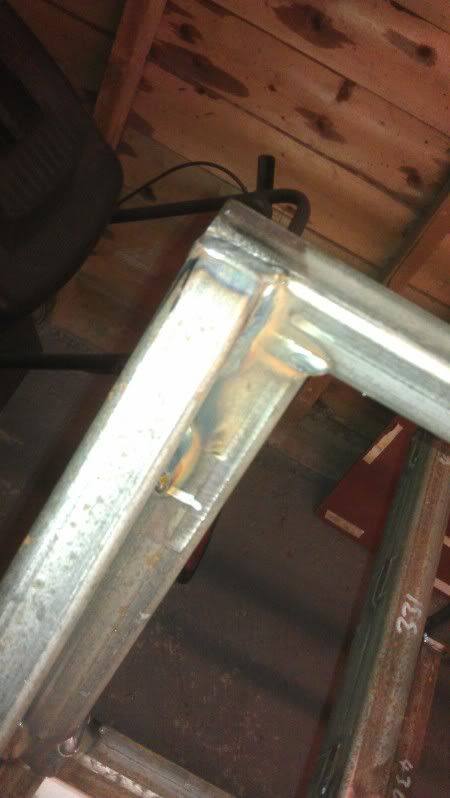
I then cut some 3mm plate for 2x CP1 and 2x CP2, and welded them on. I then cut some 2mm plate to use for the 8 blank ends for the exposed RHS ends. Thought id post up a little tip (or maybe its ovbious!) that was shown to me a good few years ago, but saves loosing the cut end piece inside the tube. Ive also done this with bolts in the past (although a bit wastefull!). Normally at work im capping 50x50x2.5mm RHS, which is easier.
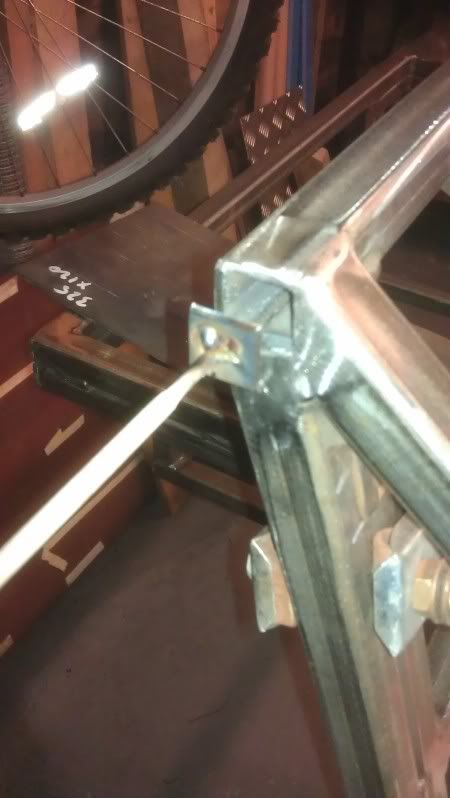 Tack-weld a welding rod to the cap, and offer it up to the end of the box section. 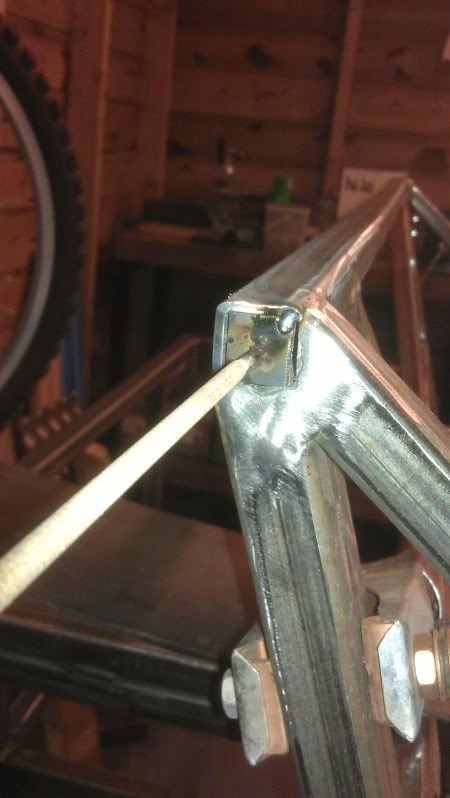 Tack weld the capping plate to the box section. 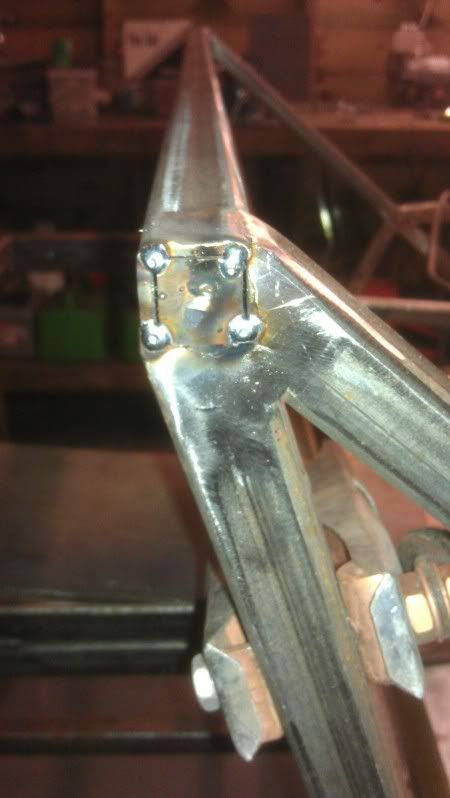 Then snap off the welding rod, weld up the seams. 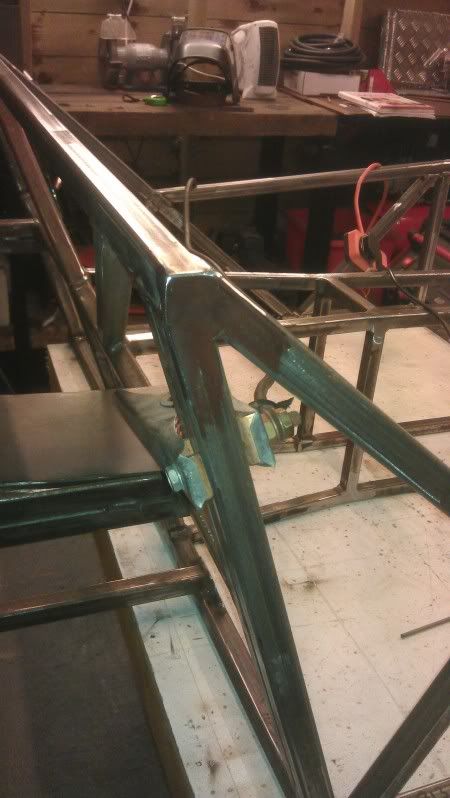 Then buff flat, and jobs a good 'un!
__________________
Stew
|
|
#17
7th January 2012, 05:41 PM
|
||||
|
||||
|
Great work there Stew
 Looks like you are cracking on at a fair pace Tis great to see all of these new builds in progress
__________________
I am not a complete idiot...........Some of the parts are missing !! Ronnie www.roadster-builders.co.uk
|
|
#18
7th January 2012, 11:24 PM
|
||||
|
||||
|
Some great progress there Stew!
Wish my welds looked that good 
|
|
#19
11th January 2012, 09:31 PM
|
|||
|
|||
|
Spent last nite making up 8x shock absorber brackets. I found them quite time consuming, but after two hours I was done!! I made use of the sheet metal folder I made at work a while back. Did the job perfect.
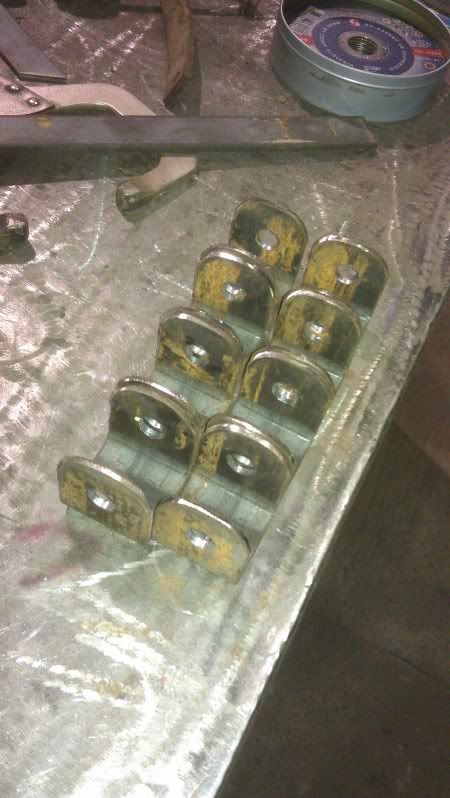  Excuse the mess!! lol A few pics of our workshop at work, and the jobs im working on at the moment, 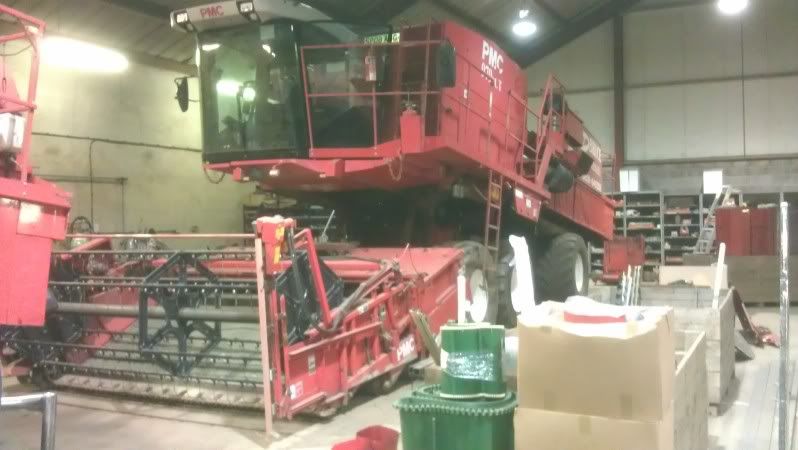  I started the rear suspension top plates tonight, but made my first big mistake of the build, and welded the nuts to the wrong side of one of the plates, so had to cut them off and weld them again. Got fed up, so decided to call it a night. Hopefully get on better tomorrow night!
__________________
Stew
|
|
#20
12th January 2012, 09:29 PM
|
|||
|
|||
|
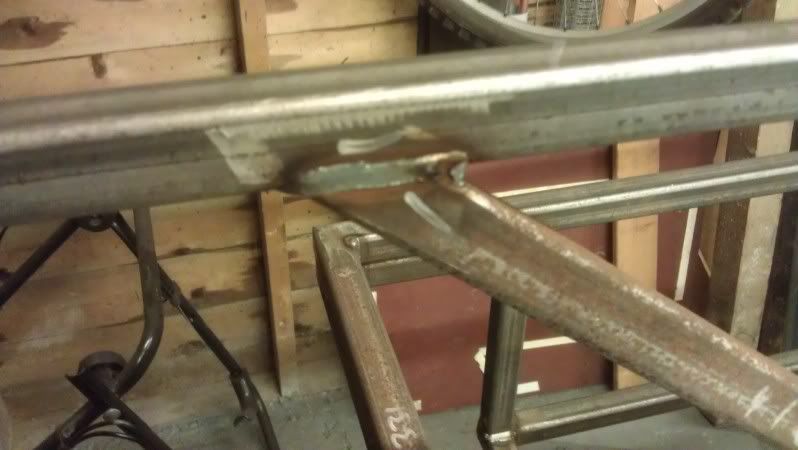
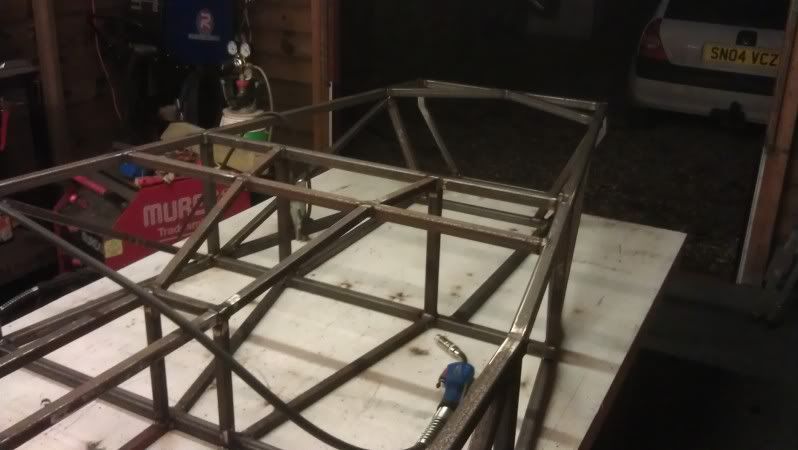
Another small update:
Finally got the rear suspension top plates made up and tacked into place, also the diagonals beside them. Shouldnt take long at all now to get the rear frame finished off - seems to have dragged on a while. Next job is wishbones - dont know whether to look forward to it, or not, looks quite complicated to get them spot on!! Everything on my build so far is pretty much dead on, im trying to take as long as required to get everything spot on rather than rush anything. 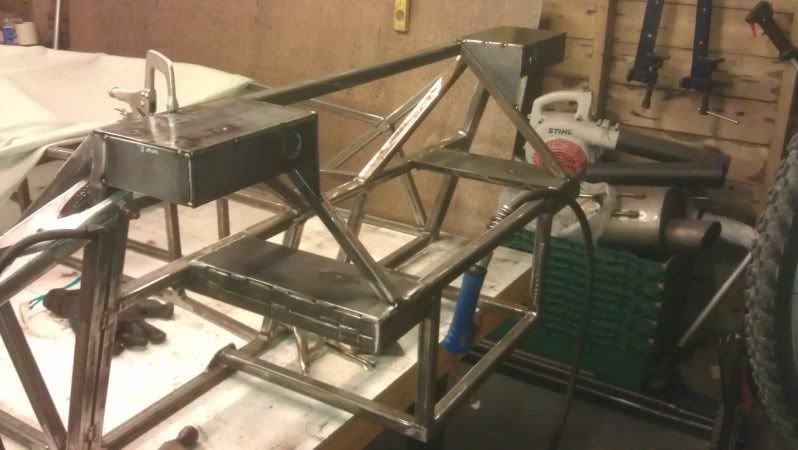
__________________
Stew
|
 |
| Thread Tools | |
| Display Modes | |
|
|


 Linear Mode

