
|
|
|
|
#2
 5th September 2010, 12:25 PM
|
||||
|
||||
|
Another few rails added mainly the seatback area.....finding very much like meccano without the holes, nut & bolts great fun even enjoying cutting the steel (something no one seems to enjoy)
heres another couple of pics 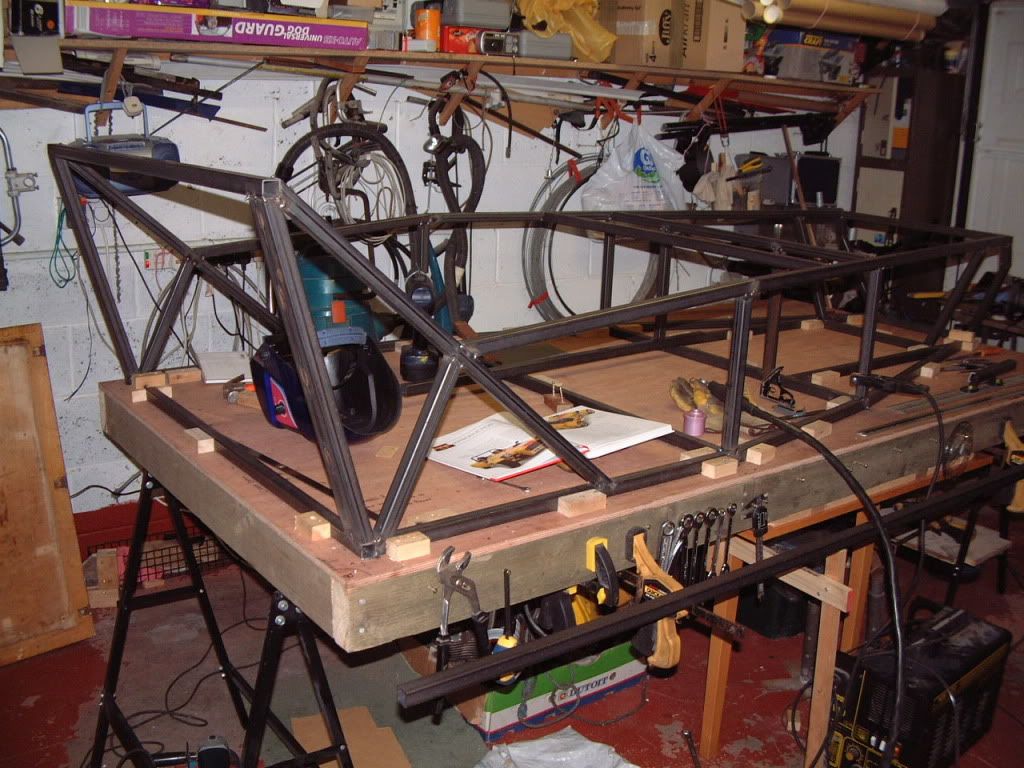 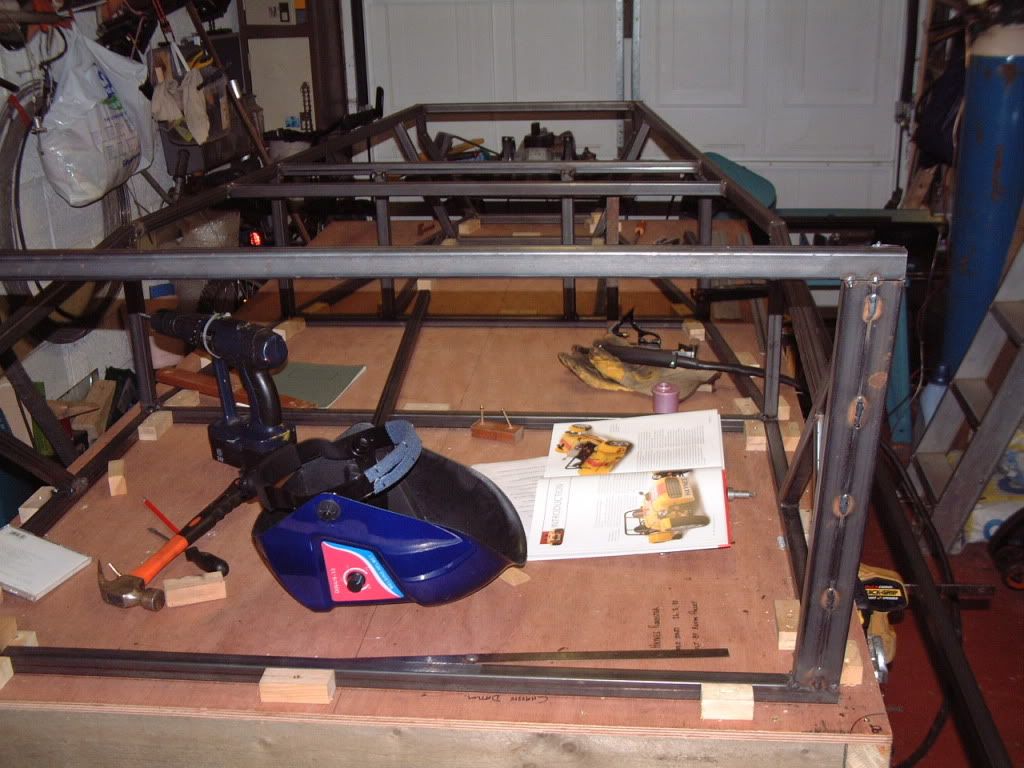 
|
|
#3
6th September 2010, 01:07 PM
|
||||
|
||||
|
few more bit added......those bloody D1s and 2's are real buggers
 with those compound angles.....but got there in the end. with those compound angles.....but got there in the end.When is the best time to start fully welding the chassis ? before shifting it forwards or after. 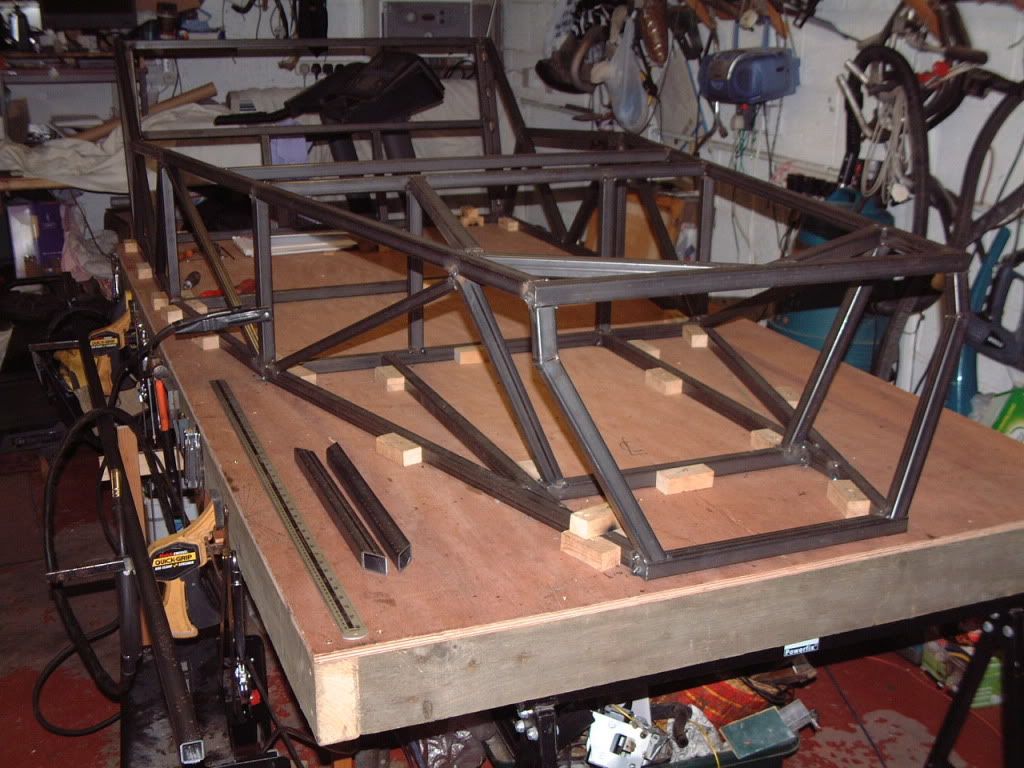 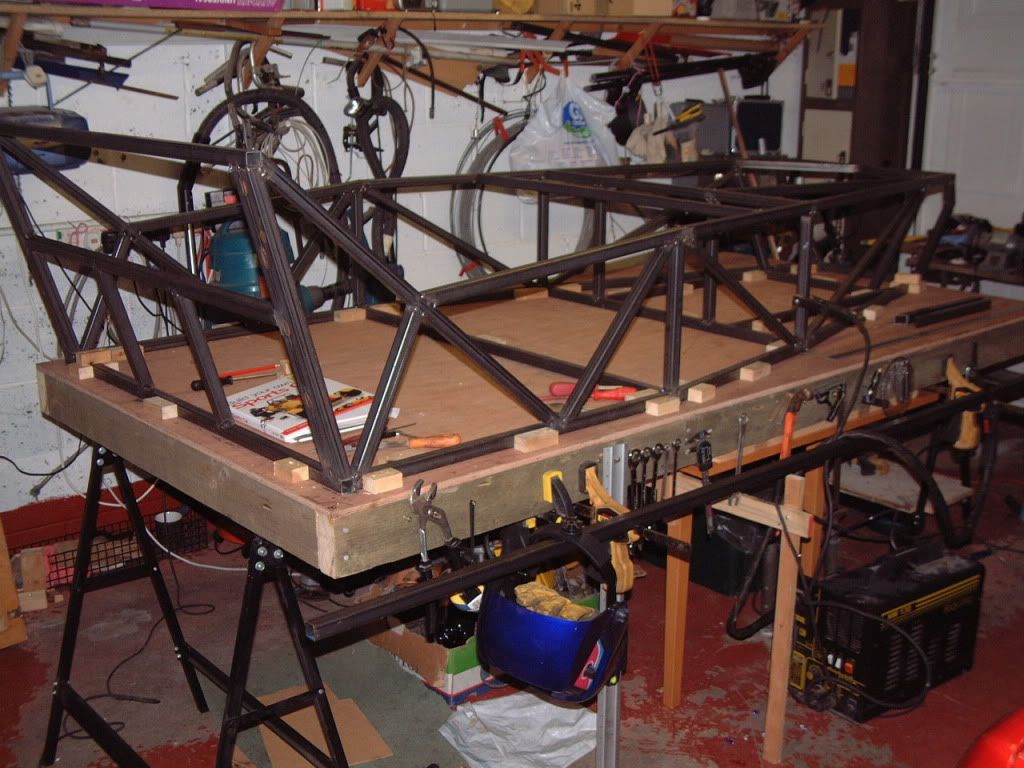
|
|
#4
6th September 2010, 06:42 PM
|
|||
|
|||
|
Making progress there... I tack welded the whole chassis together including the transmission tunnel and steering support before I started fully welding as I needed to start moving the chassis around to fully weld all the little awkward to get areas

|
|
#5
6th September 2010, 10:54 PM
|
||||
|
||||
|
Okay.....lets play spot the cock up!!!!
 these last two pics have a glaringly obvious boo boo that I have now rectified, I,m sure one of the Andy's will spot it. these last two pics have a glaringly obvious boo boo that I have now rectified, I,m sure one of the Andy's will spot it.Glad I found it before it is fully welded.
|
|
#6
7th September 2010, 08:56 PM
|
||||
|
||||
|
Quote:
 whatever that means whatever that means I like a challenge so had to respond to this...... I reckon the error is that the 2 SB4,s are in the wrong place  May I ask what the 2 pieces of steel in the foreground on the table are? are they parts SB5 & SB6 ? can,t quite see the compound angle in the photo Nice work there Kev  cheers andy
|
|
#7
7th September 2010, 10:42 PM
|
||||
|
||||
|
Well done bud....I thought if anyone would get this it would be Handy, yep its my one and only cock up thus far but like I said already rectified and sb4's moved further in to the corect 178mm apart and not 178mm to either side of C/L......yes Handy sb5 & 6 thats what they are but I have not yet completed the compound angle that goes to sb2 should be fun getting it right
I have spoken to a guy down in Blackhall Rocks who is going to supply me with 6m of 25mm and 6m of 19mm seamless tube for £40  hope to get a good few hrs on the chassis this week. ttfn K4
|
 |
| Thread Tools | |
| Display Modes | |
|
|


 Hybrid Mode
