
|
|
|
|
#2
 21st April 2012, 05:50 PM
|
|||
|
|||
|
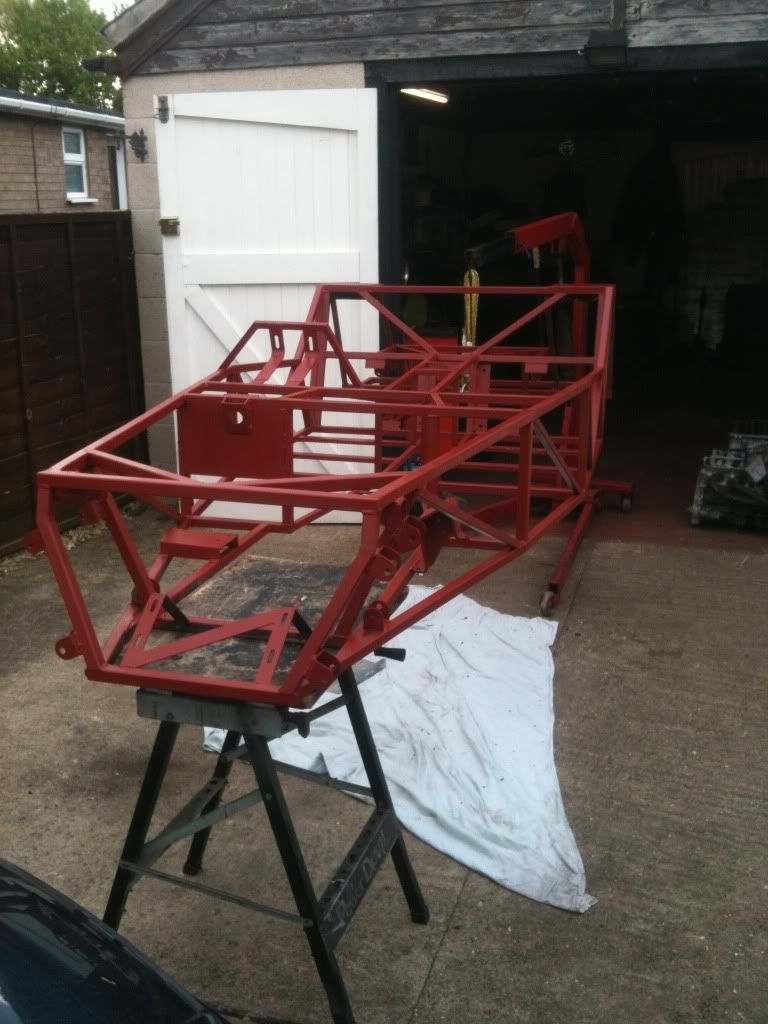
hey all what do you all reckon to this
 i will weld the rearward nut so that is locked and will lock it off with a nyloc nut, and obviously fully weld it all including the bolt to the plate. and as for the rad it is far far far to high! so that will be coming down 3 inches or so!!  
|
|
#3
29th April 2012, 08:12 PM
|
||||
|
||||
|
My M8 has 2 MK2 Astras with the CX25. He also has Tech 2 which helped him alot
 TT
__________________
You only get a woosh with a dump valve Build Thread Man Cave Mantiques Cecil Street Auto Repairs Garage Carlisle Build Cost £4181.65 - Last - Wheel Cylinders
|
|
#4
29th April 2012, 08:15 PM
|
|||
|
|||
|
Quote:
i was onabout seperating the bloomin thing from the loom haha saying that.. I'd quite like to use the obd on my kit car, how did he get hold of the tech 2 software?
|
|
#5
13th May 2012, 02:40 PM
|
|||
|
|||
|
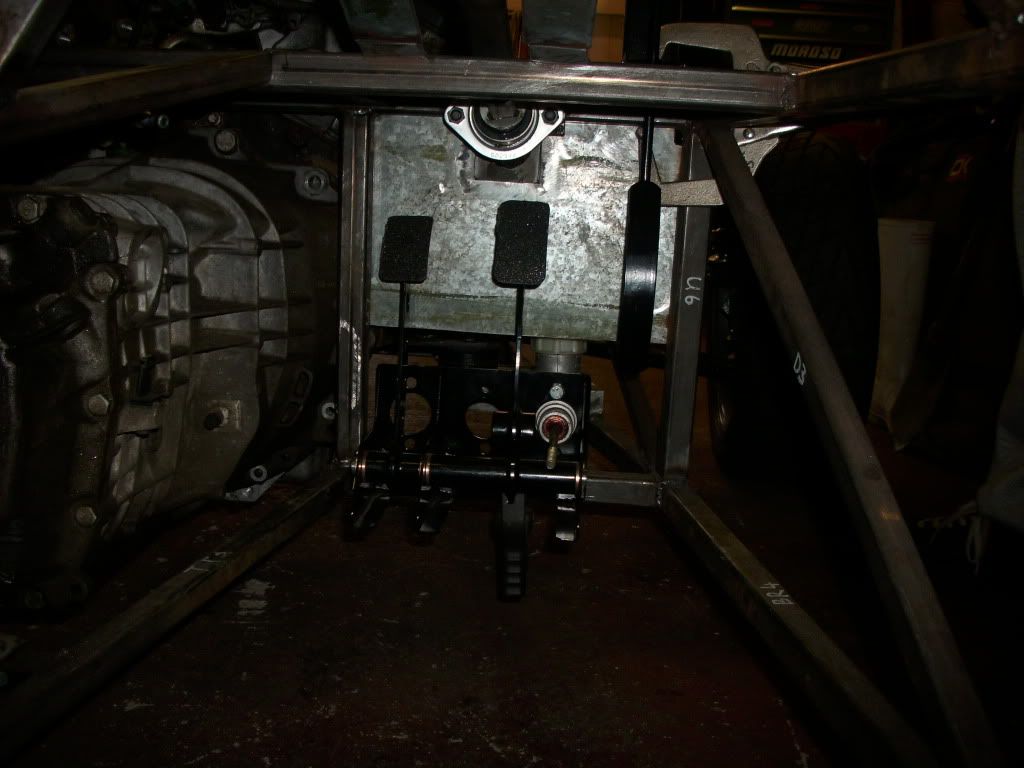
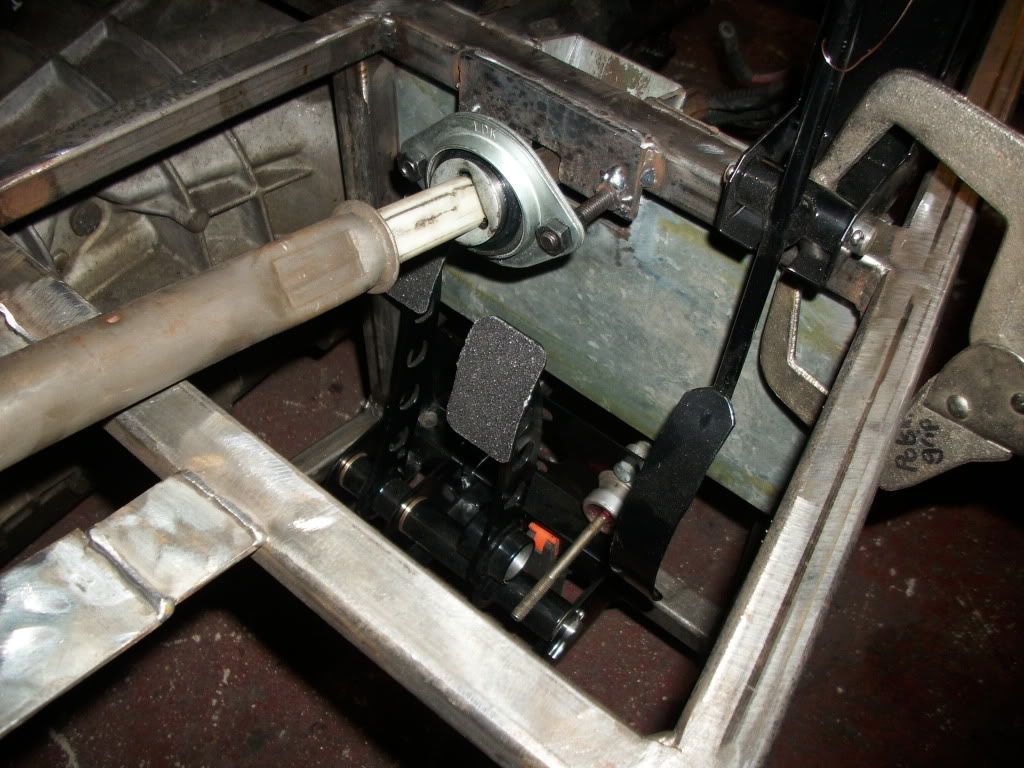
well , the strip down literally took an hour! then welded all remaining areas.. I still need to attach my seatbelt mounts but ill just take the primer off :-) It feels odd going back on yourself to progress forward!
 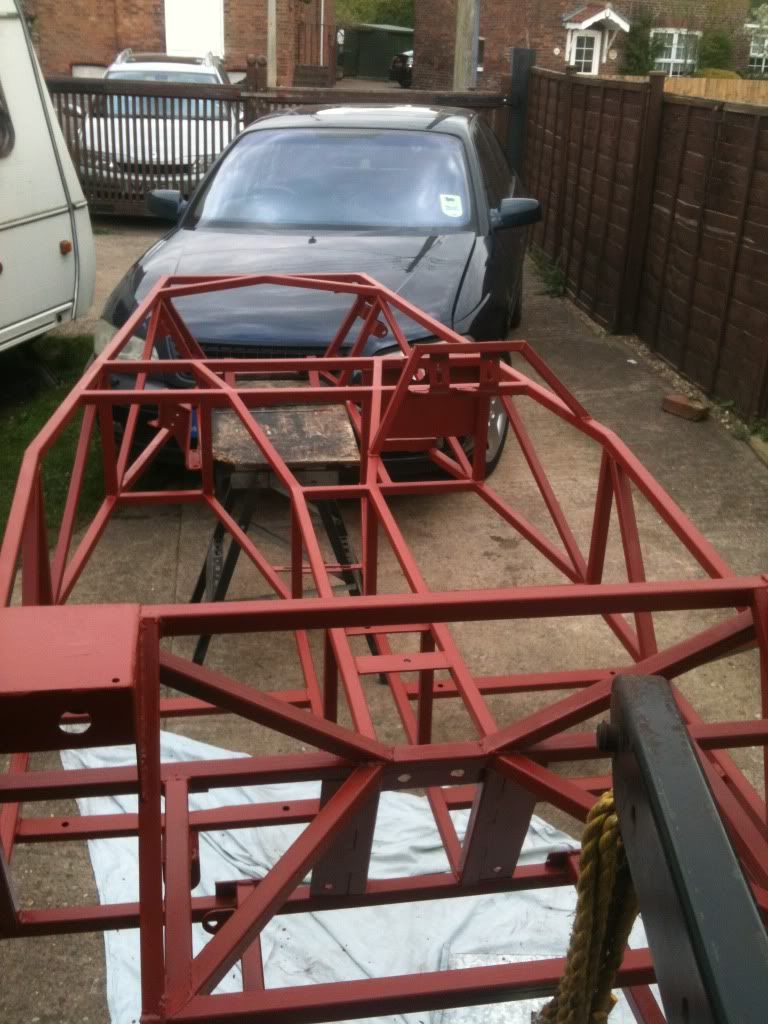   still needs some areas painting and then a 2nd coat and then a black hammerite over coat!! next on the list ... weld in a steel section for my pedal box to sit on propshaft (fit the uj) brakes fuel tank and pump! and track rod ends!
|
|
#6
10th June 2012, 12:28 PM
|
|||
|
|||
|
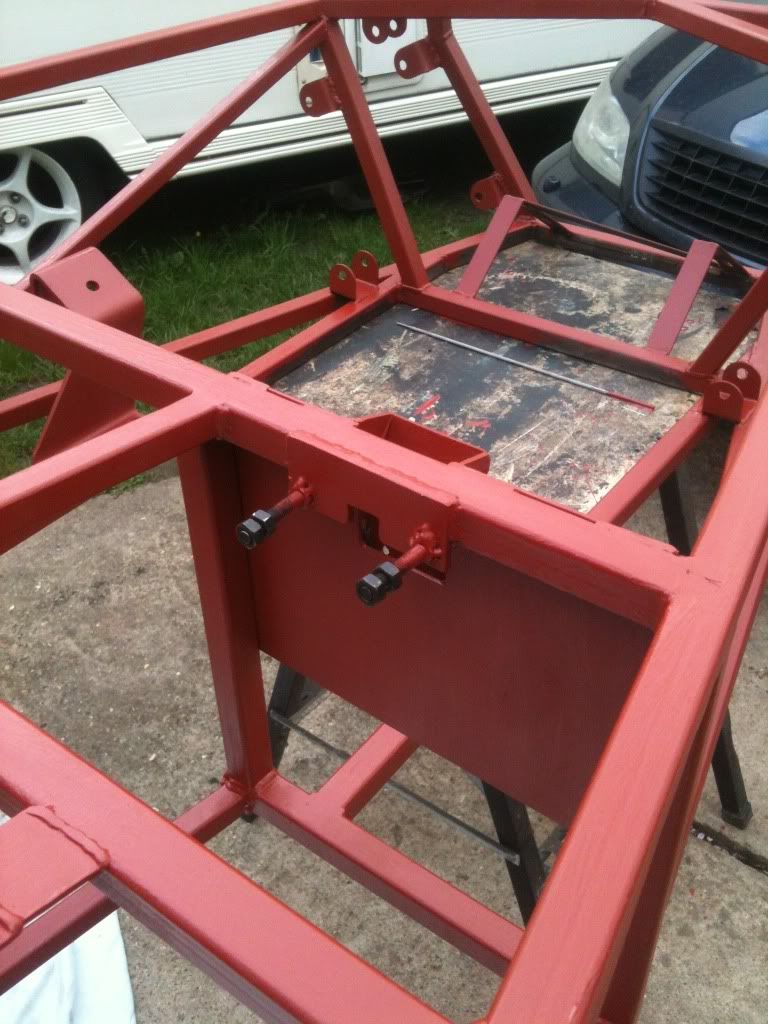
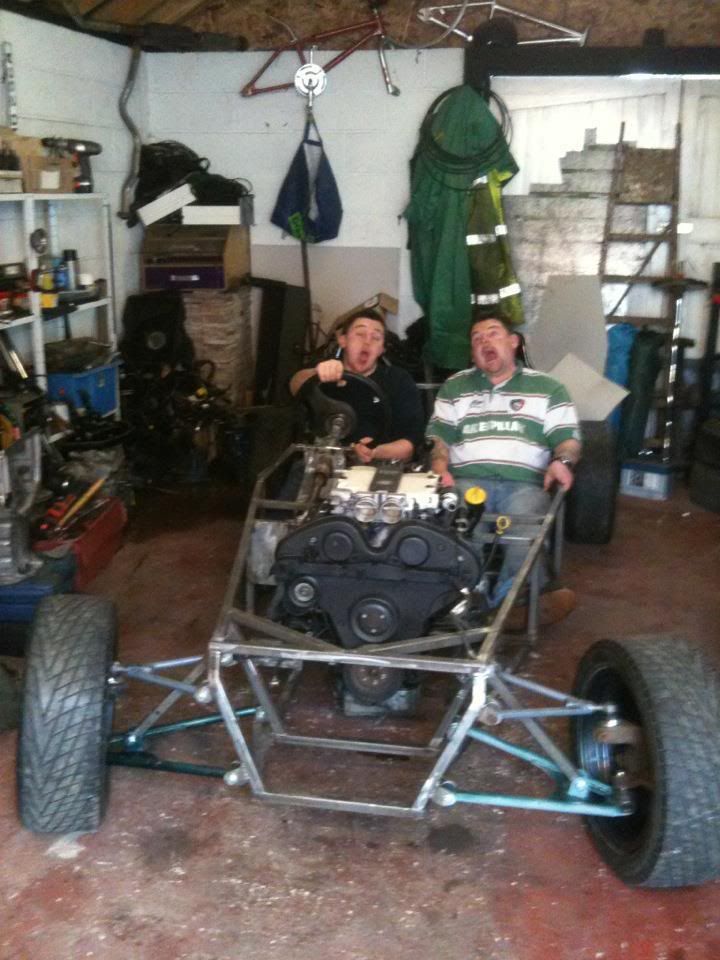
howdy doo all! well ive been pretty busy i guess ! measured all up to buy my ally! steering is all sorted and smooth as smooth can be ! :-)
done some more painting and secured my pedal box etc etc ... 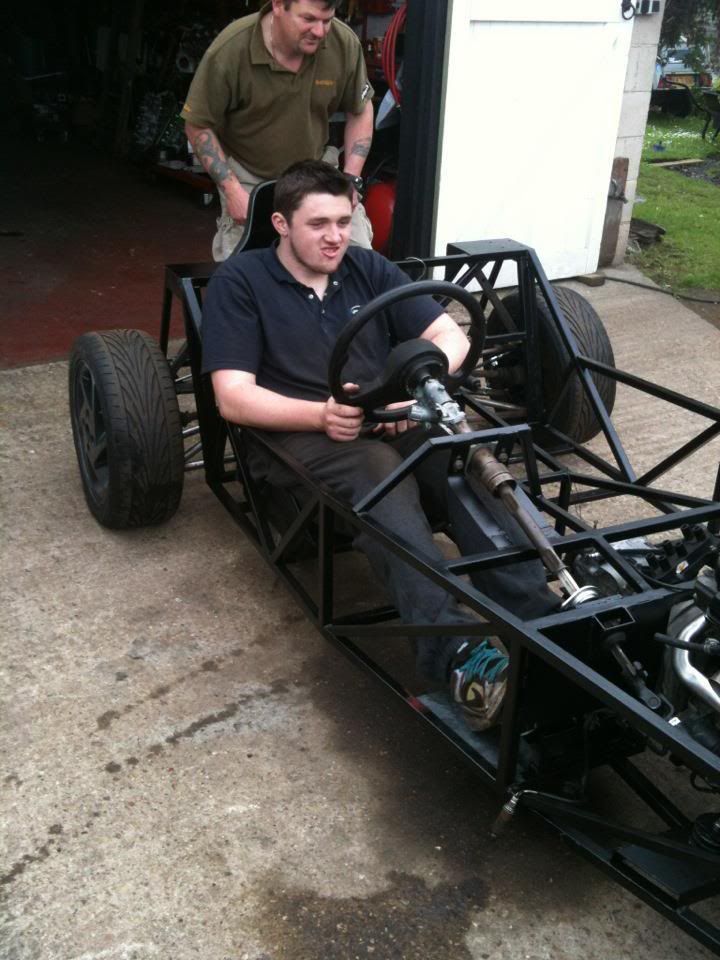 me and my mongy face ;-) 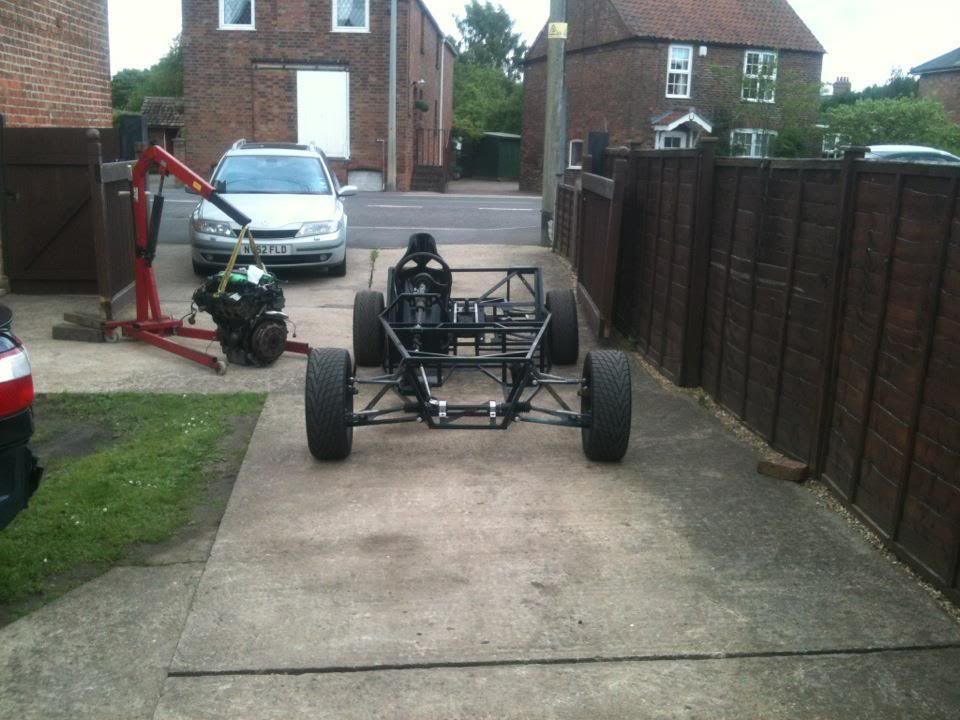 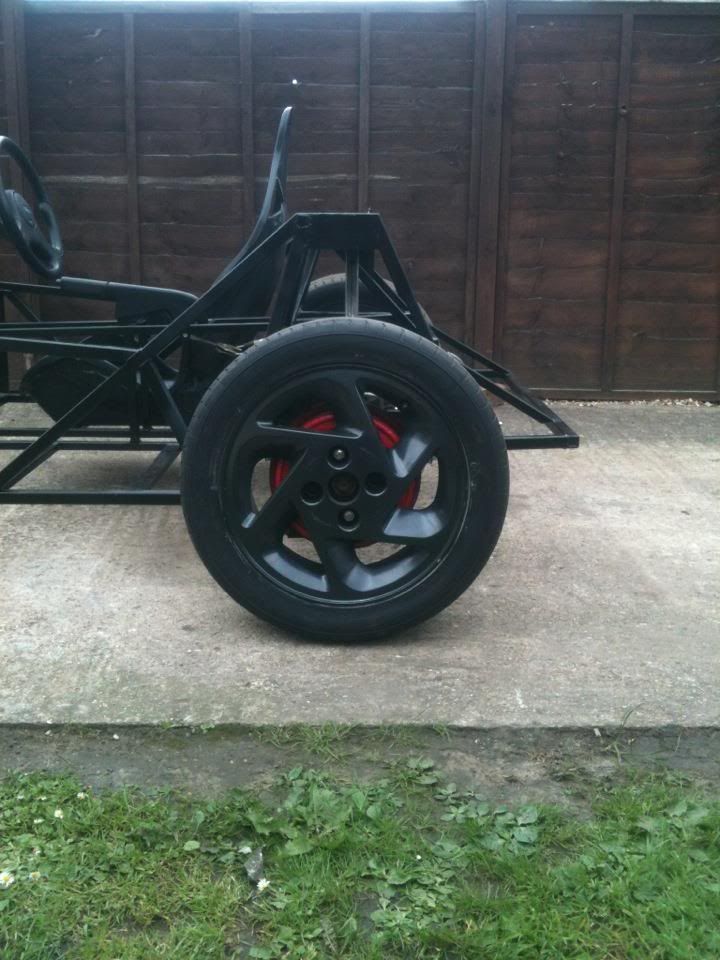 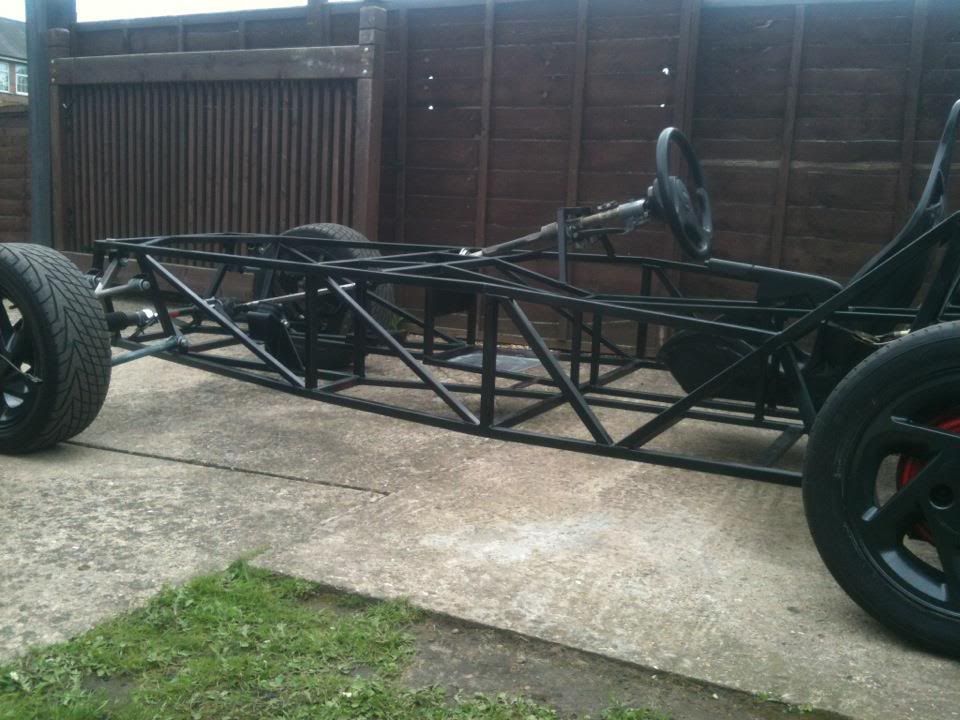 Watch this space ! more progress to come quickly! hopfully!!
|
|
#7
10th June 2012, 12:54 PM
|
||||
|
||||
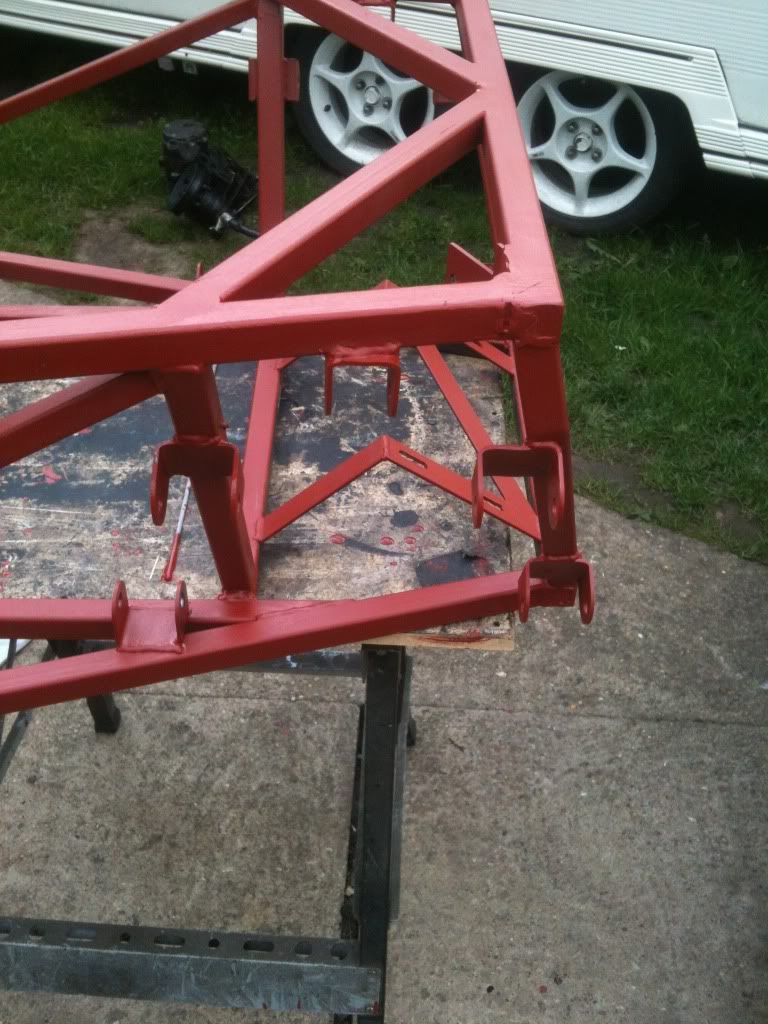
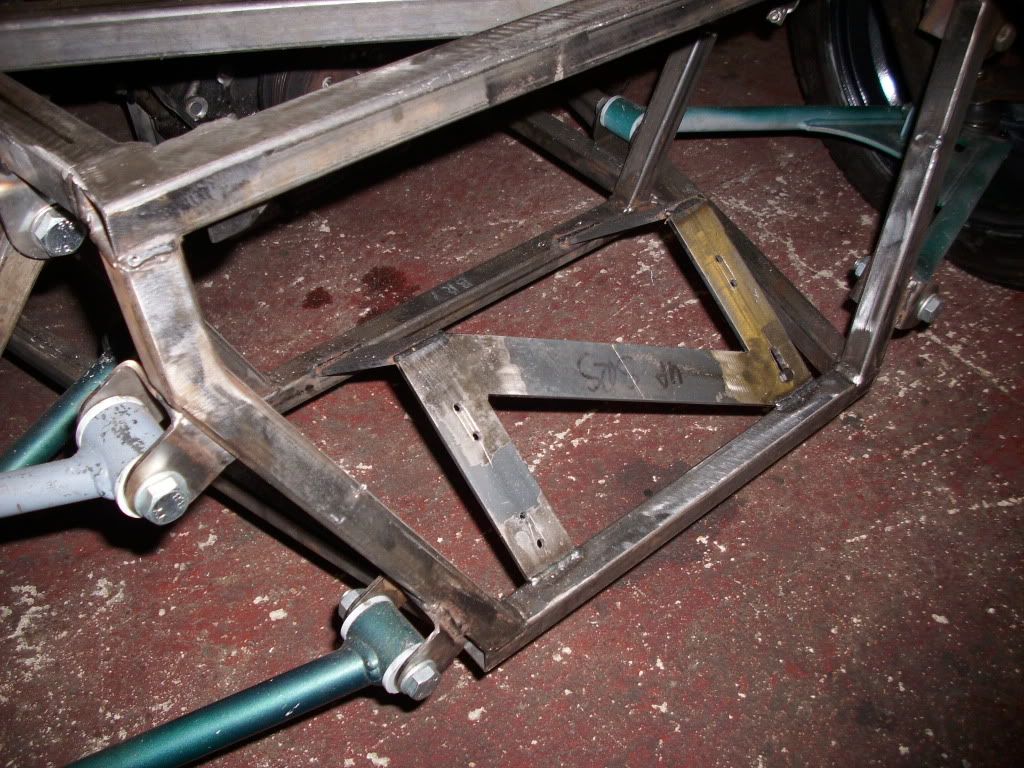
 Just imagine the look on your face when that engine is in & working Just imagine the look on your face when that engine is in & working Wow you have been busy , Its looking great  Like the wheels too. Like the wheels too.Its nice to see a pile of steel that was on my garage floor turn into a great looking chassis, nice work Michael . One question tho if I may ? Why have you positioned D3 & D4 in that way ? soz for asking  just caught my eagle eye. just caught my eagle eye.Great progress. cheers andy
|
|
#8
21st April 2012, 06:37 PM
|
|||
|
|||
|
Quote:
 yeah , im going to be loweing it quite a bit and maybe put it on a slight slant. i was literally going by the rule of "aslong as its under the engine" haha but i spoke to andy and he said and liek youve said the bonnet has some depth on it yeah , im going to be loweing it quite a bit and maybe put it on a slight slant. i was literally going by the rule of "aslong as its under the engine" haha but i spoke to andy and he said and liek youve said the bonnet has some depth on it
|
|
#9
22nd April 2012, 02:18 PM
|
|||
|
|||
|
привет!! had a laugh this morning! and yes I did make the brum noises and drifting screetches
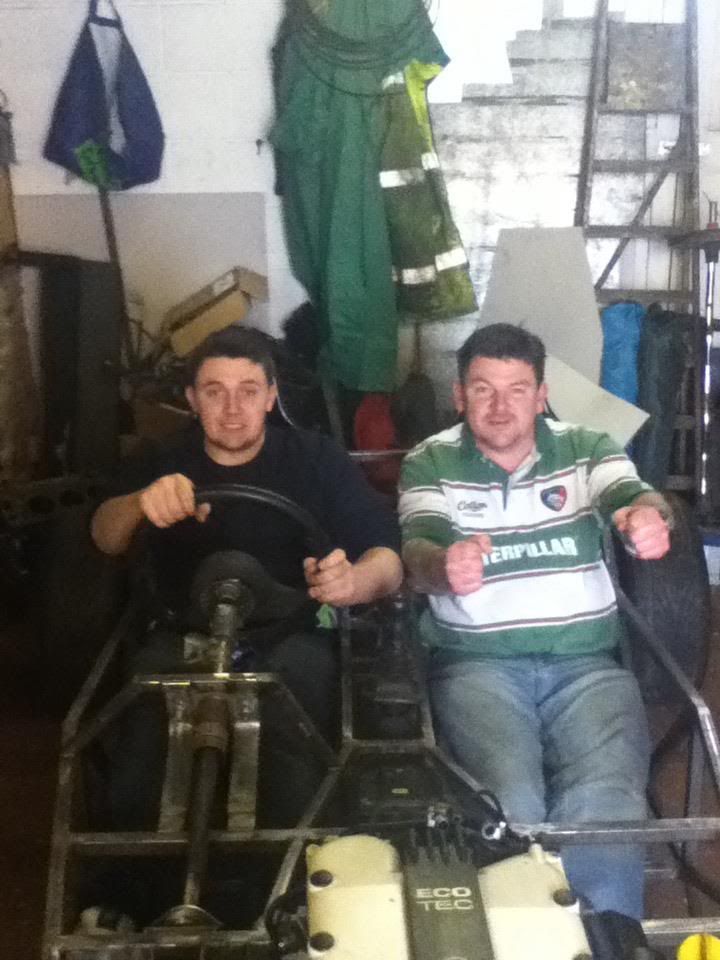  And also photoshopped one of saturns pictures to the colour i would quite like (respects to ssc) :-)  Getting rather excited now that its taking shape!! :-D
|
 |
| Thread Tools | |
| Display Modes | |
|
|


 Hybrid Mode
